Thermoplastic Polyolefin (TPO) roofing membrane has become increasingly popular in the roofing industry due to its durability, energy efficiency, and ease of installation. If you’re considering how to install TPO roofing membrane on your property, this step-by-step guide will walk you through the installation process, ensuring a successful and long-lasting roof.
What is TPO Roofing Membrane?
Before we dive into the installation process, let’s briefly understand what TPO roofing membrane is. TPO is a single-ply roofing material made from a blend of polypropylene and ethylene-propylene rubber. It comes in large rolls and is highly resistant to UV rays, tears, punctures, and chemical exposure, making it an excellent choice for various roofing applications.
Step 1: Preparing the Roof Surface
The first step in installing TPO roofing membrane is to prepare the roof surface. Ensure that the roof deck is clean, dry, and free of any debris, nails, or sharp objects that could damage the membrane. Repair any existing damage to the roof deck before proceeding.
Step 2: Installing Insulation
If your property requires additional insulation, it’s best to install it before laying the TPO membrane. Adequate insulation will enhance the energy efficiency of your roof, helping you save on heating and cooling costs in the long run.
Step 3: Securing the Membrane
TPO roofing membrane can be installed using various methods, such as mechanical attachment, fully adhered, or ballasted. The most common method is a mechanically attached system, which involves securing the membrane to the roof deck using screws and plates. This method provides excellent wind uplift resistance and is relatively easy to install.
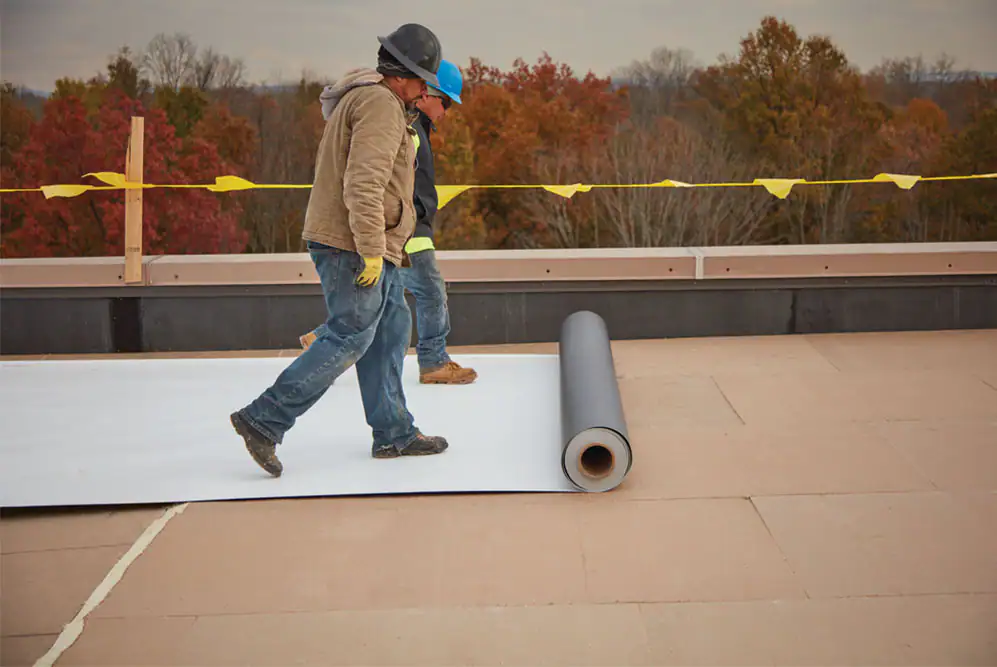
Start by unrolling the TPO membrane across the roof surface, ensuring that it overhangs the edges by a few inches. Position the membrane carefully, making sure it’s straight and properly aligned with the roof’s edges. Once the membrane is in place, use a roofing screw and plate to secure the membrane to the roof deck. The screws should be installed at regular intervals along the seams and around the perimeter of the membrane.
Step 4: Seaming the Membrane
To create a watertight seal, the seams of the TPO membrane must be properly joined. There are two main methods for seaming TPO roofing membrane: hot air welding and solvent welding. Hot air welding involves using a hot air gun to heat and fuse the seams together, while solvent welding uses a chemical adhesive to bond the seams.
Step 5: Flashing and Edging
Once the main field of the TPO membrane is installed and seamed, it’s time to add flashing and edging details. Flashing is used to seal joints and transitions, such as where the roof meets a wall or chimney. Edging is installed around the perimeter of the roof to provide a finished look and added protection against wind uplift.
Step 6: Final Inspection
After completing the installation, conduct a thorough inspection of the TPO roofing membrane to ensure that all seams are properly fused, and there are no signs of damage or defects. Address any issues immediately to avoid potential leaks or problems in the future.
Conclusion
How to install TPO roofing membrane is a straightforward process that can be completed with the right tools and materials. By following this step-by-step guide, you can ensure a successful installation and enjoy the benefits of a durable, energy-efficient, and long-lasting roof for your property. For installation concerns, consult a professional roofing contractor for expert guidance and a flawless installation.


Leave a Reply