When considering a metal roof installation, one of the important decisions is whether to install it over plywood decking. Installing a metal roof over plywood offers several benefits, including structural support, moisture protection, and a smooth surface for the metal panels. In this article, we’ll guide you through the process of installing a metal roof over plywood, highlighting key steps and considerations.
Assessing Plywood Decking
Before beginning the installation, it’s crucial to assess the condition of the plywood decking. Ensure that the plywood is in good condition, free from rot, damage, or uneven surfaces. Any issues with the plywood should be addressed before proceeding.
Steps for Installing a Metal Roof Over Plywood
- Prepare the Decking: Clean the plywood decking to remove any debris, dirt, or dust. Ensure the surface is smooth and free from protruding nails or screws.
- Install Underlayment: Apply a high-quality roofing underlayment over the plywood. Underlayment acts as a moisture barrier and provides an additional layer of protection against potential leaks.
- Measure and Cut the Metal Panels: Measure the dimensions of the roof and cut the metal panels accordingly. Ensure accurate measurements to minimize waste.
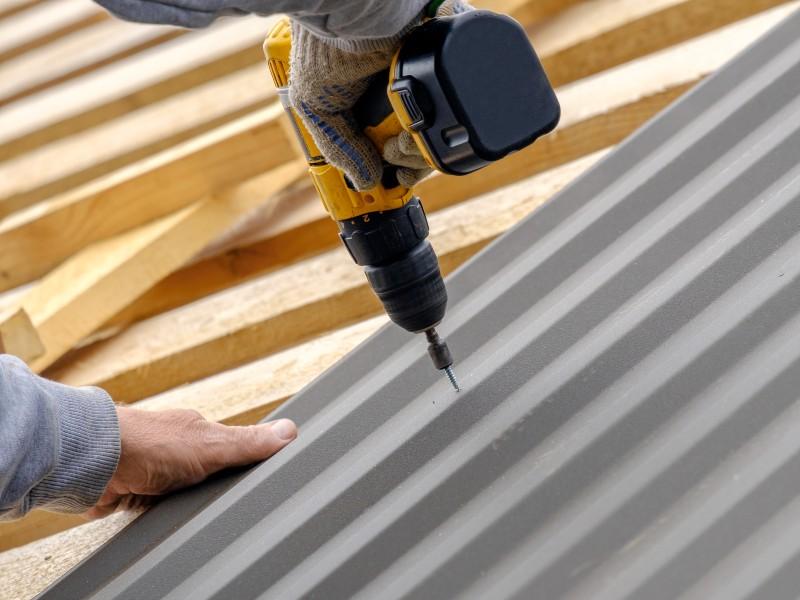
- Begin Installation: Start installing the metal panels at the lowest point of the roof, typically the eaves. Attach the panels using appropriate fasteners, such as screws designed for metal roofing.
- Overlap and Secure: Each metal panel should overlap the previous one to ensure proper water drainage. Secure the panels using fasteners in designated areas.
- Flashings and Trim: Install flashing around roof penetrations, such as chimneys or vents. Add trim pieces along the roof edges for a finished look.
Considerations for Successful Installation
- Ventilation: Proper ventilation is essential to prevent moisture buildup and prolong the lifespan of both the plywood decking and the metal roof. Install vents and ridge caps as needed.
- Fasteners: Use the appropriate type and size of fasteners recommended by the manufacturer. Proper fastening ensures the panels are securely attached to the plywood.
- Weatherproofing: Pay close attention to the connections between panels and around penetrations to prevent water infiltration. Properly sealed and weatherproofed seams are crucial.
Professional Installation
While installing a metal roof over plywood is a manageable DIY project for experienced individuals, it’s recommended to consider professional installation, especially for complex roofs or if you’re unfamiliar with roofing techniques.
Conclusion
In conclusion, install a metal roof over plywood provides a sturdy foundation, moisture protection, and a smooth surface for the metal panels. Following the proper steps, assessing the condition of the plywood, and considering key factors like ventilation and fasteners are crucial for a successful installation. Whether you’re a DIY enthusiast or seeking professional assistance, a metal roof over plywood can offer durability, longevity, and enhanced protection for your home.


Leave a Reply