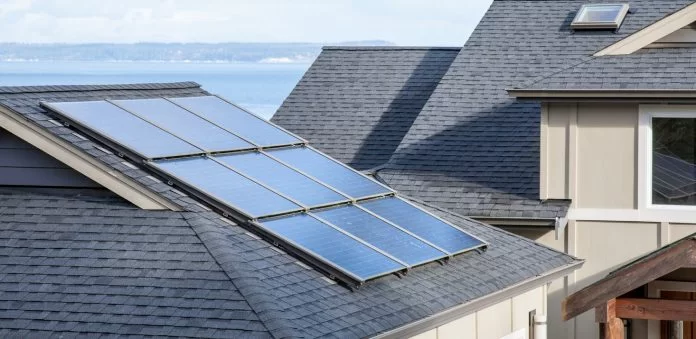
Solar panels are an eco-friendly and cost-effective way to generate electricity for your home. However, if you have solar panels installed on your roof, you may wonder how to handle roof repairs without damaging your solar array. In this article, we will provide a step-by-step guide on how to repair a roof with solar panels in place, ensuring the integrity of both your roof and your solar investment.

Assess the Damage
Inspect Your Roof and Solar Panels
Before you start any repairs, conduct a thorough inspection of your roof and solar panels. Look for signs of damage such as leaks, loose or missing shingles, and any issues with the solar panel mounting system. It’s crucial to identify the extent of the damage before proceeding.
1. Safety First
Prioritize Safety
Safety should be your top priority when working on your roof, especially when solar panels are involved. Follow these safety precautions:
- Use appropriate personal protective equipment (PPE), including gloves, safety glasses, and a harness if you’re working at heights.
- Work on a dry day to reduce the risk of slipping.
- Ensure that your ladder is secure and on a stable surface.
- If you’re uncomfortable with heights or unsure about the repair, consider hiring a professional roofer.
2. Isolate the Affected Area
Locate the Roof Damage
Identify the specific area of your roof that requires repair. This might be a leaking section or damaged shingles. If the damage is close to your solar panels, you’ll need to isolate that area for repair.
3. Remove the Solar Panels
Prepare for Panel Removal
Removing solar panels can be a complex task and may require professional assistance, especially if your solar array is large or complex. Here’s a simplified overview of the process:
- Disconnect the solar panels from the inverter to ensure that no electricity is flowing through the system.
- Carefully remove the solar panels from their mounting system. This typically involves loosening the mounting clamps and carefully lifting the panels away.
- Label each panel to ensure proper reinstallation.
4. Perform the Roof Repair
Address Roof Damage
With the solar panels removed, you can now focus on repairing the roof. The exact repair process will depend on the type and extent of damage. Common roof repairs include:
- Replacing damaged or missing shingles.
- Repairing roof leaks by sealing cracks or gaps with roofing cement.
- Replacing damaged flashing around roof penetrations like chimneys or vents.
- Fixing any structural damage to the roof deck.
It’s essential to follow best practices for each specific repair type. If you’re uncertain, consult with a professional roofer.
5. Reinstall the Solar Panels
Carefully Reattach the Solar Panels
Once the roof repair is complete, it’s time to reinstall the solar panels. Follow these steps:
- Ensure that the area under the solar panels is clean and free from debris.
- Reattach the solar panels to their mounting system, aligning them correctly.
- Reconnect the solar panels to the inverter.
6. Test the System
Check for Proper Functionality
After reinstalling the solar panels, check the entire solar system for proper functionality. Ensure that the panels are generating electricity, and there are no issues with the inverter or electrical connections.
7. Schedule Regular Maintenance
Maintain Your Solar Panels and Roof
To prevent future damage, schedule regular maintenance for both your solar panels and your roof. This can include:
- Cleaning the solar panels to remove dirt and debris.
- Inspecting the roof and panels for signs of damage or wear.
- Addressing any minor issues promptly to prevent them from becoming major problems.
Conclusion: A Combined Effort for Sustainability
Repairing a roof with solar panels requires careful planning, safety measures, and professional assistance when necessary. By following this step-by-step guide, you can ensure that both your roof and solar array remain in top condition, contributing to your home’s sustainability and energy efficiency.


Leave a Reply