Standing seam metal roofing is known for its sleek appearance, durability, and energy efficiency. If you’re considering this option for your home, understanding the installation process is crucial. This comprehensive guide will walk you through How Is Standing Seam Metal Roofing Installed, ensuring you’re well-informed about each step.
What is Standing Seam Metal Roofing?
Standing seam metal roofing features panels with raised seams that interlock to form a continuous, weather-tight seal. These seams run vertically along the roof, providing a modern aesthetic and superior performance in terms of durability and weather resistance.
Read too: Decoding Timelines: How Long Does It Take To Replace A Roof and What to Expect
Benefits of Standing Seam Metal Roofing
Durability and Longevity
Standing seam metal roofs are renowned for their longevity, often lasting 50 years or more with proper maintenance. The interlocking seams enhance the roof’s structural integrity, making it highly resistant to harsh weather conditions.
Energy Efficiency
The reflective properties of metal help reduce heat absorption, leading to cooler indoor temperatures during hot weather. This can result in significant energy savings on cooling costs.
Aesthetic Appeal
Standing seam metal roofing offers a sleek, contemporary look that can enhance the overall appearance of your home. It is available in various colors and finishes to suit different architectural styles.
Preparing for Installation
Before diving into How Is Standing Seam Metal Roofing Installed, proper preparation is essential. This includes:
- Assessing the Roof Structure: Ensure that the roof deck is in good condition, free of rot or damage, and capable of supporting the new roofing material.
- Gathering Materials and Tools: Necessary materials include standing seam metal panels, fasteners, clips, underlayment, sealants, and appropriate tools for cutting and fastening the metal panels.
- Safety Precautions: Safety should always be a priority. Use proper safety gear, such as harnesses, gloves, and non-slip footwear. Ensure ladders and scaffolding are stable and secure.
How Is Standing Seam Metal Roofing Installed?
Step 1: Remove Old Roofing
If applicable, start by removing the existing roofing material. This includes shingles, underlayment, and any old flashing. Clean the roof deck thoroughly to remove any debris or nails.
Step 2: Install Underlayment
Lay a high-quality underlayment over the entire roof deck. This acts as an additional barrier against moisture and provides a smooth surface for the metal panels.
Step 3: Install Starter Clips and Flashing
Install starter clips along the eaves and edge flashing around the perimeter of the roof. These components secure the first row of panels and help prevent water infiltration at the edges.
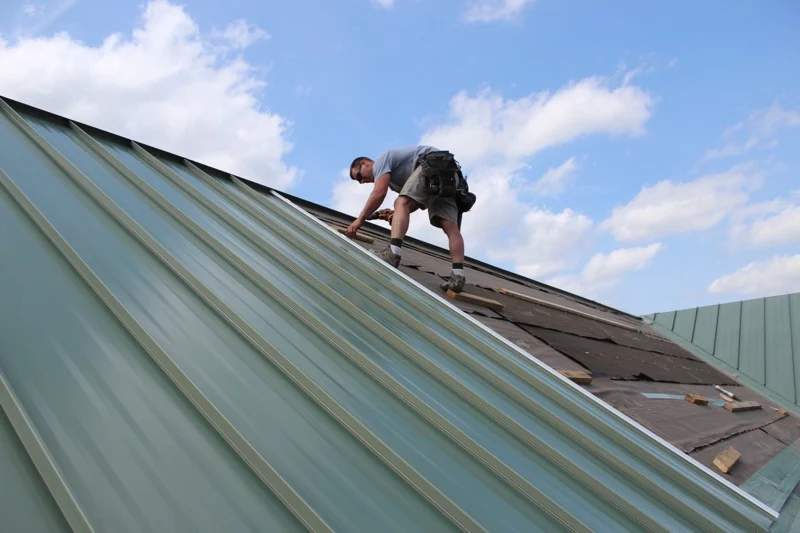
Step 4: Place and Secure Panels
Begin placing the standing seam metal panels at the eaves, working your way up to the ridge. Each panel should overlap the previous one, and the seams should interlock securely. Use clips to fasten the panels to the roof deck, ensuring that they are evenly spaced and properly aligned.
Step 5: Install Ridge Caps
Once all panels are in place, install ridge caps along the roof’s peak. These caps cover the seams at the ridge and provide a finished look while preventing water from entering the roof.
Step 6: Inspect and Seal
Thoroughly inspect the entire roof to ensure that all panels are securely fastened and that there are no gaps or loose seams. Apply sealant where necessary to enhance water resistance, particularly around penetrations such as vents and chimneys.
Maintenance Tips for Standing Seam Metal Roofing
Regular maintenance can extend the lifespan of your standing seam metal roof and keep it looking great. Key maintenance tasks include:
- Routine Inspections: Inspect the roof at least twice a year, looking for signs of damage, loose fasteners, or wear and tear.
- Cleaning: Remove debris, such as leaves and branches, from the roof surface to prevent water pooling and potential damage.
- Addressing Issues Promptly: If you notice any problems, such as leaks or loose seams, address them promptly to prevent further damage.
Conclusion
Understanding How Is Standing Seam Metal Roofing Installed can empower you to make informed decisions about your roofing project. This type of roofing offers numerous benefits, including durability, energy efficiency, and aesthetic appeal. By following the outlined steps and maintaining your roof regularly, you can enjoy a high-performance roofing system that enhances the value and comfort of your home.


Leave a Reply