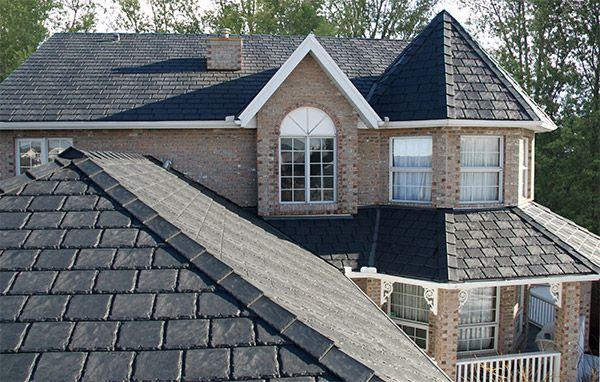
When it comes to roofing options, rubber roofing has gained popularity due to its durability, energy efficiency, and cost-effectiveness. If you already have shingles on your roof and are considering a new roofing solution, you might wonder. In this article, we will explore the feasibility, benefits, and considerations of installing rubber roofing over existing shingles.

Is Rubber Roofing Over Shingles Possible?
The short answer is yes, you can install rubber roofing over shingles. However, it’s essential to understand the process, benefits, and potential challenges that come with this choice.
The Benefits of Installing Rubber Roofing Over Shingles
- Cost-Effective: One of the primary advantages of installing rubber roofing over shingles is cost savings. By avoiding the labor-intensive and time-consuming process of shingle removal, you can significantly reduce your project expenses.
- Energy Efficiency: Rubber roofing is known for its reflective properties, which can help keep your home cooler in the summer and reduce energy costs for air conditioning.
- Durability: Rubber roofing is resistant to various weather conditions, such as UV rays, hail, and heavy rain. It is also less prone to cracking, peeling, or blistering compared to some traditional roofing materials.
- Quick Installation: Installing rubber roofing over shingles is generally quicker than a complete tear-off and re-roofing project. This means less disruption to your daily life and a faster transformation of your roof.
Considerations Before Installing Rubber Roofing Over Shingles
While installing this roof has its benefits, several key considerations must be addressed:
- Shingle Condition: The existing shingles must be in relatively good condition for the roofing installation to be effective. If the shingles are severely damaged or curling, it may not provide a suitable substrate for the rubber roofing.
- Weight: Rubber roofing can add extra weight to your roof. It’s crucial to ensure that your roof structure can support the additional load. Consult a structural engineer or roofing professional to assess your roof’s capacity.
- Roof Inspection: Before installation, have your roof inspected by a professional to identify any underlying issues that may need repair or reinforcement. This step is essential for long-term roofing integrity.
- Permits and Regulations: Check with your local building authorities for any permits or regulations related to installing this roof. Regulations can vary by location, and it’s essential to ensure compliance.
The Installation Process
The installation process for rubber roofing over shingles involves several key steps:
- Cleaning and Preparation: The existing shingles must be thoroughly cleaned and prepared. Any loose or damaged shingles should be secured or replaced.
- Underlayment: A layer of roofing underlayment is installed over the shingles. This underlayment provides an additional moisture barrier and helps create a smooth surface for the rubber roofing.
- Rubber Roof Installation: The rubber roofing material is installed over the underlayment. It is typically adhered to the surface using an adhesive or mechanically fastened, depending on the specific product and manufacturer’s guidelines.
- Flashing and Edging: Flashing and edging are installed to ensure water-tightness and protection at vulnerable areas, such as roof penetrations, valleys, and eaves.
- Inspection: After installation, the roof should be thoroughly inspected to ensure all seams are sealed correctly, and there are no visible issues.
Conclusion
Installing rubber roofing over shingles is a viable option for homeowners looking to upgrade their roofing system without the cost and labor of a complete tear-off. However, careful consideration of your existing shingles’ condition, the added weight, and local regulations is essential. When done correctly, this approach offers a long-lasting, energy-efficient roofing solution that enhances your home’s comfort and value. Consult a roofing professional to assess your situation and guide the installation process.


Leave a Reply