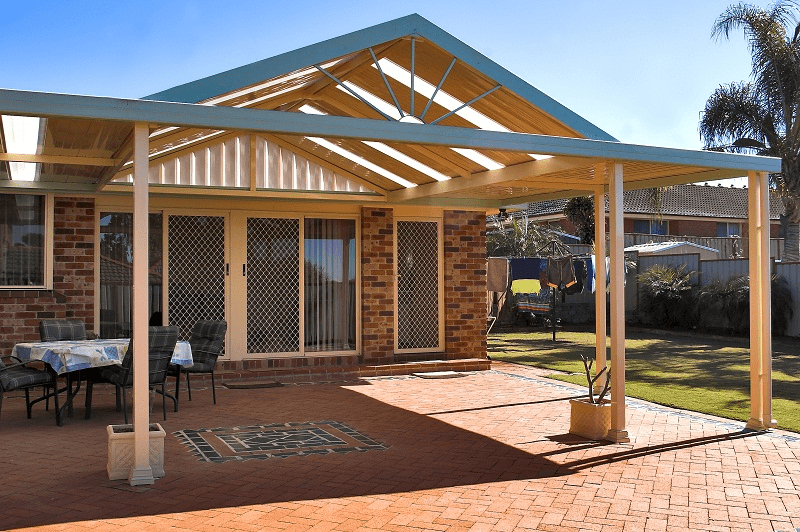
Whether you’re adding a new room, porch, garage, or even a covered patio, knowing how to attach a gable roof to the gable end of your house can be a game-changer. This approach is both structurally sound and visually appealing, especially if you’re aiming for an addition that blends seamlessly with your existing home design.
In this article, we’ll walk you through the complete process of how to attach gable roof to gable end of house, from initial planning and structural prep to installation tips and safety guidelines. Whether you’re a DIY enthusiast or simply want to understand the process before hiring a professional, this guide offers everything you need.
Read too: How Long Do Standing Seam Metal Roofs Last? A Comprehensive Guide to Durability and Longevity
Understanding the Gable Roof Structure
Before jumping into the “how to attach gable roof to gable end of house” process, it’s essential to understand what a gable roof is and why it’s a popular choice for residential builds.
A gable roof features two sloped sides that meet at a peak (or ridge), forming a triangular wall shape—called a gable—at each end. This roof type is:
- Easy to construct
- Great for drainage and snow runoff
- Ventilated naturally
- Compatible with attic space
When adding onto a home with a gable roof, attaching the new roof to the gable end wall allows for natural alignment and symmetry.
Why Attach to the Gable End?
Connecting a gable roof to the gable end of your house offers several benefits:
- Visual Consistency: The new roof matches the pitch and direction of the existing one.
- Easier Framing: The gable end wall provides a flat, framed surface for direct attachment.
- Structural Simplicity: Reduces complexity compared to joining two sloped planes (as in hip roof extensions).
Project Planning: What You Need to Know Before You Begin
Before you learn how to attach gable roof to gable end of house, there are a few critical planning steps.
1. Check Local Building Codes
Most municipalities require a building permit for structural changes to your home. Codes may specify:
- Maximum height
- Setback distances
- Wind and snow load ratings
- Structural connection methods
2. Determine Roof Pitch and Size
To blend properly with the existing structure:
- Match the roof pitch (angle of the slope) to the main house’s gable.
- Confirm the addition’s dimensions support this pitch.
- Use a roof pitch calculator or refer to architectural plans.
3. Choose the Right Materials
Using similar materials ensures a cohesive look and structure.
- Framing: Pressure-treated lumber or engineered wood
- Roofing: Asphalt shingles, metal, or tile to match existing
- Fasteners: Galvanized screws, hurricane ties, joist hangers
- Sheathing: OSB or plywood
- Underlayment: Synthetic roof wrap or felt paper
Tools You’ll Need
- Circular saw
- Framing nailer
- Hammer
- Power drill
- Chalk line
- Level
- Stud finder
- Ladder or scaffolding
- Safety gear (gloves, goggles, harness)
How To Attach Gable Roof To Gable End Of House – Step-by-Step Process
Here’s the full breakdown of how to attach gable roof to gable end of house safely and effectively.
Step 1: Prepare the Gable End Wall
Start by exposing and prepping the gable end wall of your home.
- Remove siding if necessary to reveal wall studs and sheathing.
- Ensure the existing gable wall is level, structurally sound, and free from damage or rot.
- Mark the height where the new roof’s ridge board will meet the existing structure.
Step 2: Install the Ledger Board or Header Beam
If the new gable roof will be supported by the existing gable wall:
- Attach a ledger board horizontally at the desired height.
- Secure it directly into wall studs using lag bolts or carriage bolts.
- Use flashing and sealants to prevent moisture infiltration.
If your addition requires an independent support beam, you’ll install a header beam supported by posts just beneath the gable end.
Step 3: Frame the New Wall (If Required)
For larger additions, you may be building an exterior wall beneath the new gable.
- Frame the wall with standard 2×4 or 2×6 studs.
- Ensure it’s plumb and level.
- Anchor it to the foundation and connect it to the existing structure.
Step 4: Set the Ridge Beam
The ridge beam runs horizontally at the top of the new gable and supports all roof rafters.
- Align the ridge beam with the pitch and height of the existing gable roof.
- Secure it to the ledger board or adjacent framing using joist hangers and hurricane ties.
- Use temporary supports while installing rafters.
Step 5: Cut and Install Rafters
This step defines the gable roof shape.
- Use a rafter calculator to determine exact lengths and angles.
- Cut the rafters with birdsmouth notches so they sit securely on the top plate of your new wall.
- Attach rafters on both sides of the ridge beam at 16″ or 24″ intervals.
- Secure with framing nails or brackets.
Step 6: Frame the Gable Ends
Create the triangular gable walls at each end of the roof:
- Install vertical studs in a triangular layout to match the roof slope.
- Cover with plywood or OSB sheathing.
- Add ventilation if required (gable vents or soffits).
Step 7: Add Roof Sheathing
Once the rafters are secure:
- Install roof sheathing (typically ½” OSB or plywood) over the rafters.
- Use staggered seams for added strength.
- Secure with roofing nails.
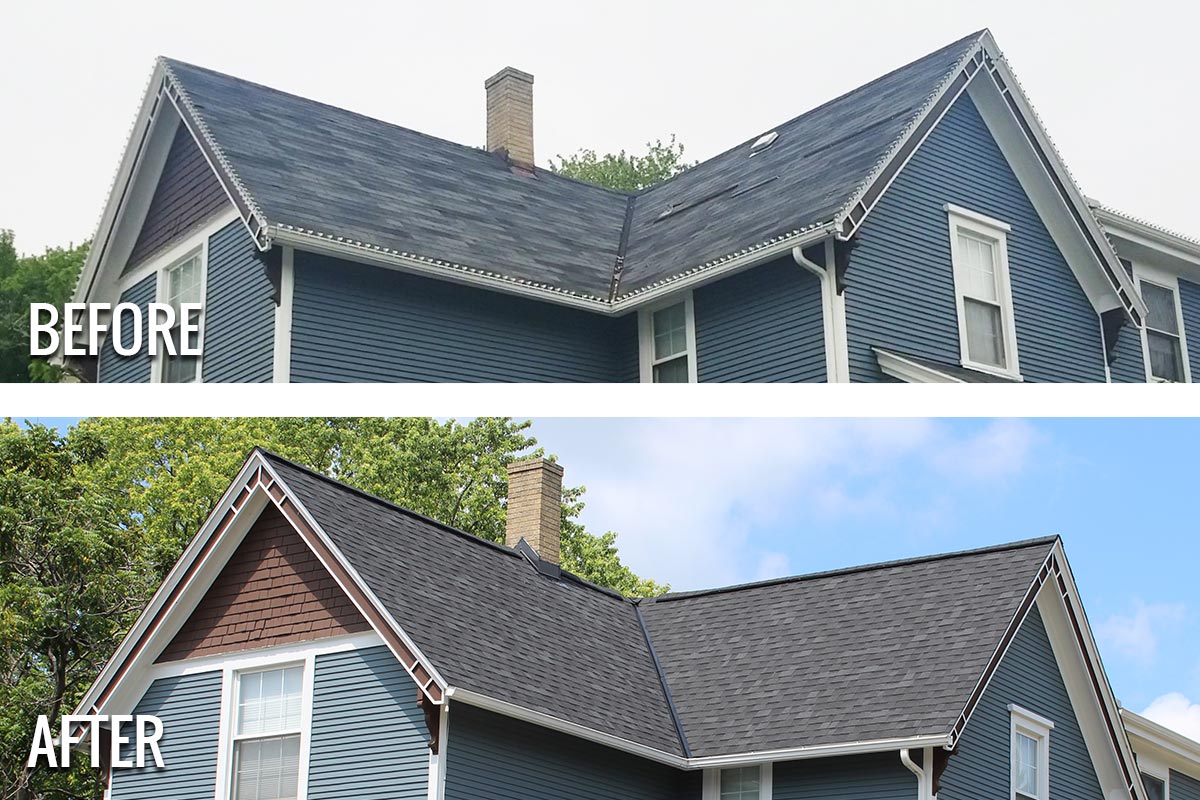
Step 8: Apply Roofing Materials
Match the roofing on your addition to your existing home:
- Add synthetic underlayment or tar paper
- Install shingles, metal panels, or tiles
- Include a ridge vent or cap for ventilation
Step 9: Weatherproof and Finish
- Install drip edge, flashing, and gutters
- Add siding to the gable ends
- Seal all edges and transitions with caulk
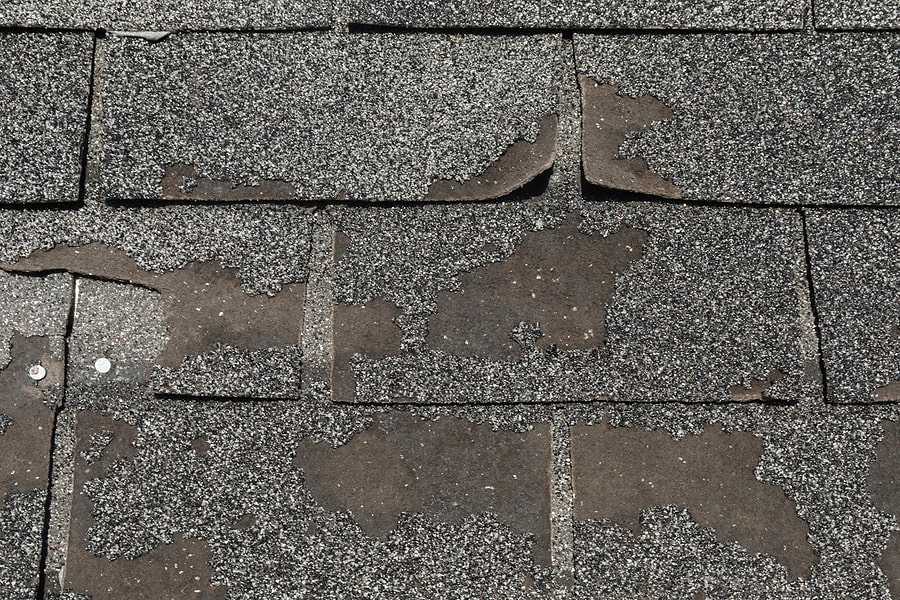
Common Mistakes to Avoid
When learning how to attach gable roof to gable end of house, be mindful of these pitfalls:
- Mismatched roof pitch: Leads to visual and structural issues.
- Improper flashing: Causes long-term water damage.
- Weak attachment points: Undermines structural integrity in storms or high winds.
- Using the wrong materials: Can reduce lifespan and increase repair costs.
Should You DIY or Hire a Pro?
Attaching a gable roof to a gable end is doable for experienced DIYers with framing and roofing experience. However, you should consider hiring a contractor if:
- You’re unsure of local codes or structural calculations
- Electrical or HVAC systems will be involved
- Your existing gable wall is made of masonry or irregular framing
- You don’t have the necessary tools or help
Benefits of a Gable-to-Gable Roof Connection
- Seamless look: Matches original home structure
- Cost-effective: Simpler than hip or shed roof attachments
- Expandable: Future attic or loft space possible
- Stronger drainage: Sloped design prevents water pooling
Maintenance Tips for Long-Term Durability
Once you’ve successfully attached the gable roof:
- Inspect flashing annually for gaps or wear
- Keep gutters clean and functional
- Watch for water staining inside the attic
- Repaint or reseal siding every few years
Conclusion: Building Confidence in Roof Extensions
Knowing how to attach gable roof to gable end of house opens up countless possibilities for home expansion. Whether you’re building a garage, sunroom, or additional living space, this method ensures your new structure is well-integrated with your existing home.
By following the right techniques, using quality materials, and planning ahead, you’ll create a durable and beautiful extension that adds both value and functionality to your home.

Leave a Reply