When planning an addition to your home or constructing a new porch or covered entrance, one of the most critical structural tasks is learning how to attach gable roof trusses to front of house properly. Trusses provide essential support and define the roof’s shape, so proper installation ensures durability, safety, and visual harmony with your existing home design.
This article breaks down everything you need to know about attaching gable roof trusses to the front of your house, including planning, materials, step-by-step installation, safety tips, and common mistakes to avoid. Whether you’re a hands-on DIYer or just want to understand the construction process better, this guide is your go-to resource.
Read too: How Long Do Standing Seam Metal Roofs Last? A Comprehensive Guide to Durability and Longevity
Understanding Gable Roof Trusses and Their Function
Before we dive into how to attach gable roof trusses to front of house, it’s important to understand what a truss is and why it’s used.
🔨 What Are Gable Roof Trusses?
A roof truss is a prefabricated triangular structure that supports the roof’s load. Gable roof trusses are used to form the pitched or triangular profile seen on most residential homes. The gable end refers to the vertical, triangular wall section at the front or back of the house under the roof.
✅ Benefits of Using Roof Trusses
- Faster to install than traditional rafter systems
- Factory precision ensures consistency and strength
- Lower material cost due to efficient design
- Can span large areas without interior load-bearing walls
- Easier to design with vaulted ceilings or attic storage
Why Attach Gable Trusses to the Front of Your House?
There are several reasons you may want to extend the gable roof line or install new trusses on the front of your home:
- To create a covered front porch
- To build a garage or living room extension
- To add curb appeal with a gable entryway
- To connect an add-on structure to your main roof
Regardless of the reason, properly securing roof trusses to your home’s framing is critical for stability, safety, and long-term performance.
Project Planning: Before You Begin
Proper preparation ensures your project goes smoothly. Here’s what you need to do before you start attaching gable trusses.
1. Get the Necessary Permits
Most municipalities require a building permit when adding structural elements to your home, especially involving the roof.
Check local regulations regarding:
- Wind and snow load requirements
- Fire safety codes
- Truss span limitations
- Inspection requirements
2. Evaluate Your Existing Structure
Before attaching anything, inspect the existing front wall or roof framing:
- Is it structurally sound and level?
- Are the studs or top plate solid?
- Is the foundation beneath stable?
If you’re attaching to older framing or siding, reinforcements may be necessary.
3. Choose the Right Trusses
Work with a structural engineer or truss manufacturer to determine:
- Correct span length
- Pitch (roof slope)
- Load ratings (dead load + live load)
- Truss spacing (typically 24” on center)
- Type: Common trusses, mono trusses, scissor trusses, etc.
Tools and Materials Needed
Tools:
- Hammer or nail gun
- Drill and bits
- Chalk line
- Carpenter’s square
- Circular saw
- Level
- Measuring tape
- Ladder or scaffolding
- Safety harness
Materials:
- Prefabricated gable trusses
- Hurricane ties or truss clips
- Framing nails or screws
- Metal connectors or truss hangers
- Sheathing (OSB or plywood)
- Roofing felt
- Shingles or roofing panels
- Flashing and sealant
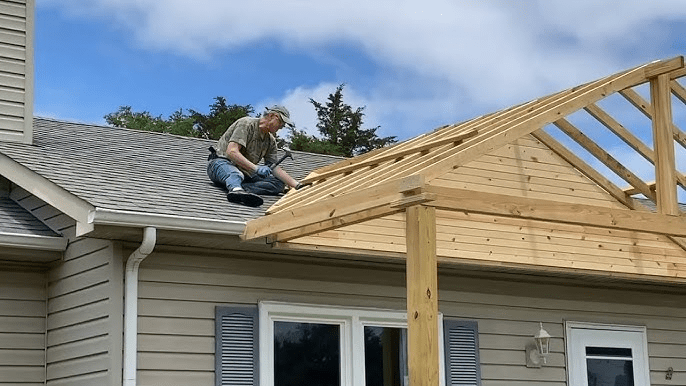
How To Attach Gable Roof Trusses To Front Of House – Step-by-Step Process
Now let’s dive into the actual process of how to attach gable roof trusses to front of house safely and efficiently.
Step 1: Mark the Truss Layout
Use a chalk line to mark where each truss will be placed along the top plate of the existing wall or extension frame. Ensure they are evenly spaced (typically 24” apart) and square to the front wall.
Step 2: Reinforce the Top Plate or Install Header
If you’re attaching trusses to an existing structure, verify the top plate is capable of carrying the added load. Reinforce with additional blocking or a double top plate if necessary.
For porch additions or new extensions, install a beam or header to support the front of the trusses.
Step 3: Raise and Position the First Truss
Start with the gable end truss, which is typically more solid and provides framing for siding and the overhang. This truss may have vertical studs built-in.
- With help, raise the truss and align it with your chalk line.
- Temporarily brace it in place with 2x4s nailed to the ground or framing.
- Ensure the truss is plumb and square.
Step 4: Attach the Truss to the Wall
Use hurricane ties, truss hangers, or metal plates to secure the truss to the top plate of the wall. These connectors prevent uplift from wind and ensure the truss stays fixed.
- Nail or screw each side securely
- Use manufacturer-specified fasteners
- Check for level again before securing permanently
Step 5: Install the Remaining Trusses
One by one, raise the next trusses into place and align them with your layout marks.
- Use a ridge board or temporary lateral bracing to hold spacing
- Continuously check for alignment and squareness
- Nail down each truss with proper connectors
Step 6: Add Lateral Bracing
To prevent racking or twisting, install lateral bracing:
- Bottom chord bracing (between trusses)
- Top chord bracing if recommended by the engineer
- Diagonal bracing from corners to mid-span
Step 7: Install Roof Sheathing
Lay roof decking (usually 7/16″ OSB or plywood) over the trusses:
- Stagger the seams for strength
- Leave a 1/8″ gap between panels to allow expansion
- Nail every 6” along edges and 12” in the field
Step 8: Add Roofing Underlayment and Finish
Once sheathing is in place:
- Roll out roofing felt or synthetic underlayment
- Install drip edge and flashing
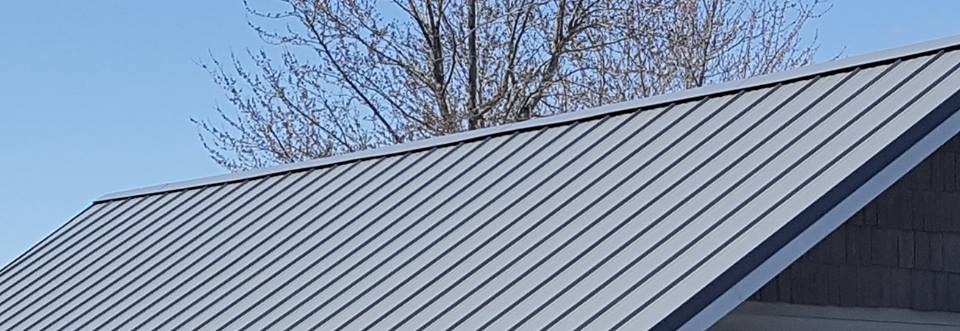
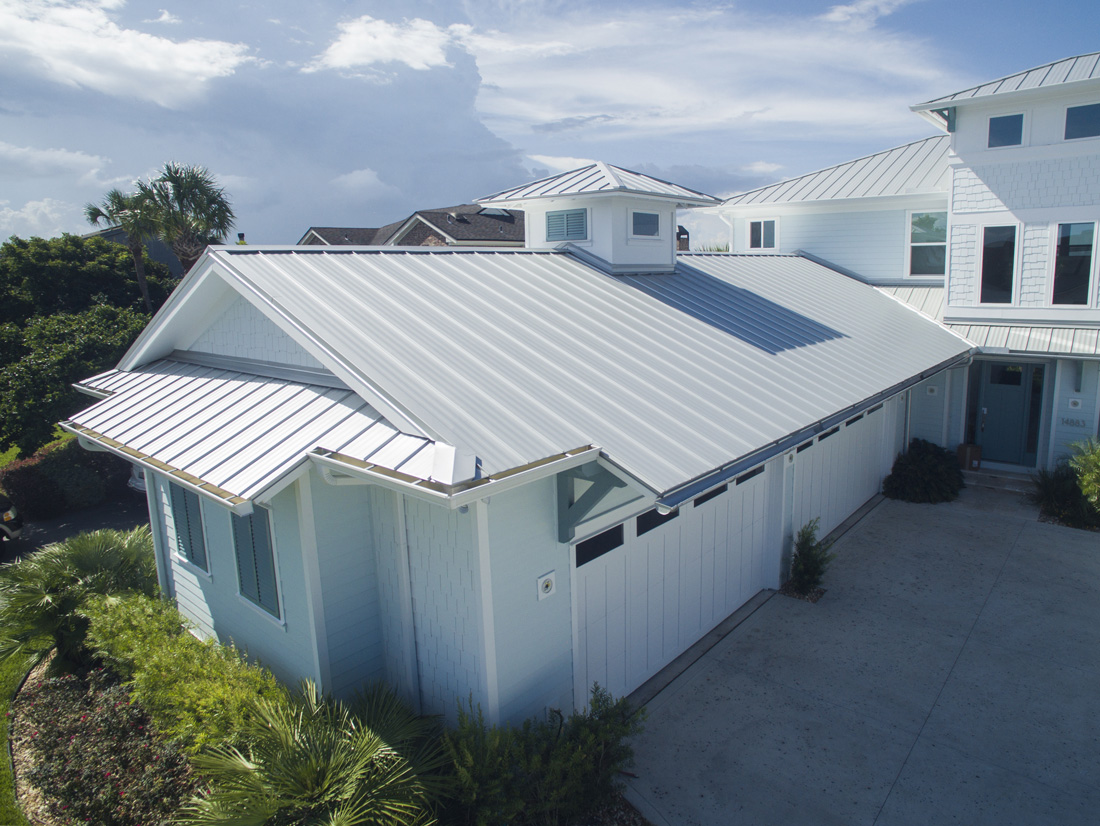
- Add your roofing material (shingles, metal, etc.)
- Cap the ridge with a ridge vent or matching material
Safety Tips for Attaching Roof Trusses
- Never work alone when lifting trusses—have a partner
- Wear a fall harness and secure ladders properly
- Watch for power lines or overhead obstructions
- Use temporary bracing to prevent tipping
- Don’t remove bracing until decking is fully installed
Common Mistakes to Avoid
When learning how to attach gable roof trusses to front of house, be sure to avoid these pitfalls:
- Skipping permits or inspections
- Improper fasteners or missing connectors
- Uneven truss spacing leading to roof issues
- Failing to brace properly during installation
- Misaligned pitch compared to existing roofline
Finishing the Gable End
After the roof is complete:
- Frame and sheath the gable end wall
- Add insulation and ventilation (gable vent or soffit)
- Install matching siding and trim
- Seal all joints with caulk to prevent water intrusion
Should You DIY or Hire a Professional?
If you have framing and roofing experience, you may be able to attach trusses as a DIY project. However, consider hiring a licensed contractor if:
- You’re dealing with a multi-level roof
- Local codes are strict
- You’re unfamiliar with structural loads
- You’re integrating trusses into a complex design
Conclusion: Building with Confidence
Knowing how to attach gable roof trusses to front of house empowers homeowners and builders alike to expand their living space safely and effectively. Whether you’re constructing a new porch, entryway, or room extension, proper truss installation is essential to structural integrity and long-term value.
Take time to plan, gather the right tools, and follow best practices. With careful execution, your gable roof extension will not only be secure and weatherproof but will also enhance your home’s curb appeal and functionality.

Leave a Reply