When you’re installing a new roof or replacing an old one, one small yet incredibly important component often gets overlooked: the starter strip. Despite its simplicity, it plays a major role in preventing water infiltration and ensuring the longevity of your roofing system. Learning how to attach the starter strip when roofing a house can make the difference between a durable, leak-resistant roof and one that requires early repairs.
In this complete guide, you’ll learn everything you need to know about starter strips, including why they matter, how to install them correctly, and common mistakes to avoid. Whether you’re a first-time DIY roofer or looking to understand the process before hiring a contractor, this article will provide clear, easy-to-follow steps.
Read too: How Long Do Standing Seam Metal Roofs Last? A Comprehensive Guide to Durability and Longevity
What Is a Starter Strip in Roofing?
A starter strip (or starter shingle) is a strip of material that is installed at the eave edge of the roof, just before the first course of shingles is laid. It serves several purposes:
- Seals the first row of shingles at the edge.
- Prevents wind uplift under the first course.
- Improves water shedding, keeping water away from the underlayment and sheathing.
Starter strips are usually made of asphalt-saturated felt, synthetic roofing materials, or specially manufactured strips that match the shingles.
Why Starter Strips Matter in Roof Installation
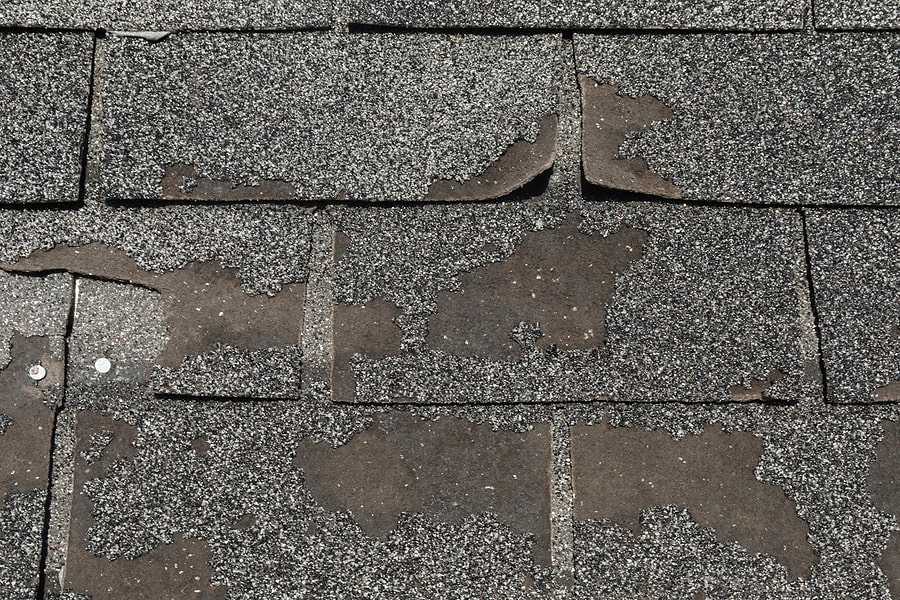
Many homeowners assume the first row of shingles will do the job alone—but without a proper starter strip, your roof is vulnerable to wind damage, water penetration, and shingle blow-off.
Key Benefits of Starter Strips:
- Adhesion: They provide a secure surface for the first row of shingles to adhere to.
- Wind Protection: Most starter strips have an adhesive strip to seal the leading edge and prevent wind from getting underneath.
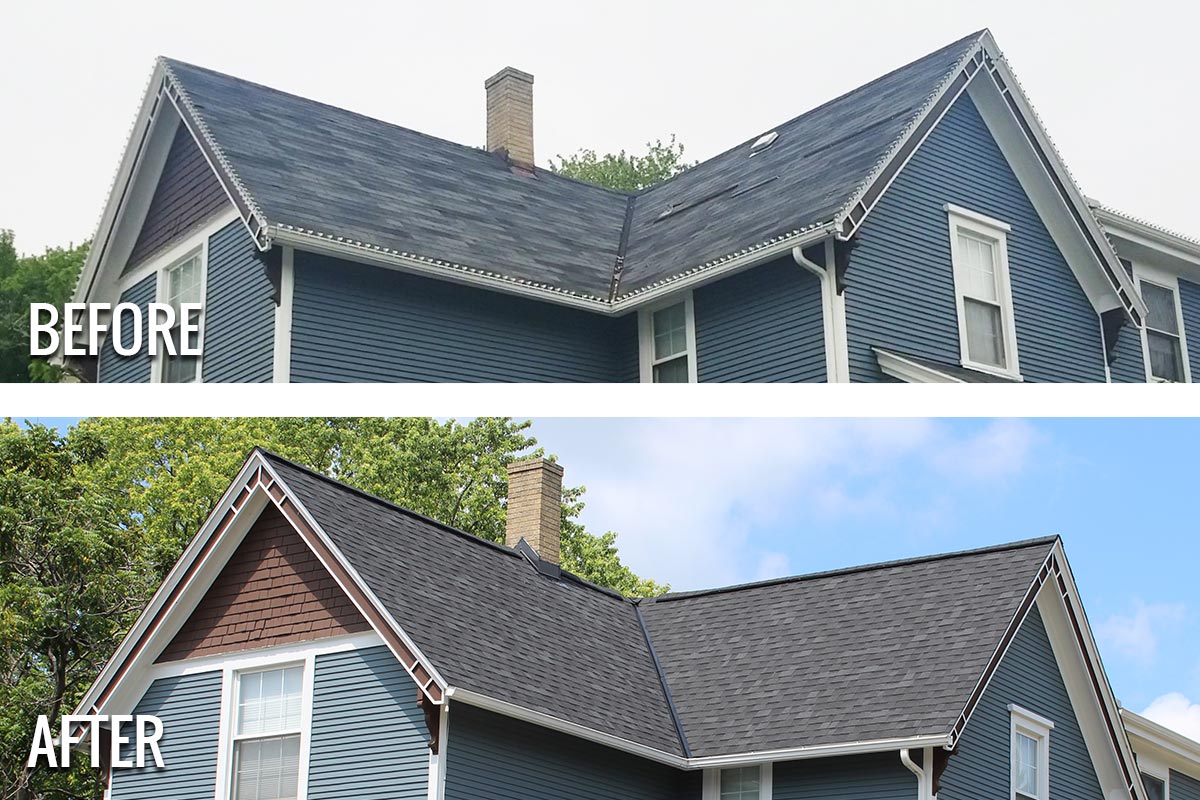
- Professional Finish: Using starter strips gives your roof clean lines and a uniform look.
This makes understanding how to attach the starter strip when roofing a house an essential part of the job.
How To Attach The Starter Strip When Roofing A House – Step-by-Step Process
Let’s dive into the practical side. Here is a detailed, step-by-step guide to installing starter strips the correct way.
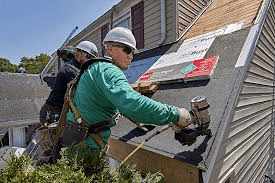
Step 1: Prepare the Roof Deck
Before doing anything, make sure the roof deck is clean, dry, and free of debris. Check for any damaged sheathing and replace it if necessary.
Install the underlayment (felt or synthetic) across the entire roof surface. The underlayment should run to the eaves and slightly overhang the drip edge if installed first.
Step 2: Install Drip Edge Flashing
The drip edge is a metal flashing that directs water away from the fascia and into the gutters. Install it along the eaves first before placing your starter strip.
Ensure:
- The drip edge runs along the roof edge and overlaps at corners by at least 2 inches.
- Fasten it with roofing nails every 12 inches.
- Drip edge goes under the underlayment at the eaves, and over at the rakes.
Step 3: Choose Your Starter Strip Material
You have two main options:
1. Pre-Manufactured Starter Strip Shingles
These are designed by roofing manufacturers to match your shingle brand and include adhesive on the proper edge.
2. Cutting Your Own Starter Strip
If you’re using standard 3-tab shingles, you can cut the tabs off a full shingle to make your own starter strip. This is a budget-friendly DIY method, though not as precise.
Whichever method you choose, be sure the adhesive strip is oriented correctly—closest to the eaves.
Step 4: Measure and Mark for Alignment
Using a chalk line or straight edge, mark a line along the eaves of the roof, about 1/2 to 3/4 inch from the edge. This will serve as your guide for placing the starter strip and maintaining a straight layout.
Step 5: Install the Starter Strip
Now it’s time to attach the starter strip to the roof deck. This is the most crucial step when learning how to attach the starter strip when roofing a house.
Tips for Proper Installation:
- Overhang the eaves by 1/4 to 3/4 inch to ensure water drips off the edge and doesn’t seep back under.
- Stagger the seams so they don’t line up with the first course of shingles.
- Use roofing nails spaced about 6-8 inches apart, placed high enough to avoid interfering with the adhesive strip.
Make sure the adhesive edge is facing up and toward the eave, so it seals to the bottom of the first row of shingles.
Step 6: Continue Around Roof Edges (Optional)
For added protection, especially in high-wind areas, extend starter strips up the rake edges of the roof as well. This reinforces shingle adhesion and reduces the chance of wind-driven rain getting underneath.
Step 7: Begin Installing First Course of Shingles
Once the starter strip is properly installed, you’re ready to begin laying the first row of shingles. These should align with the starter strip and be pressed firmly into the adhesive edge to create a sealed, wind-resistant bond.
Common Mistakes to Avoid When Installing Starter Strips
Avoiding these errors will ensure your roof performs well for years:
- Wrong orientation: Placing the adhesive edge away from the eave.
- No overlap: Not staggering the starter strip seams.
- Improper overhang: Too much or too little can cause water issues.
- Not using nails properly: Driving nails through the adhesive or placing them too close to the edge.
Starter Strip Installation on Hip and Gable Roofs
If you’re working on a hip or gable roof, install starter strips along all horizontal edges, not just the eaves. This includes:
- Hips (diagonal roof edges)
- Rake edges (sloped sides)
Extra protection in these areas can significantly improve roof wind resistance and appearance.
When to Use Ice and Water Shield With Starter Strips
In colder climates or areas prone to ice dams, it’s a good idea to install an ice and water shield along the eaves before laying down the starter strip. This provides added waterproofing protection.
Install the ice and water shield directly to the roof deck and let it overlap the drip edge slightly. The starter strip then goes on top of the shield, completing a layered barrier system.
Starter Strip Compatibility with Roofing Shingles
Most major shingle manufacturers (like GAF, Owens Corning, CertainTeed) make starter strips designed to match their shingles. For warranty compliance and optimal sealing:
- Always match starter strips to shingle brand when possible.
- Follow the manufacturer’s installation guidelines.
Final Thoughts on How To Attach The Starter Strip When Roofing A House
Installing a starter strip might seem like a small task, but it’s essential to the health and lifespan of your roof. When you understand how to attach the starter strip when roofing a house, you set a strong foundation for the entire shingle system.
To recap:
- Always begin with proper prep and tools.
- Use quality materials—pre-made strips or cleanly cut tabs.
- Maintain proper alignment and overhang.
- Never skip the adhesive seal strip—it’s key to performance.
A properly installed starter strip means you’ll have fewer leaks, longer-lasting shingles, and peace of mind when the next storm hits.
Leave a Reply