Tiny houses are increasingly popular for their efficiency, affordability, and minimalist lifestyle benefits. One of the most critical aspects of tiny house construction is the roof. A sloped roof not only enhances the aesthetic appeal of the house but also ensures proper water drainage, provides additional interior space, and improves energy efficiency. If you’re wondering how to build a sloped roof for a tiny house, this comprehensive guide will walk you through every step, from planning and materials to construction tips and finishing touches.
How To Build A Sloped Roof For A Tiny House: Understanding the Basics
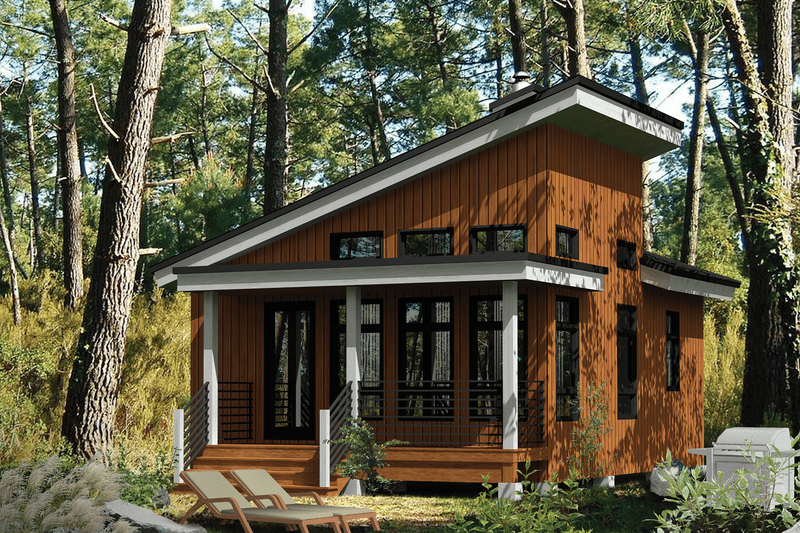
A sloped roof, also called a pitched roof, consists of two or more angled surfaces that meet at a ridge. Unlike flat roofs, sloped roofs allow water, snow, and debris to flow off naturally, reducing maintenance and preventing leaks.
Read too: Is It Reasonable to Ask the Seller to Replace the Roof?
Key Benefits of a Sloped Roof
- Water Drainage: Slopes prevent water accumulation, minimizing leaks and wood rot.
- Increased Interior Space: Steeper slopes allow for lofts or extra storage.
- Energy Efficiency: Proper slope and ventilation help regulate indoor temperature.
- Aesthetic Appeal: Sloped roofs offer classic or modern architectural styles.
Understanding these advantages will help you plan a roof that meets both functional and design needs for your tiny house.
Materials You Will Need
Before starting construction, gather all essential materials:
- Lumber: 2x4s or 2x6s for rafters and framing
- Plywood or OSB Sheets: For roof decking
- Roofing Material: Asphalt shingles, metal sheets, or corrugated panels
- Roofing Nails or Screws: Galvanized to resist corrosion
- Flashing and Sealant: For waterproofing edges and joints
- Insulation: Foam boards or fiberglass for energy efficiency
- Roof Ventilation Components: Ridge vents, soffit vents, or gable vents
Having materials ready ensures a smoother construction process and a more durable roof.
Step 1: Planning the Roof Pitch and Dimensions
The roof pitch is the angle or slope of the roof, which influences drainage, structural stability, and interior space. Typical pitch recommendations:
- Low Slope (10°–20°): Minimalist design, light rainfall areas
- Moderate Slope (20°–30°): Suitable for most climates
- Steep Slope (30°–45°): Ideal for heavy rainfall or snowy regions
Calculate rafter lengths based on roof width, desired pitch, and overhang. Tools like pitch calculators or simple trigonometry can help ensure precise measurements.
Step 2: Building the Wall Frames
A sloped roof requires walls of different heights:
- Higher Wall: Typically at the front to create the main slope
- Lower Wall: At the back or opposite side to achieve the angle
Steps:
- Construct wall frames using 2×4 or 2×6 lumber
- Attach walls to the tiny house base securely with anchors or brackets
- Ensure walls are level and plumb for accurate roof alignment
The difference in wall height determines the roof’s slope and impacts interior usability.
Step 3: Installing Rafters
Rafters are crucial for supporting the roof and maintaining the slope:
- Cut Rafters to Length: Account for the slope and roof overhang
- Attach Rafters: Secure the top to the ridge beam or higher wall and bottom to the lower wall
- Spacing: Typically 16”–24” apart for load-bearing stability
- Reinforce: Add collar ties or cross beams for extra strength in windy or snowy areas
Correct rafter installation ensures structural integrity and prevents sagging over time.
Step 4: Adding Roof Decking
Once rafters are in place, attach roof decking:
- Use plywood or OSB sheets as the base layer
- Start at the bottom edge and work upward
- Secure with nails or screws, ensuring proper overlap and alignment
- Leave slight expansion gaps if needed
Decking forms the foundation for the final roofing material and contributes to overall roof strength.
Step 5: Waterproofing and Installing Roofing Material
Protect your tiny house from the elements with proper waterproofing:
- Apply Underlayment: Roofing felt or synthetic membranes protect against moisture
- Install Flashing: Seal edges, corners, and joints
- Attach Roofing Material: Choose between asphalt shingles, metal sheets, or corrugated panels
- Secure Properly: Use appropriate fasteners to prevent wind damage
This step is essential for a long-lasting and leak-proof roof.
Step 6: Insulation and Ventilation
For energy efficiency and comfort:
- Install insulation between rafters before finishing the interior ceiling
- Use ridge vents, soffit vents, or gable vents for airflow
- Consider reflective insulation for hot climates to reduce heat gain
Proper insulation and ventilation improve interior temperature control and prevent moisture buildup.
Step 7: Interior Ceiling and Finishing
After roofing and insulation, finish the interior:
- Install ceiling panels using plywood, tongue-and-groove boards, or drywall
- Paint or stain for aesthetic appeal and additional protection
- Add lighting fixtures or skylights for natural light
Finishing touches enhance the interior usability and overall appearance of the tiny house.
Tips for a Successful Sloped Roof
- Use Quality Lumber: Pressure-treated or kiln-dried lumber resists warping
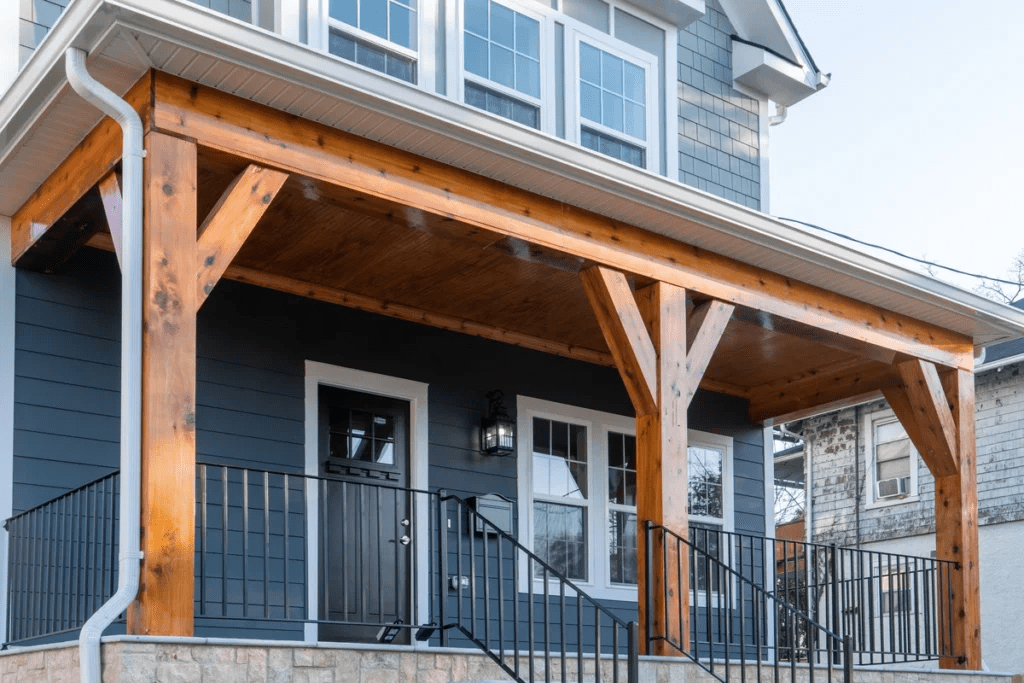
- Plan Overhangs: Protect walls from rain and sun exposure
- Temporary Supports: Use braces while installing rafters for safety
- Adapt for Climate: Consider snow, wind, and rain loads when planning slope and reinforcement
These tips help ensure your roof is durable, safe, and functional.
Advantages of a Sloped Roof for Tiny Houses
- Efficient Water Drainage: Reduces leaks and wood rot
- Extra Interior Space: Allows lofts or storage areas
- Energy Efficiency: Promotes better ventilation and insulation options
- Aesthetic Versatility: Fits both modern and traditional tiny house designs
Sloped roofs provide both functional and visual benefits, making them ideal for tiny homes.
How To Build A Sloped Roof For A Tiny House: Final Thoughts
Learning how to build a sloped roof for a tiny house is a vital skill for anyone building their own small home. From planning the pitch and wall heights to installing rafters, decking, waterproofing, and insulation, every step contributes to a durable and functional roof.
A well-built sloped roof ensures proper water drainage, increases usable interior space, and adds aesthetic value. With proper planning, quality materials, and attention to detail, you can construct a roof that enhances both the functionality and beauty of your tiny house.
Whether you’re a beginner or an experienced builder, following these steps will help you achieve a strong, efficient, and stylish sloped roof for your tiny home.

Leave a Reply