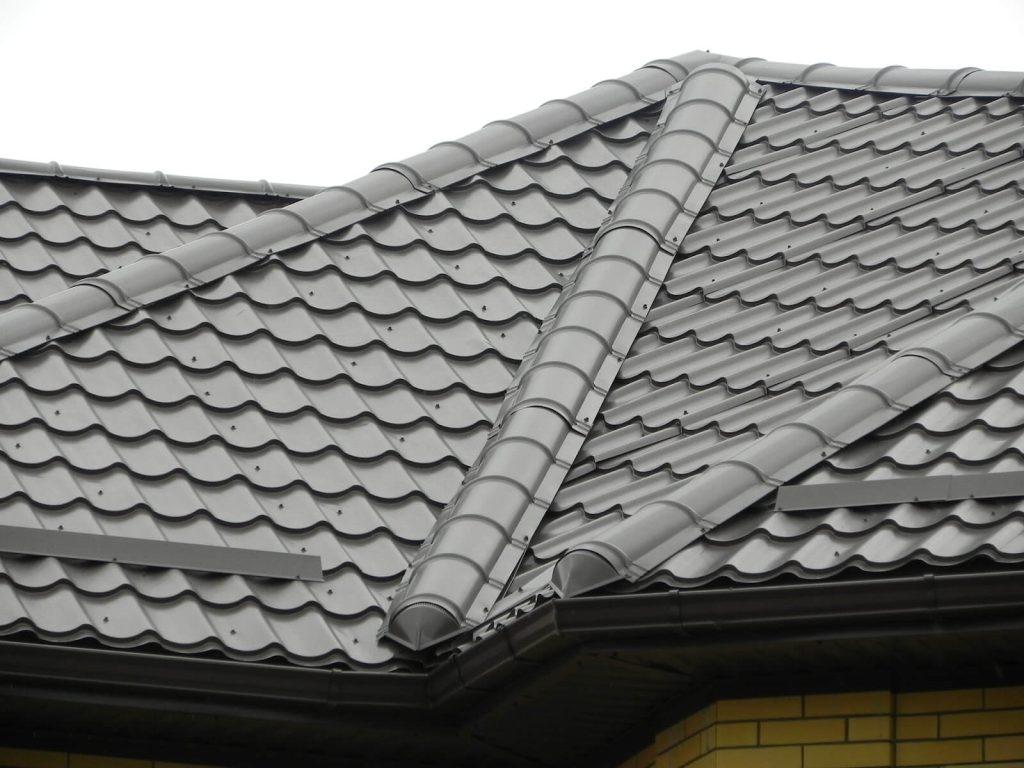
A well-installed roof valley is crucial for ensuring the proper drainage of rainwater on your metal roof. If you’re wondering how to install a valley on a metal roof, you’ve come to the right place. In this comprehensive guide, we will walk you through the step-by-step process, providing valuable insights and tips for a successful installation.

Understanding Roof Valleys
A roof valley is the V-shaped junction between two sloping sections of a roof. It’s a critical component of the roofing system because it directs rainwater and snowmelt away from the roof’s surface, preventing leaks and water damage.
Materials and Tools You’ll Need
Before you begin the installation, gather the necessary materials and tools:
Materials:
- Metal valley flashing
- Roofing underlayment
- Roofing nails or screws
- Sealant or roofing cement
- Metal roofing panels
Tools:
- Measuring tape
- Chalk line
- Tin snips or metal shears
- Screwdriver or drill with a screwdriver bit
- Roofing hammer or nail gun
- Safety gear (gloves, safety glasses, and a ladder)
Step 1: Prepare the Roof Surface
Start by preparing the roof surface where you intend to install the valley. Ensure that the area is clean and free from any debris, old roofing materials, or sharp objects that could potentially damage the underlayment.
Step 2: Measure and Mark
Measure the length of the valley on the roof and mark the centerline using a chalk line. The centerline will serve as a guide for the installation.
Step 3: Install the Underlayment
Lay down a layer of roofing underlayment along the centerline. This underlayment will provide an additional barrier against water infiltration and protect the roof deck.
Step 4: Cut the Valley Flashing
Using your tin snips or metal shears, cut the metal valley flashing to the desired length. Ensure that it extends beyond the roofline on both sides of the valley to direct water into the gutters effectively.
Step 5: Position and Secure the Valley Flashing
Place the valley flashing over the underlayment, aligning it with the centerline you marked earlier. Secure the flashing in place using roofing nails or screws. Be sure to fasten it along the edges to prevent it from lifting during strong winds.
Step 6: Overlap Seams
If your roof valley is longer than a single piece of valley flashing, you’ll need to overlap the seams. Overlap the adjacent pieces by at least 6 inches and secure them with screws or nails. Apply a bead of sealant or roofing cement along the seam to ensure a watertight seal.
Step 7: Install Roofing Panels
Now that the valley flashing is securely in place, you can begin installing the metal roofing panels. Trim the panels as needed to fit the valley and ensure that they overlap the valley flashing by at least 4 inches.
Step 8: Secure Roofing Panels
Fasten the roofing panels to the roof deck using roofing screws or nails, following the manufacturer’s recommendations. Be careful not to over-tighten the fasteners, as this can damage the panels.
Step 9: Seal Joints and Fasteners
Apply sealant or roofing cement to all joints, seams, and fasteners to create a watertight seal. Pay special attention to the areas where the roofing panels meet the valley flashing.
Step 10: Final Inspection
Once you’ve completed the installation, perform a final inspection to ensure that all components are securely fastened and sealed. Check for any gaps or areas that may require additional sealant.
Conclusion
Installing a valley on a metal roof is a precise process that requires careful measurement and attention to detail. When done correctly, it helps ensure proper water drainage and protects your roof from leaks and water damage. If you’re unsure about your roofing skills, it’s always a good idea to consult with a professional roofer to ensure a successful installation. With the valley in place, your metal roof will be better equipped to handle the challenges of Florida’s weather and provide long-lasting protection for your home.


Leave a Reply