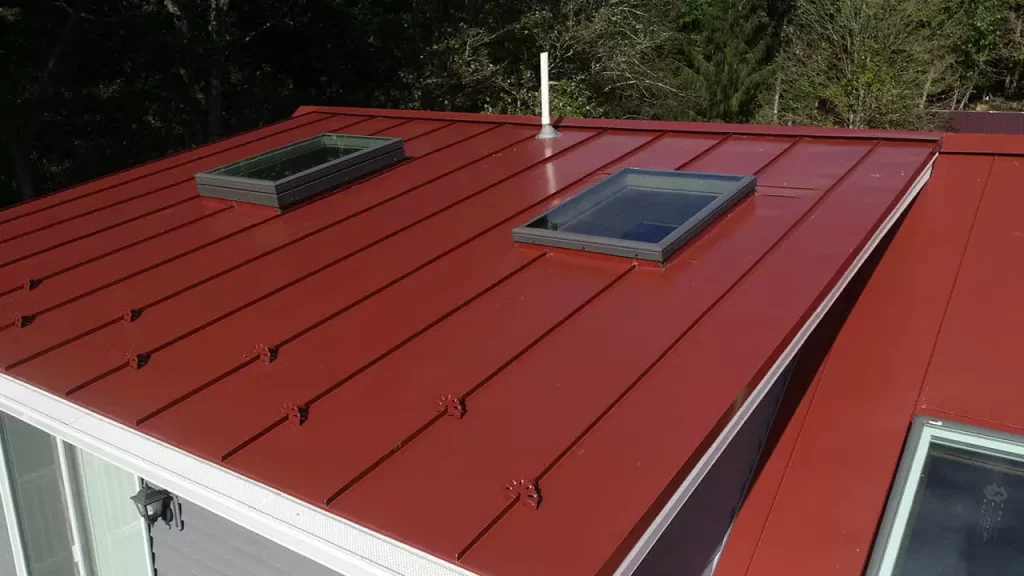
Flat roofs have become increasingly popular for modern architectural designs. However, one common issue with flat roofs is their vulnerability to water leaks. To tackle this problem and enhance the aesthetics of your flat roof, consider installing corrugated metal roofing. In this comprehensive guide, we will take you through the step-by-step process of how to install corrugated metal roofing on a flat roof.

Understanding the Benefits of Corrugated Metal Roofing
Before we dive into the installation process, let’s first understand why corrugated metal roofing is an excellent choice for your flat roof:
- Durability: Corrugated metal roofing is incredibly durable and can withstand harsh weather conditions, including heavy rain and snow.
- Leak-Resistance: The corrugated design ensures water runs off efficiently, reducing the risk of leaks that can be common with flat roofs.
- Low Maintenance: Metal roofs are relatively low maintenance and can last for decades with minimal care.
- Energy Efficiency: Metal roofing reflects sunlight, helping to keep your home cooler in the summer and potentially reducing your energy bills.
Now, let’s proceed to the step-by-step guide on how to install corrugated metal roofing on your flat roof.
Step 1: Safety First
Before you begin any roofing project, safety should be your top priority. Make sure to wear appropriate safety gear, including gloves, a hard hat, and non-slip footwear. If your roof is particularly high, consider using fall protection equipment, such as harnesses and safety lines.
Step 2: Gather Your Materials and Tools
To install corrugated metal roofing on a flat roof, you will need the following materials and tools:
- Corrugated metal roofing panels
- Roofing screws with rubber washers
- Metal roofing trim
- Measuring tape
- Chalk line
- Circular saw with a metal-cutting blade
- Cordless drill with a screwdriver bit
- Screwdriver
- Roofing felt
- Roofing adhesive
Step 3: Measure and Prepare the Roof
Start by measuring the dimensions of your flat roof. Carefully mark the layout and plan the panel placements to ensure proper alignment. Use a chalk line to create guidelines for positioning the panels.
Step 4: Install the Roofing Felt
Before laying the metal panels, cover the entire flat roof with roofing felt. Ensure that it’s securely fastened using roofing adhesive or appropriate fasteners. The roofing felt acts as an additional protective layer against moisture.
Step 5: Cutting and Installing the Metal Panels
Using a circular saw with a metal-cutting blade, cut the corrugated metal panels to the required size. Place the panels on the roof, ensuring they overlap slightly and align with the chalk lines you created earlier. Secure the panels in place using roofing screws with rubber washers. Make sure to space the screws evenly to prevent sagging or gaps.
Step 6: Apply Roofing Trim
To give your corrugated metal roofing a finished look and prevent water infiltration, install metal roofing trim along the edges and corners. The trim pieces should be attached using appropriate fasteners or screws.
Step 7: Inspect and Clean
Once all the panels and trim are in place, inspect the entire installation for any loose screws or potential issues. Clean the roof to remove any debris, ensuring your new corrugated metal roofing looks its best and functions optimally.
Conclusion: Enjoy Your New Corrugated Metal Roof
Installing corrugated metal roofing on a flat roof is an effective way to enhance your home’s durability and aesthetics. It provides the strength to withstand the elements while adding a modern, sleek look to your property. By following these steps and taking the necessary safety precautions, you can successfully transform your flat roof with corrugated metal roofing, ensuring protection and style for years to come.


Leave a Reply