Installing metal roofing over plywood is a popular choice for homeowners seeking a durable and long-lasting roofing solution. Whether you’re replacing an old roof or constructing a new building, knowing how to properly install metal roofing over plywood is essential for a successful and reliable installation. In this article, we will provide a step-by-step guide on how to install metal roofing over plywood, ensuring a secure and weather-resistant roof that will stand the test of time.
Preparing for the Installation:
Gather the Necessary Materials: Before starting the installation process, gather all the required materials, including metal roofing panels, roofing screws, roofing underlayment, flashing, ridge caps, and any necessary tools such as a drill, tape measure, and snips. Ensure that you have the correct type and size of metal roofing panels for your specific project.
Prepare the Plywood Surface: Inspect the plywood surface to ensure that it is clean, dry, and free from any debris or protruding nails. Repair or replace any damaged or deteriorated plywood. Install a layer of roofing underlayment over the plywood to provide an additional moisture barrier and protect the roof from potential leaks.
Installing Metal Roofing Over Plywood:
Step 1: Measure and Mark the Roof: Begin by measuring the roof dimensions and marking the starting point of the first metal roofing panel. Take into account the roof slope and overhang requirements. Plan the layout and ensure proper alignment of the panels.
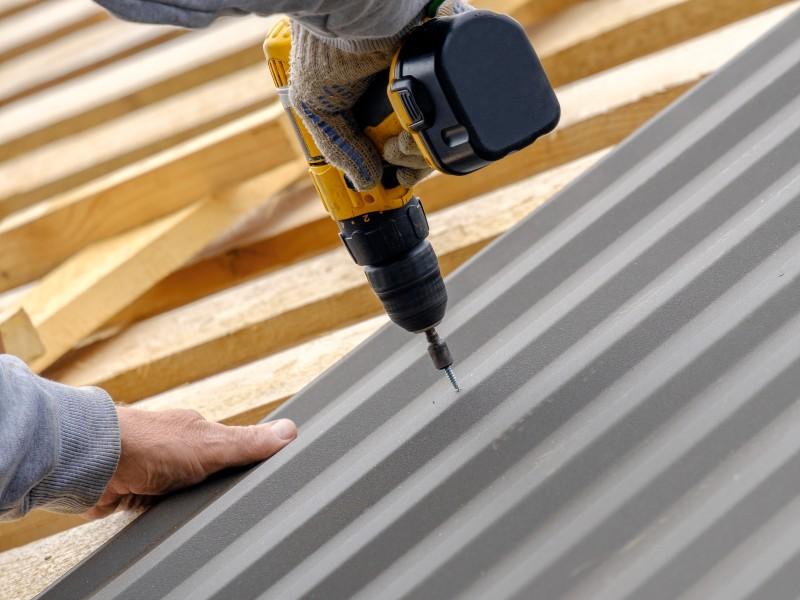
Step 2: Install the First Metal Roofing Panel: Starting at the bottom edge of the roof, align the first metal roofing panel according to the marked position. Secure the panel to the plywood using roofing screws, maintaining recommended spacing as per the manufacturer’s guidelines. Repeat this process for the remaining panels, overlapping each panel to provide proper water runoff.
Step 3: Install Flashing and Ridge Caps: Install flashing along the roof edges, valleys, and penetrations to provide additional weather protection. Secure the flashing using appropriate screws or nails. Install ridge caps along the roof peak to create a watertight seal and a finished appearance.
Step 4: Trim and Finish: Once all the metal roofing panels are installed, trim any excess material as needed. Use snips or a metal cutting tool to achieve clean and precise cuts. Inspect the entire roof to ensure that all panels are properly installed and securely fastened.
Maintaining and Extending the Lifespan of the Metal Roof:
To ensure the longevity and performance of your metal roof, regular maintenance is essential. Here are some maintenance tips to consider:
- Clean the Roof: Remove debris, leaves, and dirt from the roof surface regularly. Use a soft-bristle broom or a low-pressure power washer to avoid damaging the metal panels.
- Inspect for Damage: Periodically inspect the roof for any signs of damage, such as loose screws, rust spots, or dents. Replace any damaged panels or fasteners promptly to prevent further issues.
- Preventive Measures: Apply a protective coating or paint to enhance metal roof durability and resistance to corrosion. Consult with a professional for the appropriate coating or paint products.
Conclusion:
Installing metal roofing over plywood is a rewarding and practical choice for homeowners. By following the guide and ensuring proper preparation, installation, and maintenance, you can achieve a secure, weather-resistant, and durable metal roof. Whether DIY or hiring professionals, a well-installed metal roof over plywood enhance the beauty, value, and provides peace of mind for your home.


Leave a Reply