Installing roof sheathing is a critical step in roofing that provides a sturdy foundation for the final roofing material. Proper installation ensures that the roof is durable, weather-resistant, and capable of supporting the weight of shingles or other roofing materials. If you’re planning to tackle this project yourself, understanding the correct procedures and techniques is essential. In this comprehensive guide, we’ll walk you through how to install roof sheathing, from preparation to completion.
What is Roof Sheathing?
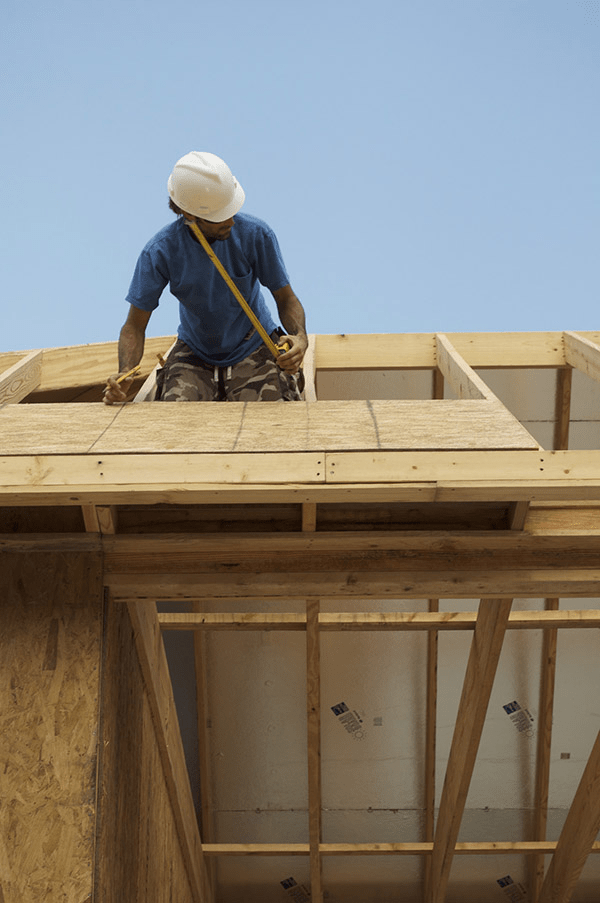
Roof sheathing, also known as roof decking, is the layer of material installed directly on top of the roof rafters or trusses. It serves as the base for the roofing material and plays a crucial role in providing structural integrity to the roof. Sheathing is typically made from plywood, oriented strand board (OSB), or, in some cases, solid wood boards.
Read too: Decoding Timelines: How Long Does It Take To Replace A Roof and What to Expect
Benefits of Proper Roof Sheathing Installation
Proper installation of roof sheathing offers several advantages:
- Structural Support: Roof sheathing helps distribute the weight of roofing materials evenly across the rafters or trusses, providing structural stability to the roof.
- Weather Protection: Sheathing acts as a barrier against wind, rain, and snow, helping to protect the interior of the building from water damage.
- Improved Insulation: When combined with appropriate insulation materials, roof sheathing helps maintain indoor temperatures and reduce energy costs.
- Enhanced Roofing Performance: A well-installed sheathing provides a solid base for shingles or other roofing materials, ensuring better adhesion and performance.
Tools and Materials Needed
Before you begin the installation process, make sure you have the following tools and materials:
Tools
- Tape measure
- Chalk line
- Circular saw or hand saw
- Hammer or nail gun
- Roofing nails or screws
- Safety glasses and gloves
- Ladder
- Utility knife
- Level
Materials
- Roof sheathing boards (plywood, OSB, or solid wood)
- Roofing underlayment (felt paper or synthetic underlayment)
- Roof flashing (for areas like chimneys and skylights)
- Sealant or roofing adhesive (if required)
Step-by-Step Guide: How to Install Roof Sheathing
1. Prepare the Roof Deck
Before installing the sheathing, ensure that the roof deck is clean and free of debris. Remove any old roofing material or remnants of previous installations. Check the condition of the rafters or trusses and repair any damaged sections before proceeding.
2. Measure and Cut Sheathing Boards
Measure the dimensions of your roof to determine the size of the sheathing boards required. Typically, roof sheathing comes in 4×8 foot sheets, but custom sizes may be needed for certain roofs.
Using a circular saw or hand saw, cut the sheathing boards to fit the dimensions of your roof. Make sure to measure accurately to avoid gaps or overlaps between the boards.
3. Install the First Row of Sheathing
Start by installing the first row of sheathing at the eaves of the roof. Position the boards perpendicular to the rafters or trusses, ensuring that they are centered on the supports. Leave a small gap (about 1/8 inch) between the edge of the board and the roof’s edge to allow for expansion and contraction.
Secure the sheathing boards in place using roofing nails or screws. Nails should be driven in at intervals of about 6-8 inches along the edges and 12 inches in the center. If you’re using screws, follow the manufacturer’s recommendations for spacing.
4. Continue with Subsequent Rows
Continue installing additional rows of sheathing, working your way up the roof. Stagger the joints between rows to provide better structural support and prevent gaps. Ensure that each row is level and properly aligned with the previous one.
If you encounter any obstacles such as vents or skylights, cut the sheathing boards to fit around them. Use flashing and sealant to ensure that these areas are properly sealed and weather-resistant.
5. Secure the Sheathing
Once all the sheathing boards are installed, double-check that they are securely fastened and level. Make any necessary adjustments to ensure a smooth and even surface.
Inspect the roof for any gaps or loose sections and make repairs as needed. Ensure that the sheathing is properly aligned and that there are no protruding nails or screws that could damage the roofing material.
6. Install Roofing Underlayment
After the sheathing is installed, cover it with roofing underlayment. This layer acts as an additional barrier against moisture and helps protect the sheathing from water damage. Roll out the underlayment over the sheathing, overlapping each row by at least 6 inches. Secure the underlayment in place with roofing nails or staples.
7. Install Flashing and Final Roofing Material
Install roof flashing around chimneys, vents, and other penetrations to ensure that water does not leak into the building. Follow the manufacturer’s instructions for proper installation and sealing.
Finally, install the final roofing material, such as shingles or metal panels, according to the manufacturer’s guidelines. Make sure to follow all recommended installation procedures to ensure a long-lasting and weather-resistant roof.
Tips for a Successful Installation
- Safety First: Always prioritize safety when working on the roof. Use proper fall protection equipment, work with a partner, and follow safety guidelines.
- Check Local Codes: Ensure that your installation meets local building codes and regulations. Consult with a professional if you have any questions about compliance.
- Weather Conditions: Avoid installing roof sheathing in adverse weather conditions, such as heavy rain or high winds. Wait for favorable weather to ensure a safe and effective installation.
- Regular Inspections: After installation, periodically inspect the roof for signs of damage or wear. Address any issues promptly to maintain the integrity of your roof.
Conclusion
Understanding how to install roof sheathing is essential for anyone undertaking a roofing project. Proper installation ensures that your roof provides the necessary support, protection, and longevity. By following the steps outlined in this guide and paying attention to detail, you can achieve a well-constructed roof that enhances the durability and functionality of your home. Whether you’re a DIY enthusiast or a professional contractor, these guidelines will help you achieve a successful and reliable roofing installation.


Leave a Reply