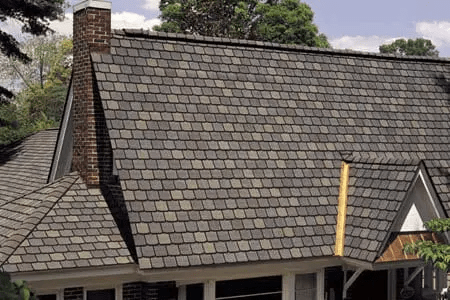
Installing roof shingles is one of the most important home improvement projects you can undertake to protect your property from the elements. Whether you’re repairing a small section or re-shingling your entire roof, knowing how to install roof shingles This Old Housethis Old House style can help you achieve a professional-looking, durable result.
Read too: Hail Damage Roof Repair: Essential Guide to Restoring Your Home’s Protection
In this detailed guide, we’ll walk you through planning, tools, materials, safety, and the exact steps needed to complete the installation. By the end, you’ll feel confident enough to take on this project—or at least understand the process well enough to hire a contractor with the right knowledge.
Why Roof Shingles Matter
Roof shingles are more than just a cosmetic covering. They:
- Protect your home from water, wind, and UV damage.
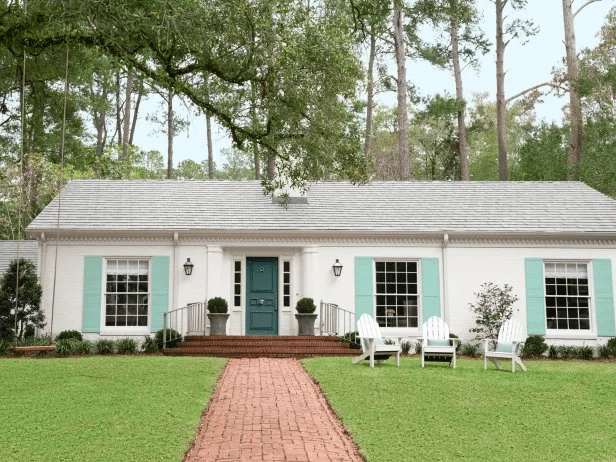
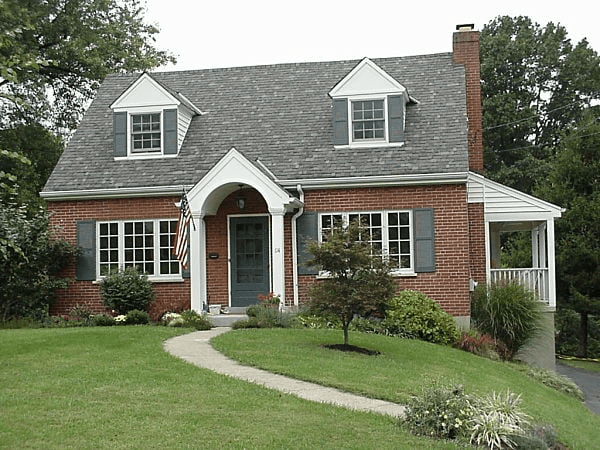
- Add curb appeal by giving your home a polished look.
- Increase property value, especially if installed correctly.
- Improve energy efficiency when paired with underlayment and proper ventilation.
Learning how to install roof shingles This Old Housethis Old House ensures you get long-lasting protection and beauty.
Tools and Materials Needed
Before you begin, gather these essentials:
- Roofing shingles (asphalt shingles are most common)
- Roofing nails and nail gun or hammer
- Underlayment (felt or synthetic)
- Starter strips or cut shingles
- Drip edge flashing
- Chalk line and measuring tape
- Utility knife and roofing blade
- Ladder and roof harness for safety
- Roofing cement and trowel
- Ridge cap shingles
Planning the Project
Proper planning saves time and prevents mistakes.
- Check local building codes for requirements.
- Measure your roof area to calculate how many bundles of shingles you’ll need.
- Decide on shingle type and color to match your home’s style.
- Schedule during good weather—avoid windy, rainy, or extremely hot days.
Preparing the Roof Surface
Before you learn how to install roof shingles This Old Housethis Old House, preparation is key:
- Remove Old Shingles – Strip down the existing shingles using a roofing shovel.
- Inspect Decking – Replace rotten or damaged wood.
- Install Drip Edge – Place metal drip edge along eaves and rake edges to direct water away.
- Apply Underlayment – Roll out roofing felt or synthetic underlayment across the decking for extra waterproofing.
- Mark Layout Lines – Use a chalk line to mark horizontal and vertical lines for straight rows.
How To Install Roof Shingles This Old Housethis Old House
Now, let’s break down the actual installation process:
Step 1: Install Starter Strip
- Use pre-cut starter strips or cut the tabs off shingles.
- Nail the starter strip along the eaves with an overhang of about 1/4 inch beyond the drip edge.
- This helps prevent water from seeping under the shingles.
Step 2: Lay the First Course
- Place the first shingle directly on top of the starter strip.
- Nail each shingle with four nails (six in high-wind areas).
- Make sure nails are driven flat but not cutting into the shingle.
Step 3: Continue with Staggered Pattern
- Cut 6 inches off the first shingle of the second row.
- Place it above the first course, lining it up with the chalk line.
- This staggered pattern prevents water infiltration at seams.
Step 4: Work Up the Roof
- Continue laying shingles row by row, overlapping as you go.
- Keep checking alignment with chalk lines.
- Always nail in the designated nailing strip.
Step 5: Flashing Around Obstacles
- For chimneys, skylights, and vents, install step flashing.
- Place metal flashing pieces with each row of shingles around the obstacle.
- Seal with roofing cement for added protection.
Step 6: Ridge Cap Installation
- Once you reach the roof peak, install ridge cap shingles.
- Bend them over the ridge and nail each side, overlapping as you go.
- This completes the roof and provides ventilation at the ridge.
Safety Considerations
Since roofing involves heights and heavy tools, safety should be your top priority:
- Always wear a safety harness attached to a secure anchor point.
- Use a sturdy ladder on level ground.
- Don’t work alone—have someone assist you.
- Avoid working on wet or windy days.
- Wear gloves, safety glasses, and sturdy boots.
Common Mistakes to Avoid
When following how to install roof shingles This Old Housethis Old House, be mindful of these errors:
- Not using starter strips – Leads to water infiltration.
- Nailing too high or too low – Compromises shingle performance.
- Skipping underlayment – Reduces water resistance and shortens lifespan.
- Improper flashing – Causes leaks around chimneys and vents.
- Uneven rows – Looks unprofessional and can allow water seepage.
Cost Considerations
Installing shingles yourself can save thousands, but materials still add up:
- DIY cost: $1,500–$3,500 depending on roof size and materials.
- Professional installation: $5,000–$12,000 or more.
Factors affecting cost:
- Shingle type (asphalt, architectural, or premium).
- Roof size and pitch.
- Local labor rates.
Maintenance Tips
After learning how to install roof shingles This Old Housethis Old House, you’ll want to protect your investment:
- Inspect the roof annually for loose or damaged shingles.
- Clean gutters regularly to prevent water backup.
- Remove moss or algae with a roof-safe cleaner.
- Replace damaged shingles promptly.
- Ensure proper attic ventilation to extend roof life.
When to Call a Professional
Although this guide provides the basics, some situations require expert help:
- Very steep or complex roof designs.
- Structural damage to roof decking.
- Large projects where time and safety are concerns.
- If you’re uncomfortable working at heights.
Hiring a professional ensures the job is done to code and covered by warranty.
Final Thoughts
Mastering how to install roof shingles This Old Housethis Old House style is a valuable skill for any homeowner. With the right tools, planning, and careful execution, you can install shingles that protect your home for decades.
Whether you decide to tackle the job yourself or hire a professional, understanding the process will help you appreciate the craftsmanship and make informed decisions about your roof.

Leave a Reply