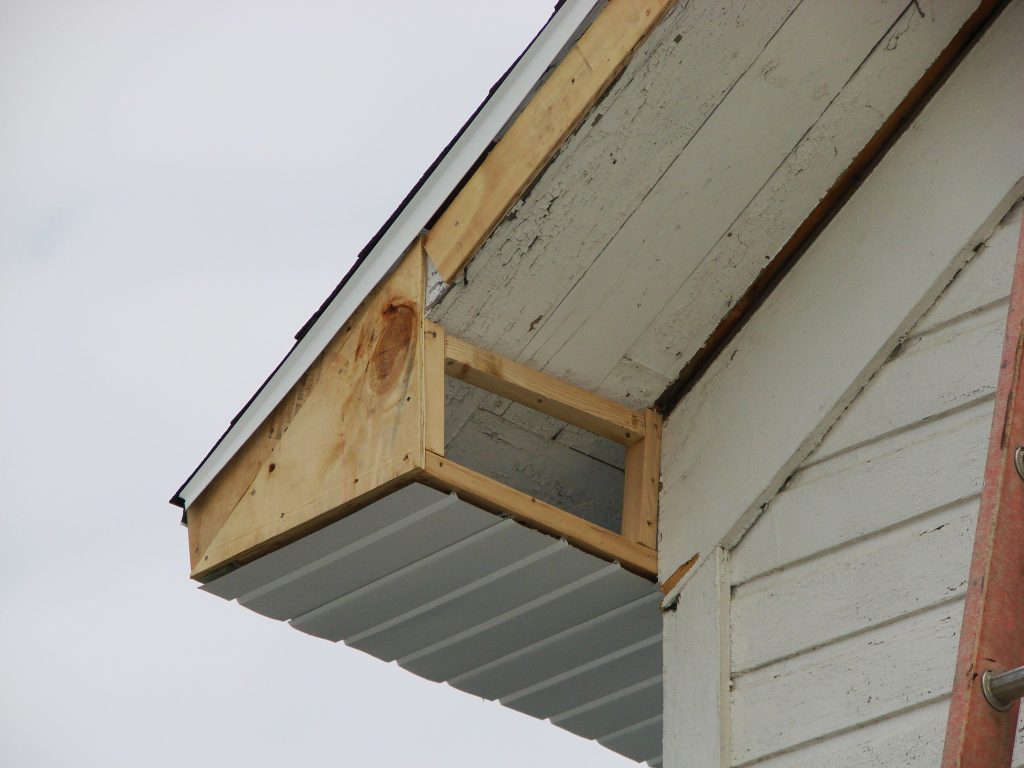
If you are looking to enhance the appearance of your gable roof while protecting it from the elements, installing soffit and fascia is an excellent option. Soffit and fascia are essential components that provide ventilation and protect the eaves of your roof from moisture and pests. In this step-by-step guide, we will walk you through the process of how to install soffit and fascia on a gable roof, ensuring your home remains both stylish and well-maintained.

Step 1: Gather the Necessary Tools and Materials
Before you begin the installation process, ensure you have all the required tools and materials. You will need a ladder, a circular saw, a measuring tape, a hammer, nails, a utility knife, and a caulking gun. As for materials, you will need soffit panels, fascia boards, and appropriate vent strips for ventilation.
Step 2: Measure and Cut the Fascia Boards
Start by measuring the length of the gable roof’s eaves to determine the required length for the fascia boards. Using a circular saw, carefully cut the fascia boards to the measured length, ensuring straight and clean edges. It is essential to wear safety goggles and gloves while operating the saw to prevent any accidents.
Step 3: Install the Fascia Boards
Once the fascia boards are cut to the correct size, it’s time to install them. Position the first fascia board against the edge of the roof, ensuring it aligns perfectly with the eaves. Secure it in place using nails, spaced at regular intervals to ensure stability. Continue this process for the entire length of the gable roof, making sure each fascia board is level and firmly attached.
Step 4: Cut and Install Soffit Panels
Next, you’ll move on to the soffit installation. Measure the distance between the fascia and the wall of the house to determine the required width of the soffit panels. Using a circular saw or a utility knife, cut the soffit panels to the appropriate size. Carefully slide the soffit panels into place between the fascia and the wall, ensuring they fit snugly.
Step 5: Provide Adequate Ventilation
Proper ventilation is crucial to prevent moisture buildup in your attic and maintain the structural integrity of your roof. Install vent strips along the soffit panels to allow air to flow freely in and out of the attic space. Ventilation will not only protect your roof but also help regulate the temperature inside your home.
Step 6: Apply Caulk for Added Protection
To ensure a watertight seal and added protection against the elements, apply caulk along the seams where the soffit panels meet the fascia boards and the wall. Caulk will prevent water from seeping into the gaps and causing potential damage to your roof and the interior of your home.
Conclusion:
How to install soffit and fascia on a gable roof is a rewarding project that not only enhances the aesthetics of your home but also protects it from various weather elements. By following the step-by-step guide above and ensuring proper measurements, cuts, and installations, you can achieve a professional-looking finish. Remember to prioritize safety throughout the process and wear protective gear when using tools. With well-installed soffit and fascia, your gable roof will not only be visually appealing but also function efficiently for years to come. So, why wait? Enhance the beauty and functionality of your gable roof by installing soffit and fascia today!


Leave a Reply