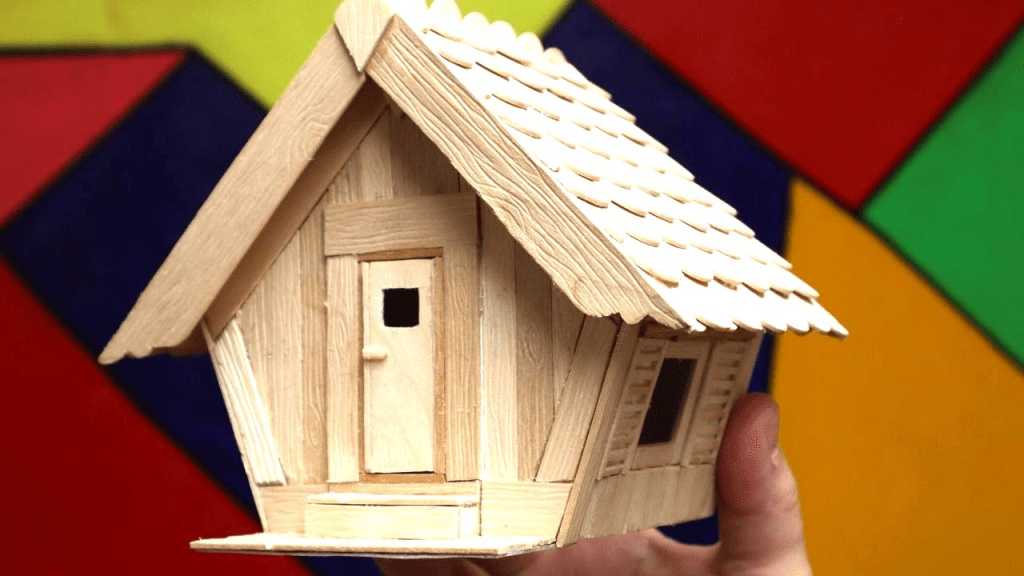
Craft projects often bring out creativity, patience, and fun. One of the most popular school and home DIY activities is building a miniature house with popsicle sticks. While making the walls and base can feel straightforward, many people struggle when it comes to how to make a roof on a popsicle stick house. The roof not only completes the look of your model but also adds strength, realism, and a sense of accomplishment to your project.
In this comprehensive guide, we’ll walk you through the process of building a roof for your popsicle stick house. From choosing the right materials and design to assembling and decorating the roof, this article covers everything you need to know. By the end, you’ll feel confident in creating a sturdy and attractive roof that fits your miniature home perfectly.
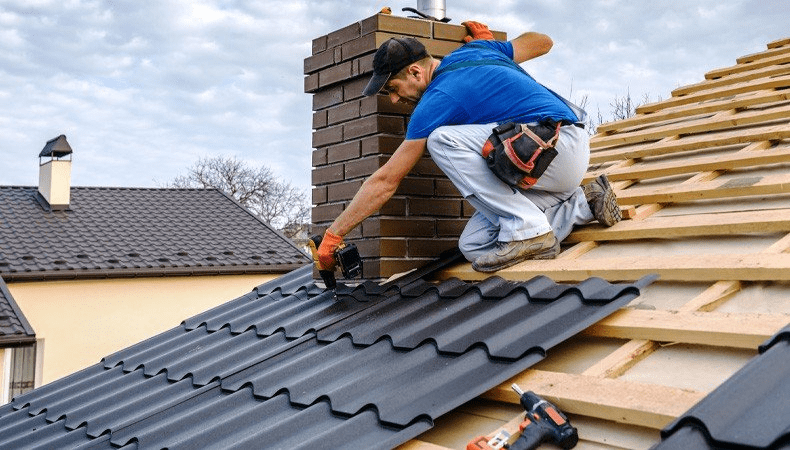
Read too: How Long Do Standing Seam Metal Roofs Last? A Comprehensive Guide to Durability and Longevity
Why the Roof Matters in a Popsicle Stick House
When crafting a popsicle stick house, many beginners think of the roof as just an extra part. In reality, it plays a bigger role than you may expect. Here’s why the roof is important:
- Completes the structure: Without a roof, your model looks unfinished. Adding it makes your popsicle stick house look more realistic.
- Provides strength: A well-built roof reinforces the stability of the entire model.
- Adds creativity: Roofs allow you to try different designs like flat, gable, or triangular. Each style changes the overall look.
- Encourages learning: Making a roof teaches basic principles of construction, measurement, and geometry.
Materials You’ll Need
Before diving into how to make a roof on a popsicle stick house, you need the right materials. Gather these supplies to make the process smooth:
- Popsicle sticks (craft sticks of equal size)
- Glue (hot glue gun or strong craft glue)
- Scissors or craft knife
- Ruler or measuring tape
- Pencil
- Cardboard (optional, for support)
- Decorative items like paint, markers, or glitter
Step-By-Step Guide: How To Make A Roof On A Popsicle Stick House
Now, let’s get into the practical process. This step-by-step tutorial will help you build a strong and neat roof.
Step 1: Choose Your Roof Design
First, decide what kind of roof you want for your popsicle stick house. Popular options include:
- Flat roof: Easy to build and modern-looking.
- Gable roof: The classic triangular roof, perfect for a realistic miniature house.
- Slanted roof: A simple option with one slope, ideal for beginners.
Choosing the design matters because it will determine how you cut and place the popsicle sticks.
Step 2: Measure Your House
Use a ruler to measure the length and width of the top of your popsicle stick house. This ensures that the roof will fit perfectly. Write down these measurements to avoid mistakes later.
Step 3: Create the Base of the Roof
For a flat or slanted roof, simply glue popsicle sticks side by side until they form a rectangle or square that matches the top dimensions of your house. For a gable roof, you’ll need to make triangular frames using popsicle sticks glued together.
Pro tip: Use cardboard under your popsicle sticks to reinforce the roof base, especially if the house is large.
Step 4: Assemble the Roof Panels
If you’re making a gable roof, create two panels of popsicle sticks. Glue the sticks side by side, then attach them to the triangular frames. Once done, you should have two sloping panels that meet in the middle.
For slanted roofs, you’ll just need one panel slightly angled on top of the house.
Step 5: Attach the Roof to the House
Carefully place your roof panels on top of the popsicle stick house and glue them in place. Use enough glue to secure the roof but avoid too much, as it can leave messy marks. Hold the roof in position for a few seconds until it sticks.
Step 6: Decorate the Roof
This is where creativity comes in! You can:
- Paint the roof with acrylic paints.
- Add texture with small pieces of cardboard to mimic shingles.
- Use markers to draw patterns.
- Add glitter for a fun, colorful look.
A decorated roof transforms your popsicle stick house into something truly eye-catching.
Tips for Making a Strong Popsicle Stick Roof
- Use hot glue for durability: It dries faster and holds stronger than basic white glue.
- Cut popsicle sticks carefully: For angled designs, use a craft knife instead of scissors for precision.
- Plan before gluing: Lay out the sticks without glue to see how they fit together.
- Reinforce with cardboard: For large models, a thin cardboard sheet under the roof makes it sturdier.
Creative Roof Ideas for Popsicle Stick Houses
Once you understand how to make a roof on a popsicle stick house, you can experiment with fun designs. Here are some ideas to inspire you:
- Thatched roof effect: Use raffia or straw glued on top of popsicle sticks for a rustic look.
- Tile roof: Cut small squares of cardboard and glue them in overlapping rows.
- Snowy roof: Add cotton balls or white paint for a winter-themed miniature.
- Multi-level roof: Build small extensions for a more advanced architectural style.
Educational Benefits of Building a Popsicle Stick Roof
This craft is not just about fun—it’s also educational. Here are some learning benefits:
- Geometry skills: Measuring angles and lengths while creating a gable roof introduces math concepts.
- Engineering basics: Kids and beginners learn how structures balance and stay stable.
- Creativity and problem-solving: Designing and decorating the roof encourages imagination.
- Fine motor skills: Cutting, gluing, and aligning sticks help develop precision.
Common Mistakes to Avoid
When learning how to make a roof on a popsicle stick house, many beginners make small mistakes. Here are the most common ones and how to avoid them:
- Not measuring properly: Always double-check your dimensions before cutting or gluing.
- Using weak glue: Craft glue works, but hot glue ensures stability.
- Skipping the frame: For gable roofs, skipping the triangular frame makes the roof collapse easily.
- Rushing decoration: Let the glue dry completely before painting or decorating.
Final Thoughts
Learning how to make a roof on a popsicle stick house is both fun and rewarding. It teaches you patience, creativity, and problem-solving while allowing you to create a miniature masterpiece. By choosing the right materials, measuring carefully, and following the step-by-step guide, you’ll end up with a sturdy, attractive roof that completes your popsicle stick home.
So, gather your materials, plan your design, and start building. Whether you’re doing it for a school project, a craft hobby, or as a fun family activity, you’ll love the final result.

Leave a Reply