When it comes to maintaining and improving your home, one of the most critical aspects is ensuring that your roof is in top condition. Whether you’re planning to repair or replace your roof, a crucial initial step is to measure it accurately for shingles. But how do you measure a roof for shingles from the ground? In this article, we will explore step-by-step guidelines on how to do precisely that, enabling you to make informed decisions for your roofing project.
Understanding the Importance of Proper Roof Measurement
Before delving into the specifics of how to measure a roof for shingles from the ground, it’s essential to understand why accurate measurement is crucial. Accurate measurements are essential for several reasons:
- Cost Estimation: Proper measurements help you determine the quantity of shingles needed, ensuring you don’t over-purchase materials, saving you money.
- Labor Allocation: Accurate measurements also assist in estimating labor costs, allowing you to budget effectively.
- Preventing Wastage: By getting the measurements right, you can avoid unnecessary waste and ensure a more eco-friendly project.
- Safety: Measuring from the ground enhances safety by reducing the need to climb onto your roof.
Now that we’ve established the importance of precise measurements, let’s move on to the steps to measure your roof for shingles from the ground.
Step 1: Gather Your Tools
To measure your roof accurately, you’ll need a few essential tools:
- Measuring Tape: A long, sturdy measuring tape is crucial to obtain precise measurements.
- Notebook and Pen: You’ll need a notebook to jot down your measurements and calculations.
- Calculator: A calculator can help you perform quick and accurate calculations.
Step 2: Measure the Ground Dimensions
To measure your roof from the ground, start by measuring the dimensions of your house. Follow these steps:
A. Measure the Length: Stand parallel to the side of your house and use your measuring tape to measure its length. Write down this measurement.
B. Measure the Width: Next, stand at the corner of your house and measure its width. Jot down this measurement as well.
C. Multiply the Length and Width: Multiply the length by the width to calculate the square footage of the ground dimensions of your roof. This will give you the area of the base of your roof.
Step 3: Determine the Roof Pitch
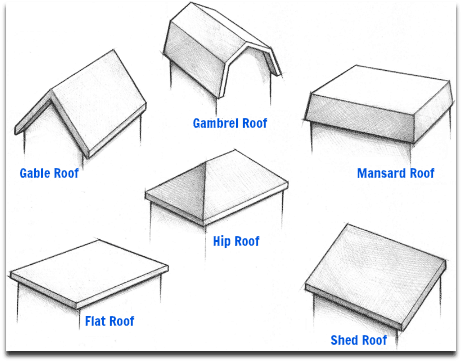
The next step is to determine your roof’s pitch or slope. The roof pitch is essential because it affects the total area of your roof. Roofs typically fall into one of three categories:
- Low-Pitch Roof: A low-pitch roof has a slope of 3:12 or less, which means it rises 3 inches for every 12 inches it runs horizontally.
- Medium-Pitch Roof: A medium-pitch roof has a slope between 3:12 and 7:12.
- High-Pitch Roof: A high-pitch roof has a slope greater than 7:12.
To determine your roof’s pitch, you can use a pitch gauge or a smartphone app specifically designed for this purpose. Alternatively, you can measure the rise over a 12-inch run, and from that, you can calculate the pitch. The pitch is usually expressed as a fraction, like 4/12 or 7/12.
Step 4: Calculate the Roof Area
With the ground dimensions and the roof pitch known, you can now calculate the total roof area. To do this, follow these steps:
A. Determine the Roof’s Total Width: Measure the width of the base of your roof from one end to the other.
B. Apply the Pitch Factor: To account for the slope, multiply the width by the pitch factor. For example, if your roof has a 4/12 pitch, you would multiply the width by 1.33 (12 divided by 4).
C. Calculate the Total Roof Area: Multiply the pitch-adjusted width by the length of your house. This will give you the total roof area in square feet.
Step 5: Accounting for Overhangs and Eaves
In some cases, you may have overhangs or eaves that extend beyond the main roof area. These areas should be measured separately. Measure the length and width of any overhangs and eaves and add these dimensions to your total roof area calculation.
Step 6: Divide by Shingle Coverage
Now that you have the total roof area in square feet, you need to determine how many shingles you’ll need. This depends on the type of shingles you plan to use and their coverage per square. Most shingle packages provide information on coverage, typically in square feet per bundle. Divide your total roof area by the shingle coverage to determine the number of bundles you’ll need.
Conclusion
Accurately measuring your roof for shingles from the ground is a crucial step in any roofing project. It ensures that you have the right materials and helps you budget and plan your project effectively. By following the steps outlined in this guide and using the right tools, you can confidently measure your roof, whether for repairs, replacement, or a new installation. Remember, precision is key, and safety should always be a top priority when working on any roofing project. With these guidelines, you’ll be well-equipped to take on your roofing project and ensure it’s a success.


Leave a Reply