Installing a metal roof on your house is an excellent investment. Not only does it enhance the aesthetic appeal of your home, but it also provides long-lasting protection against extreme weather conditions. Metal roofs are known for their durability, energy efficiency, and low maintenance requirements. However, improper installation can lead to leaks, rust, and even structural damage. In this article, we will provide a detailed guide on How To Properly Install A Metal Roof On A House, ensuring your home stays safe, energy-efficient, and stylish.
Read too: Is It Reasonable to Ask the Seller to Replace the Roof?
Why Choose a Metal Roof?
Before diving into the installation process, it’s important to understand why metal roofs are a smart choice:
- Longevity: Metal roofs can last 40–70 years, depending on the material and maintenance.
- Durability: They can withstand strong winds, heavy rain, and snow, making them ideal for all climates.
- Energy Efficiency: Metal reflects solar radiant heat, reducing cooling costs by up to 25%.
- Low Maintenance: Unlike asphalt shingles, metal requires minimal upkeep.
- Eco-Friendly: Many metal roofs are made from recycled materials and are fully recyclable at the end of their life.
Understanding these benefits emphasizes why learning How To Properly Install A Metal Roof On A House is essential for homeowners seeking long-term value.
Tools and Materials Needed
Proper installation begins with having the right tools and materials. Here’s what you’ll need:
- Metal roofing panels (steel, aluminum, or copper)
- Underlayment (synthetic or felt)
- Roofing screws with rubber washers
- Drill or screw gun
- Measuring tape
- Chalk line
- Safety gear (gloves, goggles, harness)
- Ridge cap, flashing, and closure strips
Having all tools ready before starting the project ensures a smooth and efficient installation process.
Step-By-Step Guide: How To Properly Install A Metal Roof On A House
Step 1: Prepare the Roof Surface
- Inspect the roof deck for any damage or rot.
- Remove any old roofing materials.
- Clean the surface thoroughly to remove debris, nails, or loose boards.
Proper preparation is critical to prevent future leaks and ensure that the metal panels lie flat.
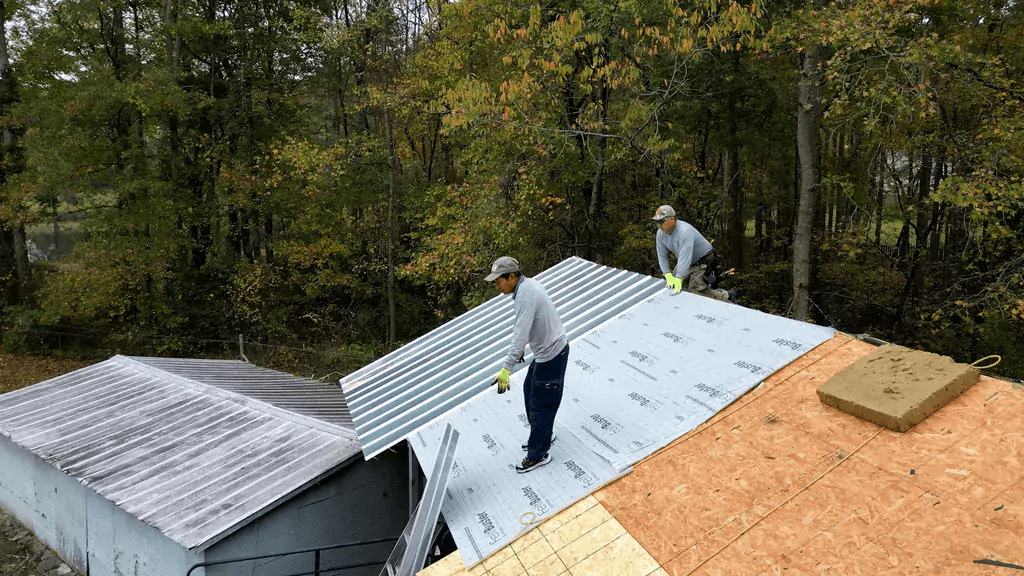
Step 2: Install Underlayment
- Roll out the underlayment horizontally across the roof.
- Secure it with roofing nails or staples, ensuring there are no wrinkles.
- Overlap each row by a few inches to prevent water penetration.
The underlayment acts as a secondary barrier against moisture, improving the roof’s longevity.
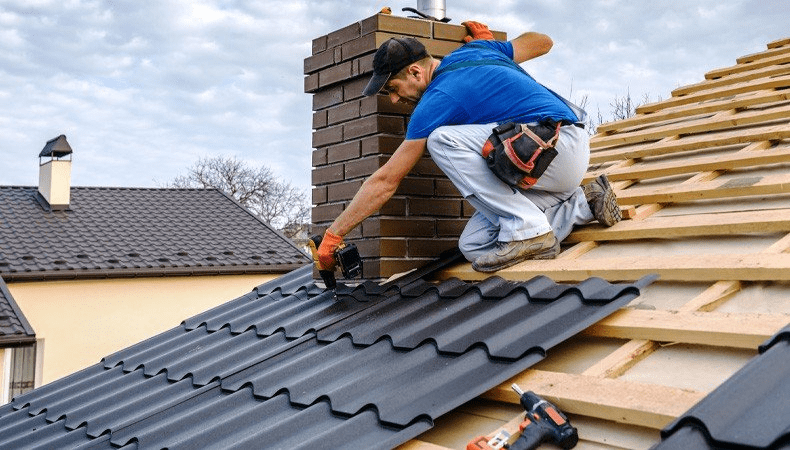
Step 3: Install Drip Edge and Flashing
- Place the drip edge along the eaves of the roof.
- Secure it with nails, ensuring it’s straight and flush.
- Install flashing around chimneys, vents, and valleys to prevent leaks.
Correct placement of flashing and drip edges is crucial to avoid water infiltration at roof edges and joints.
Step 4: Lay the Metal Panels
- Start at the bottom edge of the roof.
- Align the first panel carefully with the eave.
- Secure the panel using screws with rubber washers, ensuring they are tightened without damaging the metal.
- Continue placing panels across the roof, overlapping the edges according to the manufacturer’s instructions.
Consistency and alignment during this step are key to achieving a professional look and optimal protection.
Step 5: Install Ridge Caps and Closure Strips
- Place closure strips along the roof ridge to seal gaps between panels.
- Install the ridge cap over the closure strips and secure with screws.
This step prevents wind-driven rain and snow from entering through the roof ridge.
Step 6: Inspect and Finalize
- Check all screws to ensure they are properly fastened.
- Inspect for any gaps or misaligned panels.
- Remove any debris from the roof.
A final inspection guarantees that your metal roof is securely installed and will perform as expected.
Common Mistakes to Avoid
Even with careful planning, some homeowners make mistakes during installation. Avoid these errors:
- Improper fastener placement: Misaligned screws can lead to leaks.
- Skipping underlayment: This reduces the roof’s ability to protect against moisture.
- Ignoring thermal movement: Metal expands and contracts; panels must allow for this.
- Incorrect flashing installation: Can lead to water penetration around roof openings.
Being aware of these pitfalls will help you successfully complete your project and maximize the lifespan of your metal roof.
Benefits of Proper Installation
When you know How To Properly Install A Metal Roof On A House, you’ll enjoy:
- Reduced maintenance costs: Less frequent repairs due to strong installation.
- Energy savings: Properly installed panels reflect heat efficiently.
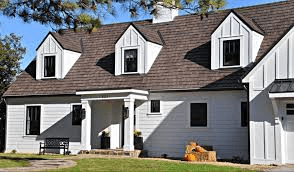
- Enhanced property value: A metal roof increases curb appeal and home value.
- Peace of mind: A professionally installed roof protects against leaks, rust, and wind damage.
Investing time in proper installation ensures your metal roof delivers these benefits for decades.
Conclusion
Learning How To Properly Install A Metal Roof On A House requires attention to detail, the right materials, and a step-by-step approach. From preparing the roof deck and installing underlayment to carefully laying panels and securing the ridge cap, each stage contributes to the durability and efficiency of your roofing system. By avoiding common mistakes and following the steps outlined in this guide, homeowners can enjoy a safe, energy-efficient, and long-lasting metal roof that enhances their home’s beauty and value.
Proper installation is not just about aesthetics; it’s about protecting your home and investment for the long term. Whether you plan to do it yourself or hire a professional, understanding the process empowers you to make informed decisions and ensures your metal roof performs at its best.

Leave a Reply