Mobile homes and trailers are popular housing options because they are affordable and practical. But like any home, they need reliable roofing to protect against harsh weather. One of the most durable solutions is installing a metal roof. If you’ve ever wondered How To Put A Metal Roof On A House Trailer, this guide will walk you through everything—from preparation to installation and maintenance.
A metal roof not only improves the look of your trailer but also boosts energy efficiency, increases durability, and reduces maintenance costs. Let’s dive into the process.
Read too: Hail Damage Roof Repair: Essential Guide to Restoring Your Home’s Protection
Why Choose a Metal Roof for a House Trailer?
Before we explain How To Put A Metal Roof On A House Trailer, let’s explore why metal roofing is such a smart choice.
- Durability: Metal roofs last 40–70 years compared to 15–20 years for shingles.
- Weather Resistance: They can withstand strong winds, rain, snow, and hail.
- Energy Efficiency: Reflects sunlight, reducing cooling costs in summer.
- Low Maintenance: Requires little upkeep once installed.
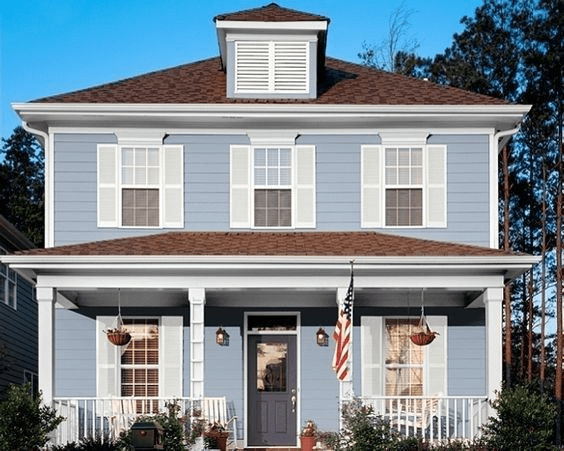
- Aesthetics: Gives your trailer a sleek, modern appearance.
- Eco-Friendly: Many panels are recyclable and made from recycled materials.
Tools and Materials You’ll Need
To successfully complete this project, gather the following:
- Metal roofing panels (corrugated steel or aluminum)
- Metal snips or circular saw with a metal-cutting blade
- Measuring tape and chalk line
- Drill and roofing screws with rubber washers
- Roofing underlayment or insulation board
- Plywood sheets (if your trailer roof needs reinforcement)
- Safety equipment: gloves, goggles, ladder, harness
- Ridge caps and flashing
Preparation Before Installation
Proper preparation ensures the roof is installed securely and lasts for years.
- Inspect the Existing Roof
- Check for leaks, water damage, or sagging.
- Reinforce weak areas with plywood if needed.
- Remove Old Roofing (Optional)
- Some people install metal panels directly over shingles.
- For better results, remove damaged or uneven roofing first.
- Install an Underlayment
- Lay down a water-resistant barrier or insulation board to prevent condensation and increase energy efficiency.
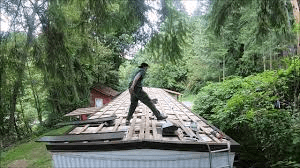
Step-by-Step Guide: How To Put A Metal Roof On A House Trailer
Step 1: Measure the Roof
Use a measuring tape to calculate the length and width of your trailer roof. Add extra inches for overhang to direct rainwater away from walls.
Step 2: Cut Metal Panels
Using snips or a saw, cut the panels to match the measurements. Always wear protective gloves and goggles while cutting.
Step 3: Position the Panels
Start at the lower edge of the roof and place the first panel so it overhangs slightly. This helps water run off efficiently.
Step 4: Secure Panels
Drill roofing screws with rubber washers into the high ridges of the panels every 12–16 inches. Ensure screws are tight but not overdriven.
Step 5: Overlap Panels
Each new panel should overlap the previous one by at least one ridge. This prevents leaks and strengthens the structure.
Step 6: Install Ridge Caps and Flashing
Place ridge caps along the peak of the roof to seal the top. Use flashing around chimneys, vents, or skylights to prevent leaks.
Step 7: Inspect and Seal
Once installed, check for gaps and apply sealant where needed. Make sure all screws are secure.
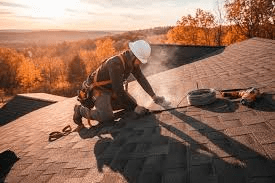
Safety Tips When Installing
While learning How To Put A Metal Roof On A House Trailer, keep these safety measures in mind:
- Always use a sturdy ladder and secure footing.
- Wear gloves to protect against sharp metal edges.
- Use safety goggles when cutting panels.
- Work with a partner for lifting and positioning panels.
- Avoid working on windy or rainy days.
Common Mistakes to Avoid
- Poor Measurements: Incorrect dimensions lead to gaps or wasted materials.
- Skipping Underlayment: This increases the risk of leaks and condensation.
- Using the Wrong Fasteners: Regular screws can loosen and leak; always use roofing screws with washers.
- Not Overlapping Panels: Without overlap, water can seep under the panels.
- Improper Sealing: Neglecting ridge caps and flashing leaves your trailer vulnerable to leaks.
Benefits of Doing It Yourself vs Hiring a Professional
- DIY Benefits: Cost savings, personal satisfaction, and flexibility in design.
- Professional Benefits: Faster installation, warranty coverage, and expertise in complex cases.
If you’re confident with tools and measurements, DIY is achievable. However, if your trailer roof is in poor condition or unusually shaped, a professional might be the better option.
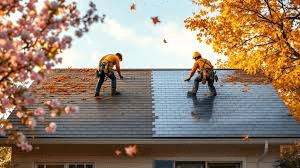
Maintenance Tips for a Metal Roof
Metal roofs are low-maintenance, but small steps can extend their lifespan:
- Regular Inspections: Check annually for loose screws or damaged panels.
- Cleaning: Remove leaves and debris to prevent water pooling.
- Touch-Up Paint: Apply paint to scratches to prevent rust.
- Sealant Checks: Reapply sealant around flashing or joints if needed.
Cost Considerations
The cost of putting a metal roof on a house trailer depends on size, material, and whether you hire professionals.
- Materials: $1.50–$4.00 per square foot
- DIY Total Cost: $1,000–$3,000 (depending on trailer size)
- Professional Installation: $3,000–$8,000
While upfront costs are higher than shingles, the longevity and energy savings make it a worthy investment.
Environmental and Energy Efficiency Advantages
Metal roofs are excellent for energy-conscious homeowners. They reflect solar heat, keeping interiors cooler during summer. Additionally, many are made from recycled materials, making them eco-friendly.
You can also add insulation under the roof for better temperature control, reducing heating costs in winter.
Final Thoughts
Understanding How To Put A Metal Roof On A House Trailer can transform your mobile home. Metal roofing provides durability, style, and energy efficiency—all while protecting your investment for decades.
By following the steps outlined here—measuring, preparing, installing, and maintaining—you can create a secure and attractive roof for your trailer. Whether you choose DIY or professional installation, this upgrade is a long-term improvement worth every penny.
Leave a Reply