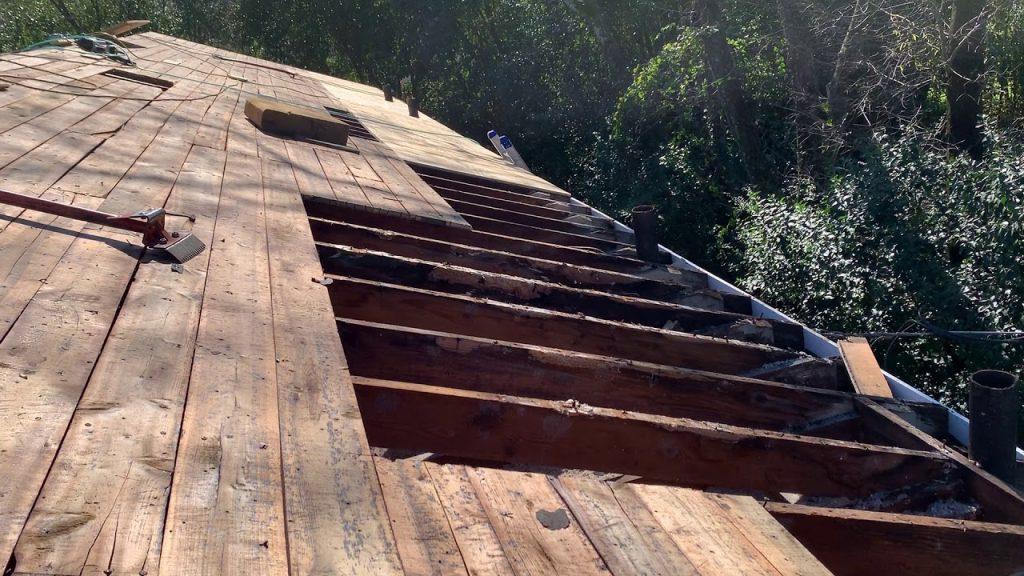
The roof decking, also known as the roof sheathing, is a critical component of your roofing system. It provides a solid base for the roof covering and supports the weight of everything from rain and snow to solar panels and HVAC units. Over time, however, roof decking can deteriorate due to various factors, including moisture, pests, and wear and tear. In this step-by-step guide, we will walk you through the process of repairing roof decking to ensure the integrity and longevity of your roof.

Understanding Roof Decking
Types of Roof Decking
Roof decking materials can vary, but the two most common types are:
- Plywood: Plywood sheathing is a popular choice for roof decking due to its strength, durability, and ease of installation.
- Oriented Strand Board (OSB): OSB is another commonly used material that is cost-effective and offers good performance when properly installed and maintained.
The Role of Roof Decking
Roof decking serves several essential functions:
- It provides a stable and flat surface for the roof covering material, such as shingles or metal panels.
- It distributes the load of roof materials and snow evenly across the roof’s structural framing.
- It helps with insulation and ventilation, contributing to the energy efficiency of your home.
Identifying Roof Decking Issues
Before you can repair roof decking, it’s crucial to identify any problems. Common signs of roof decking issues include:
- Sagging or Uneven Roof: A sagging or uneven roofline is a clear sign of decking problems.
- Leaks: Water stains or leaks in your attic or on your ceiling can indicate decking damage.
- Rot or Decay: Visible signs of rot or decay on the underside of the decking or in the attic suggest a problem.
- Mold or Mildew: The presence of mold or mildew on the decking can be a sign of moisture infiltration.
Repairing Roof Decking: Step by Step
1: Safety Precautions
- Ensure you have the proper safety gear, including gloves, safety glasses, and a dust mask.
- Work on a dry day to prevent slipping and ensure a secure working environment.
2: Remove Roofing Material
- Carefully remove the roofing material covering the damaged area. This might involve removing shingles, tiles, or metal panels.
3: Assess the Damage
- Inspect the exposed decking for signs of rot, decay, or damage. Pay close attention to areas near vents, chimneys, or other roof penetrations.
- Use a screwdriver or similar tool to probe the wood gently. If it penetrates easily or feels soft, it’s likely damaged.
4: Cut and Remove Damaged Decking
- Using a circular saw or reciprocating saw, cut out the damaged section of decking, making sure to follow the framing members for support.
- Carefully remove the cut-out section and dispose of it properly.
5: Install New Decking
- Cut a new piece of plywood or OSB to fit the opening, leaving a 1/8-inch gap on all sides for expansion.
- Apply construction adhesive to the framing members, then secure the new decking with deck screws.
6: Seal the Seams
- Use roofing felt or a similar underlayment material to cover the seams between the old and new decking sections.
- Secure the underlayment with roofing nails or staples.
7: Reinstall Roofing Material
- Carefully reinstall the roofing material you removed in Step 2, starting from the bottom and working your way up.
- Ensure that roofing materials overlap properly and follow the manufacturer’s installation guidelines.
Conclusion
Repairing roof decking is a manageable DIY project if you have the necessary tools, materials, and safety precautions in place. However, if you’re uncomfortable with the process or if the damage is extensive, it’s wise to consult a professional roofer. Properly maintained roof decking is essential for the overall health and longevity of your roof, and addressing issues promptly can save you from more extensive and costly repairs down the road.


Leave a Reply