A damaged roof can lead to a host of problems, from leaks that can damage your interior to higher energy bills due to poor insulation. One common issue homeowners face is shingles getting blown off during storms or strong winds. This not only affects the aesthetic appeal of your home but can also compromise its structural integrity. However, fear not! In this guide, we’ll walk you through the steps to repair roof shingles blown off, helping you restore the protection and beauty of your home.
Assess the Damage
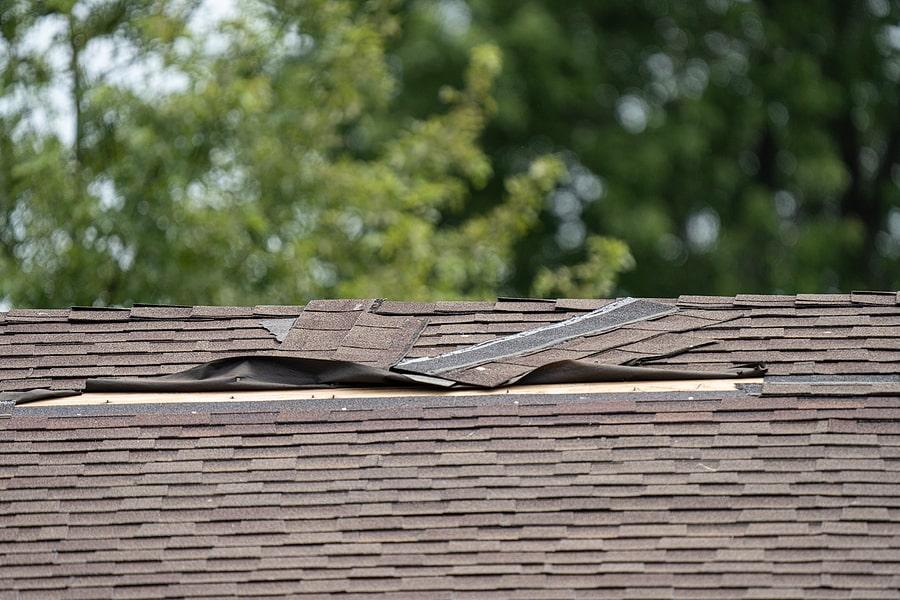
Before you begin any repair work, it’s crucial to assess the extent of the damage. Walk around your property and inspect your roof carefully. Look for missing or damaged shingles and check if there are any exposed areas or leaks. Also, make sure to take note of the type of shingles you have, as this will impact your repair process. Once you have a clear understanding of the damage, you can proceed with confidence.
Gather Your Materials
To repair roof shingles blown off, you’ll need the following materials:
- Replacement Shingles: These should match the style and color of your existing shingles.
- Roofing Cement: Used to secure the new shingles in place.
- Pry Bar: To lift up the existing shingles and remove any remaining nails.
- Hammer: For driving in new roofing nails.
- Utility Knife: To trim and shape the replacement shingles.
- Caulk Gun: For applying roofing cement.
- Safety Gear: Including gloves, safety goggles, and a sturdy ladder.
Step 1: Safety First
Before you climb up the ladder, ensure you have all the necessary safety gear on. This includes slip-resistant shoes, gloves, safety goggles, and a stable ladder. Safety should always be your top priority when working on your roof.
Step 2: Remove the Damaged Shingles
Use your pry bar to gently lift up the shingles that are directly above the damaged ones. Be cautious not to damage the adjacent shingles. Once you’ve lifted the shingles, use your hammer to remove any remaining nails. Carefully take out the damaged shingles.
Step 3: Prepare the Area
After removing the damaged shingles, inspect the area beneath for any loose or damaged roofing paper. If you find any issues, repair or replace the roofing paper as needed. It’s crucial to have a solid foundation for the new shingles.
Step 4: Install the New Shingles
Slide the new shingle into place, making sure it lines up with the surrounding shingles. Secure it with roofing cement, applying a generous amount both under the shingle and over the top of it. Press down firmly to ensure a strong bond.
Step 5: Nail the Shingle in Place
Carefully nail the new shingle in place using roofing nails. Be sure to drive the nails just below the surface of the shingle without over-penetrating. Over-penetrating can cause cracks and leaks.
Step 6: Seal the Edges
Apply a bead of roofing cement along the edges of the new shingle to create a watertight seal. This will prevent any water from seeping underneath the shingle and causing further damage.
Step 7: Reattach the Lifted Shingles
Gently lower the lifted shingles back into place and secure them with roofing cement and nails as you did with the new shingle.
Step 8: Cleanup
After you’ve repaired the damaged area, make sure to clean up any debris from your roof and gutters. Leaving debris behind can lead to drainage problems and further damage.
Conclusion
Repairing roof shingles blown off might seem like a daunting task, but with the right tools and a bit of know-how, it’s a task that many homeowners can tackle on their own. Regular roof maintenance and prompt repairs are essential to extend the life of your roof and protect your home from the elements. By following these steps, you can save money on professional repairs and ensure your roof continues to provide the shelter and security your family deserves. Remember, safety first, and take your time to do the job right. Your home will thank you for it.


Leave a Reply