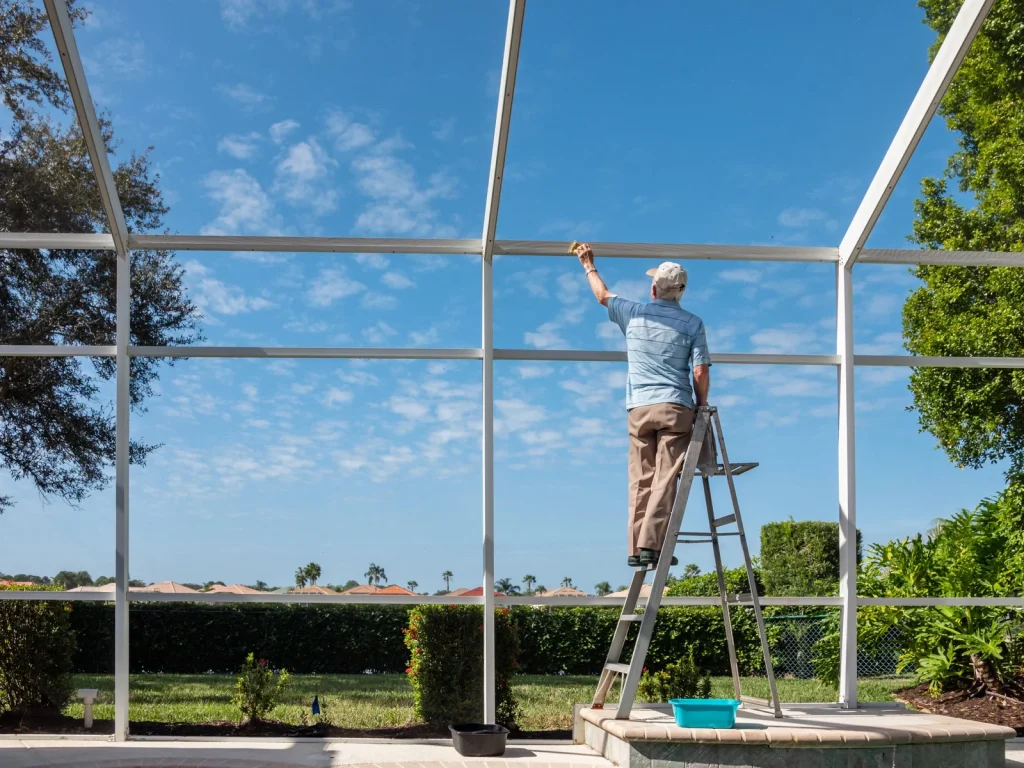
A pool screen enclosure is a valuable addition to any home, providing a bug-free and relaxing space to enjoy your pool. Over time, however, the pool screen roof may need replacement due to wear and tear. In this comprehensive DIY guide, we will walk you through the steps of replacing a pool screen roof, helping you extend the life of your enclosure and enjoy your pool to the fullest.

Before You Begin
Assess the Damage
Before diving into the replacement process, take some time to assess the condition of your pool screen roof. Look for signs of damage, such as tears, holes, or rusted fasteners. Identifying the extent of the damage will help you determine whether a repair or full replacement is necessary.
Gather Your Tools and Materials
To replace a pool screen roof, you will need the following tools and materials:
- Ladder
- Screwdriver or power drill
- Utility knife
- Screen spline roller tool
- Screen spline
- New pool screen material
- Screen clips or fasteners
- Measuring tape
- Safety glasses
- Work gloves
- A helping hand (optional)
Step-by-Step Guide
1. Remove the Old Screen
Begin by removing the old, damaged pool screen. Use a ladder to access the roof safely. Carefully unscrew or pry away any fasteners or screen clips holding the old screen in place. Once all fasteners are removed, pull the old screen material free from the roof frame.
2. Clean the Frame
After removing the old screen, take the opportunity to clean the frame thoroughly. Remove any debris, dirt, or old spline that may be stuck to the frame. A clean frame will ensure a smooth installation of the new screen.
3. Measure and Cut the New Screen
Measure the dimensions of the pool screen roof frame accurately. Add a few inches to each measurement to allow for an overlap. Use these measurements to cut the new screen material to size using a utility knife.
4. Secure the New Screen*
Lay the cut screen material over the frame, ensuring it covers the entire roof area. Starting at one corner, use a screen spline roller tool to press the screen material into the frame’s groove or channel. Work your way around the frame, pulling the screen material taut as you go.
5. Trim Excess Screen Material*
Once the screen material is securely in place, use a utility knife to trim away any excess material that extends beyond the frame. Be careful not to cut into the spline or the frame itself.
6. Install Screen Clips or Fasteners*
To ensure the screen remains securely attached, install screen clips or fasteners along the edges of the roof frame. These clips or fasteners will hold the screen in place and prevent it from sagging or coming loose.
7. Check for Tautness and Stability*
After installing the screen clips or fasteners, check the tension of the screen. It should be taut with no visible sags or wrinkles. Make any necessary adjustments to ensure a smooth, tight fit.
8. Reattach the Roof to the Enclosure*
Carefully reattach the pool screen roof to the enclosure frame. Use the same fasteners or screws that were removed during the initial disassembly. Ensure that the roof is securely attached and does not wobble or shake.
9. Test the New Screen*
Finally, test the new screen by enjoying your pool enclosure. Look for any areas where the screen may need additional tension or where clips or fasteners may need tightening. Make adjustments as necessary.
Conclusion: A Renewed Pool Oasis
By following this DIY guide on how to replace a pool screen roof, you can rejuvenate your pool enclosure and maintain a bug-free, enjoyable space. Regular maintenance and prompt replacement of damaged screens will help you make the most of your pool area while ensuring its longevity and functionality.


Leave a Reply