If your roof is showing signs of wear and tear, but you’re not ready for a full reroofing job, you might consider roofing over your existing shingles. This approach can be a cost-effective solution that adds a new layer of protection without the need for a complete teardown. In this guide, we’ll walk you through the process of how to roof over shingles, including preparation, installation, and maintenance tips to ensure a durable and effective roof.
Understanding the Basics of Roofing Over Shingles
Before diving into the specifics of how to roof over shingles, it’s important to understand the basics. Roofing over shingles involves adding a new layer of shingles on top of your existing roof, which can be a practical solution if your current roof is still in good condition.
Read too: Is It Reasonable to Ask the Seller to Replace the Roof?
Benefits of Roofing Over Shingles
- Cost-Effective: Roofing over existing shingles can be less expensive than a full roof replacement, as it eliminates the labor and disposal costs associated with tearing off the old roof.
- Less Disruption: This method is typically quicker and less disruptive than a complete reroofing, which can be especially beneficial if you’re living in the home during the project.
- Added Protection: A new layer of shingles provides an additional layer of protection against the elements, potentially extending the lifespan of your roof.
Considerations Before Proceeding
- Roof Deck Condition: Ensure that the underlying roof deck is in good condition. If the existing shingles are severely damaged or the deck is compromised, a full replacement may be necessary.
- Building Codes: Check local building codes and regulations, as some areas have restrictions on the number of shingle layers allowed on a roof.
- Material Compatibility: Make sure the new shingles are compatible with the existing ones. Consult with a roofing professional if you’re unsure.
How To Roof Over Shingles: Step-by-Step Instructions
Step 1: Inspect and Prepare the Existing Roof
Before starting the installation of new shingles, it’s crucial to thoroughly inspect and prepare your existing roof.
1.1. Check for Damage
Inspect the existing shingles for damage, such as cracks, curling, or missing pieces. Pay close attention to areas around chimneys, vents, and flashing. Any damaged sections should be repaired before proceeding.
1.2. Clean the Roof Surface
Remove debris, such as leaves, twigs, and dirt, from the roof surface. Ensure the surface is clean and dry to promote proper adhesion of the new shingles.
1.3. Address Any Issues
Fix any underlying issues, such as damaged flashing or vents. Ensure that the roof deck is solid and free of rot or other damage.
Step 2: Install a New Underlayment
A new underlayment is essential for ensuring the longevity and effectiveness of the new shingles.
2.1. Choose the Right Underlayment
Select a high-quality underlayment that is compatible with your new shingles. Common options include asphalt-saturated felt or synthetic underlayment.
2.2. Install the Underlayment
Starting at the bottom of the roof, roll out the underlayment horizontally, overlapping each row by about 6 inches. Secure the underlayment with roofing nails or staples, making sure it is smooth and free of wrinkles.
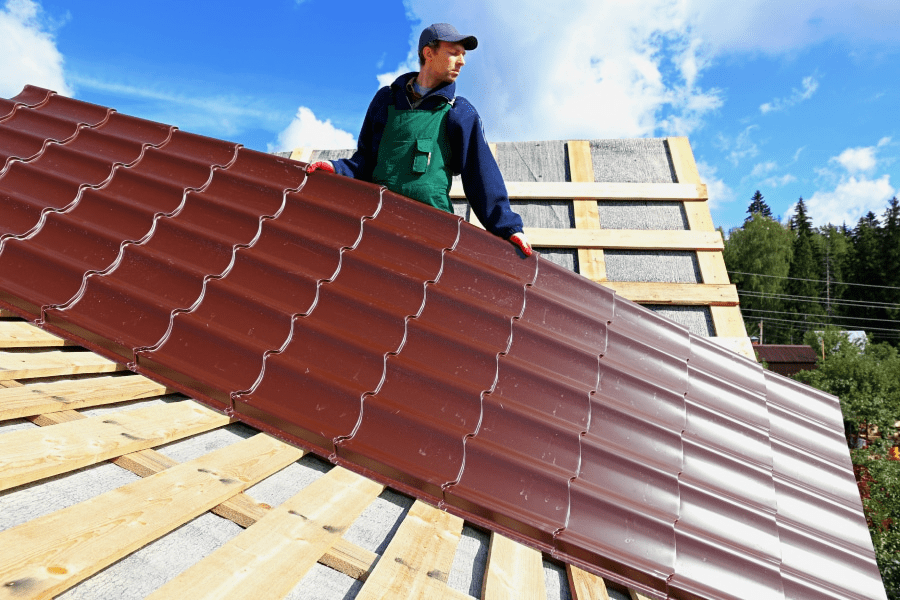
Step 3: Install New Shingles
With the roof prepared and the underlayment in place, you’re ready to install the new shingles.
3.1. Start at the Eaves
Begin installing shingles at the eaves, working your way up to the ridge. This ensures that the shingles overlap properly and provide maximum protection.
3.2. Nail the Shingles
Place nails in the designated nailing zone of each shingle, usually just below the adhesive strip. Ensure the nails are driven straight and flush with the shingle surface.
3.3. Install the Remaining Shingles
Continue installing shingles in a staggered pattern, making sure each row overlaps the one below it. Trim shingles as necessary to fit around roof features like vents and chimneys.
Step 4: Install Ridge Caps
Ridge caps are essential for sealing the top of the roof and providing a finished look.
4.1. Cut and Position Ridge Caps
Cut the ridge caps to fit the width of your roof and position them along the ridge. Overlap each cap slightly to ensure complete coverage.
4.2. Secure the Ridge Caps
Nail the ridge caps in place, using roofing nails to ensure they are securely fastened. Check for any gaps or areas that may require additional sealing.
Step 5: Final Inspection and Clean-Up
After the new shingles are installed, perform a final inspection and clean-up to ensure everything is in order.
5.1. Inspect the Roof
Check the entire roof for any missing shingles, improper overlaps, or other issues. Make any necessary adjustments or repairs.
5.2. Clean Up
Remove any debris or excess materials from the roof and surrounding areas. Dispose of old shingles and other waste according to local regulations.
Maintenance Tips for Your New Roof
Proper maintenance is key to ensuring the longevity and effectiveness of your newly installed shingles.
Regular Inspections
Conduct regular inspections of your roof to check for signs of damage or wear. Look for missing or damaged shingles, leaks, and other issues that may need attention.
Clean Gutters and Downspouts
Keep gutters and downspouts clean and free of debris to ensure proper drainage. Clogged gutters can lead to water damage and other issues.
Address Problems Promptly
If you notice any issues with your roof, address them promptly to prevent further damage. Repair or replace damaged shingles, flashing, or other components as needed.
Conclusion
How to roof over shingles involves a series of steps that can enhance the protection and appearance of your home’s roof without the need for a full replacement. By carefully preparing the existing roof, installing a new underlayment, and properly installing new shingles, you can achieve a durable and effective roofing solution. Regular maintenance and prompt attention to any issues will help ensure that your new roof remains in excellent condition for years to come.


Leave a Reply