Introduction
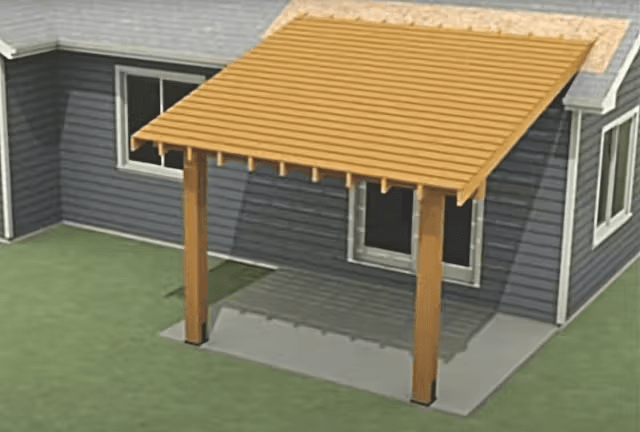
Adding a new roof patio to your home can enhance outdoor living space and increase property value. However, connecting it to your existing house requires careful planning to prevent leaks, structural issues, or alignment problems. Understanding how to tie a new roof patio into existing house ensures a durable, weather-resistant, and visually appealing connection.
Understanding Roof Patio Connections
Before starting, it’s important to understand the types of roof patios and how they attach to existing structures:
- Lean-to Roof: Simple sloped roof that attaches to the house wall.
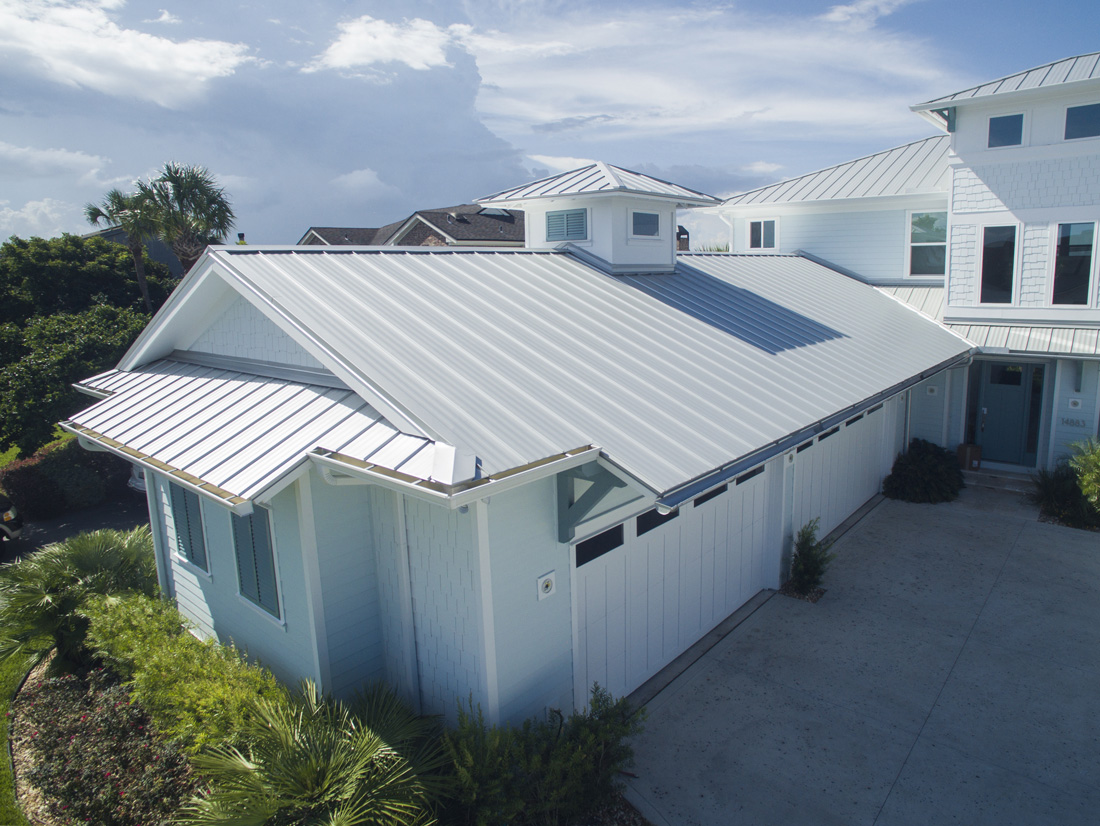
- Gable Roof Extension: More complex design with two sloping sides.
- Flat Roof Patio: Modern aesthetic, easier water drainage with proper slope.
Each type requires different attachment techniques and materials, but all must maintain structural integrity and proper water management.
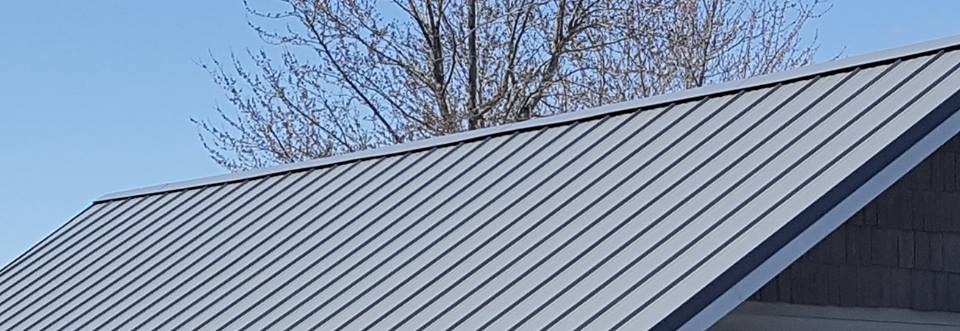
Read too: How Long Do Standing Seam Metal Roofs Last? A Comprehensive Guide to Durability and Longevity
Materials and Tools Needed
Materials:
- Pressure-treated lumber or engineered wood for beams and rafters
- Galvanized nails, lag bolts, or screws
- Metal flashing and connectors
- Roofing materials (shingles, panels, or membrane)
- Waterproof sealant
Tools:
- Drill and screwdriver
- Circular saw or miter saw
- Measuring tape and level
- Chalk line
- Ladder or scaffolding
Step-by-Step Guide to Tie a New Roof Patio
1. Plan and Measure
- Measure the wall height, roof pitch, and patio dimensions.
- Mark the intended roof line with a chalk line.
- Ensure clearance from windows, doors, and gutters.
2. Install a Ledger Board
- Secure a ledger board to the existing house wall with lag bolts or structural screws.
- Ensure it is level and flush with the existing roofline.
- Apply flashing to prevent water infiltration.
3. Frame the Roof Structure
- Cut rafters or beams to match the desired roof slope.
- Install rafters onto the ledger board using metal connectors or hurricane straps.
- Add ridge beams or collar ties for stability on pitched roofs.
4. Sheathing and Roof Covering
- Attach plywood or OSB sheathing across rafters.
- Cover with underlayment and shingles, panels, or roofing membrane.
- Seal flashing where the patio roof meets the existing house roof or wall.
5. Inspect and Adjust
- Verify the roof is level, plumb, and properly aligned.
- Check all fasteners and flashing connections for security.
- Make adjustments to prevent gaps, leaks, or structural weaknesses.
Safety Tips
- Wear a safety harness when working on elevated surfaces.
- Use scaffolding for high walls to prevent ladder accidents.
- Follow local building codes for roof attachment and structural support.
- Inspect all lumber and connectors for defects before installation.
Advantages vs Disadvantages
| Advantages | Disadvantages |
|---|---|
| Expands outdoor living space | Labor-intensive and time-consuming |
| Increases property value | Requires precise measurements and cutting |
| Customizable design | Poor installation can cause leaks or damage |
| Long-lasting with proper attachment | Some designs require professional help |
FAQ – Roof Patio Tie-In
1. Can I attach a roof patio to any type of wall?
Yes, but the wall must be structurally sound and capable of supporting additional load.
2. How do I prevent water leaks?
Use proper flashing, sealants, and ensure the ledger board is securely fastened and level.
3. Is a professional needed for this project?
For complex roof types, multi-story patios, or heavy materials, hiring a licensed contractor is recommended.
4. Can I attach it if the existing house has siding?
Yes, remove siding at the connection point and install flashing to prevent water penetration.
5. What roof types are best for a patio?
Lean-to roofs are easiest; gable roofs provide aesthetics and better drainage; flat roofs are modern but need slope for water runoff.
6. How do I ensure structural stability?
Use metal connectors, proper fasteners, and follow local building codes for rafter spacing and support.
Conclusion
Knowing how to tie a new roof patio into existing house ensures a secure, waterproof, and visually pleasing addition to your home. Proper planning, accurate measurements, and the right materials are essential for long-lasting results. Share this guide with friends, DIY enthusiasts, or fellow builders to help them create safe and attractive roof patio connections

Leave a Reply