Introduction
Adding a flat patio roof to your home enhances outdoor living and protects against sun and rain. However, connecting it correctly to the existing house is crucial to prevent leaks, structural problems, and long-term damage. Knowing how to tie in a flat patio roof to house ensures a secure, weatherproof, and aesthetically pleasing result.

Understanding Flat Patio Roof Connections
Flat patio roofs are popular for modern homes due to their sleek design and ease of construction. However, unlike pitched roofs, flat roofs require careful waterproofing and flashing where they meet the house. Common types include:
- Single-slope flat roof: Slight pitch for water runoff.
- Zero-slope flat roof: Minimal slope, often used for small patios with advanced waterproofing.
- Deck-style patio roof: Incorporates wood or composite decking with a waterproof membrane.
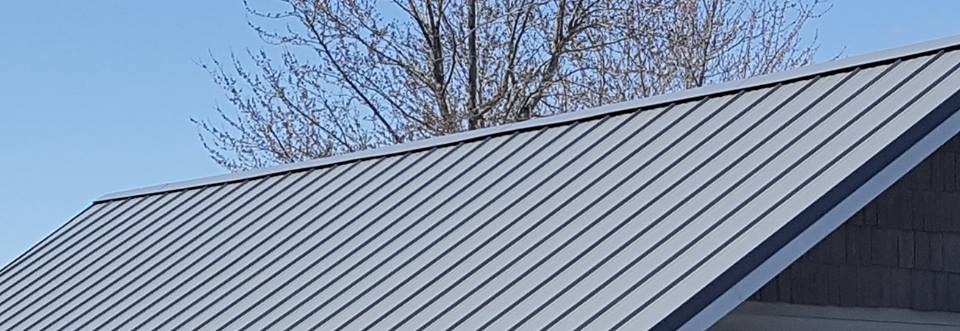
Read too: How Long Do Standing Seam Metal Roofs Last? A Comprehensive Guide to Durability and Longevity
Materials and Tools Needed
Materials:
- Pressure-treated lumber or engineered beams
- Lag bolts, screws, or metal connectors
- Waterproof flashing and sealant
- Roofing membrane or flat roof panels
- Underlayment
Tools:
- Drill and screwdriver
- Circular saw or miter saw
- Measuring tape and level
- Chalk line
- Ladder or scaffolding
Step-by-Step Guide
1. Planning and Measuring
- Measure the existing wall, roof height, and patio dimensions.
- Determine the slope for proper water drainage (typically 1/4 inch per foot).
- Mark the roofline with a chalk line.
2. Install a Ledger Board
- Secure a ledger board to the existing wall using lag bolts.
- Ensure it is level and flush with the wall.
- Install flashing above the ledger to prevent water infiltration.
3. Frame the Roof Structure
- Cut rafters or beams according to patio dimensions.
- Attach rafters to the ledger board using metal connectors or hurricane straps.
- Ensure adequate support with posts or beams if necessary.
4. Install Roof Sheathing and Membrane
- Apply plywood or OSB sheathing across the rafters.
- Cover with roofing underlayment and flat roof membrane.
- Seal flashing where the patio roof meets the house wall for waterproofing.
5. Inspect and Adjust
- Verify the roof is level and properly sloped for drainage.
- Check all fasteners, flashing, and membrane for secure attachment.
- Make adjustments to prevent water pooling or leaks.
Advantages vs Disadvantages
| Advantages | Disadvantages |
|---|---|
| Modern and minimalist look | Requires precise waterproofing |
| Easy to construct for DIY | Less natural drainage compared to sloped roofs |
| Provides shade and protection | May need additional support posts |
| Customizable with materials | Can be prone to water pooling if poorly installed |
FAQ – Flat Patio Roof Tie-In
1. Can I attach a flat patio roof to any house wall?
Yes, provided the wall is structurally sound and can support the additional load.
2. How do I prevent water leaks?
Use proper flashing, sealants, and maintain a slight slope for drainage.
3. Do I need a professional?
For large patios or zero-slope roofs, a licensed contractor is recommended.
4. Can the roof touch existing windows or doors?
Avoid contact; maintain clearance and use flashing to prevent water damage.
5. What materials are best for flat patio roofs?
EPDM or TPO membranes, metal panels, or composite decking with waterproofing are ideal.
6. How do I ensure structural stability?
Use engineered beams, proper fasteners, and follow local building codes for support.
Conclusion
Knowing how to tie in a flat patio roof to house ensures a durable, safe, and weatherproof addition to your home. Proper planning, correct materials, and secure attachment are essential for long-lasting results. Share this guide with DIY enthusiasts or friends to help them create functional and stylish outdoor spaces.

Leave a Reply