Metal roofs have gained popularity in recent years due to their durability, energy efficiency, and aesthetic appeal. If you’re considering installing a metal roof on plywood decking, it’s important to understand the process and best practices to ensure a successful and long-lasting installation. In this comprehensive guide, we’ll walk you through the steps to install a metal roof on plywood, from preparation to finishing touches.
Preparing Your Plywood Decking
1. Inspect the Plywood
Before you begin, carefully inspect your plywood decking for any signs of damage, rot, or warping. Replace any damaged or compromised sheets to ensure a sturdy and even surface for your metal roof.
2. Install Roof Underlayment
To protect your plywood decking and provide additional waterproofing, install a high-quality roof underlayment. This serves as a barrier against moisture and helps prevent leaks. Ensure the underlayment is properly secured to the decking.
Selecting the Right Metal Roofing Material
1. Choose the Metal Type
There are various metal roofing materials to choose from, including steel, aluminum, copper, and zinc. Each has its own advantages in terms of durability, weight, and cost. Consider your budget and the climate in your area when making your selection.
2. Select the Roof Profile
Metal roofs come in different profiles, such as standing seam, corrugated, and metal shingles. The profile you choose will affect the overall appearance of your roof. Standing seam roofs are popular for their modern look and durability.
Measuring and Cutting the Metal Panels
1. Measure the Roof Surface*
Accurate measurements are crucial for a precise fit. Measure the length and width of your roof, including any overhangs. Take into account the pitch of your roof, as it will affect the length of the metal panels needed.
2. Cut the Panels*
Using specialized metal-cutting tools, cut the metal panels to the required length. Ensure the edges are clean and free of burrs to prevent injury during installation.
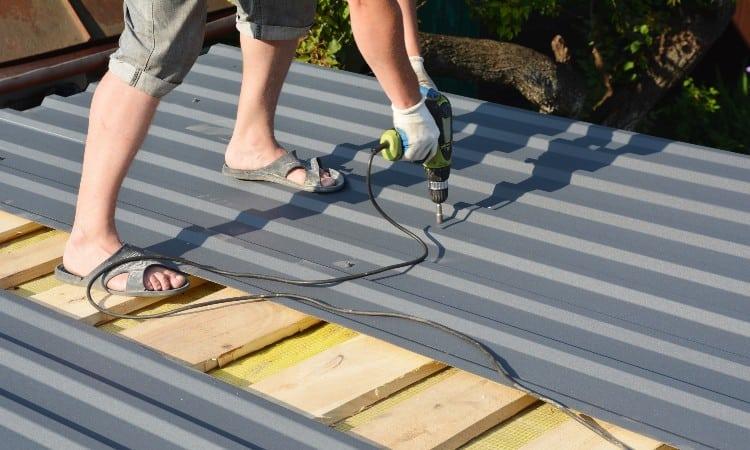
Installing Metal Roofing Panels
1. Start at the Eaves*
Begin installing the metal roofing panels at the eaves (the lower edge of the roof). Use appropriate fasteners, such as screws or nails, to secure the panels to the plywood decking. Be sure to follow the manufacturer’s recommendations for spacing and fastener placement.
2. Overlap Panels*
Each panel should overlap the previous one to create a watertight seal. The amount of overlap will depend on the specific profile of your metal roofing.
3. Secure Ridge Caps*
Once you’ve installed the panels, secure ridge caps at the roof’s peak. Ridge caps not only provide a finished look but also help prevent water penetration.
Sealing and Finishing
1. Apply Sealant*
To ensure a watertight seal, apply roofing sealant or caulk to all seams, overlaps, and fastener heads. This extra layer of protection helps prevent leaks and enhances the roof’s longevity.
2. Perform a Quality Check*
Inspect the entire roof for any loose fasteners or improperly installed panels. Make any necessary adjustments or repairs to ensure the roof’s integrity.
Conclusion: Installing Metal Roof on Plywood
Installing a metal roof on plywood requires careful planning and attention to detail. Proper preparation, selection of materials, accurate measurements, and precise installation are key to a successful project. A well-installed metal roof not only enhances the aesthetics of your home but also provides long-lasting protection against the elements. Whether you’re a DIY enthusiast or hiring a professional, following the steps outlined in this guide will help you achieve a durable and attractive metal roof that will stand the test of time.


Leave a Reply