Metal roofing is gaining popularity for its durability and aesthetic appeal. However, like any roofing system, it requires careful planning and execution to ensure it functions effectively. One critical aspect of metal roof installation that often goes unnoticed but is of paramount importance is the metal roof cricket detail. In this guide, we’ll delve into what a roof cricket is, why it’s essential, and how to properly incorporate it into your metal roofing system.
Understanding the Role of a Roof Cricket
What is a Roof Cricket?
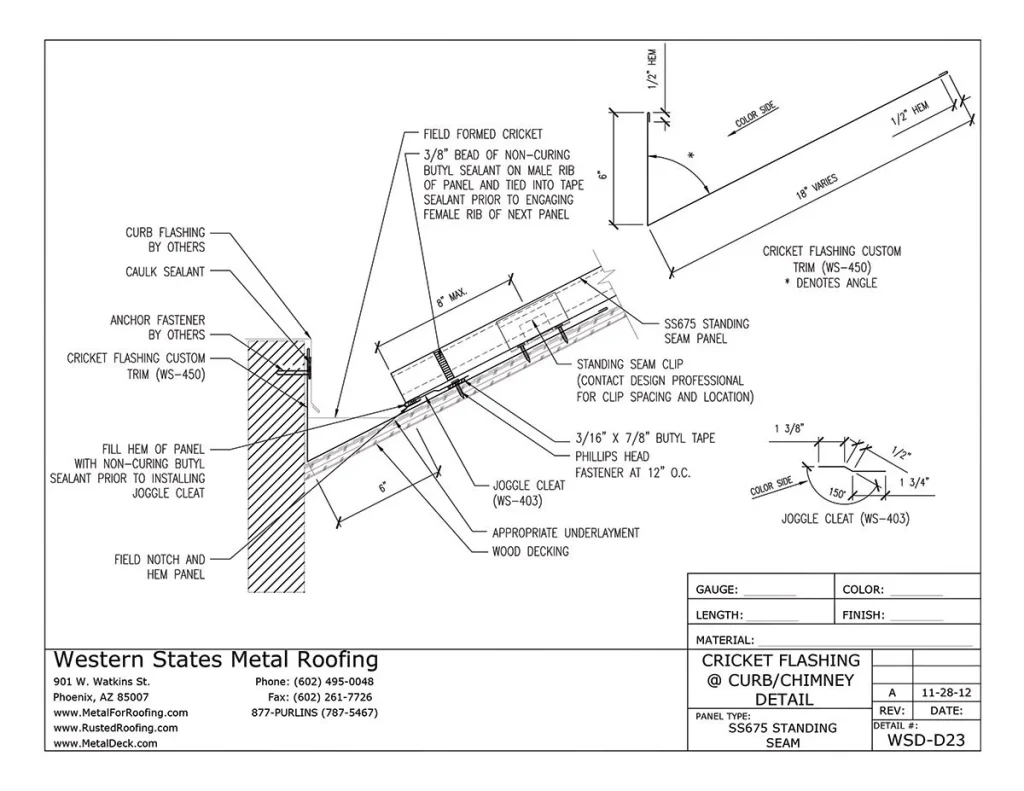
A roof cricket, also known as a saddle or diverter, is a small, peaked structure built on the upslope side of a chimney, wall, or other obstruction on a roof. Its purpose is to divert rainwater and snow around the obstruction, preventing water from pooling or seeping into vulnerable areas of the roof.
Why a Roof Cricket is Crucial for Metal Roofing
1. Preventing Ponding Water
Metal roofs are known for their low-pitched design, which can sometimes lead to ponding water. Ponding water occurs when water collects in low spots on the roof and doesn’t drain properly. Over time, this can lead to corrosion and damage to the metal panels. A roof cricket helps prevent ponding water by redirecting it away from these low spots.
2. Avoiding Leaks
Without a roof cricket, water can accumulate behind chimneys, walls, or other obstructions. Over time, this water can seep through seams or joints in the roofing system, causing leaks. A properly designed and installed roof cricket acts as a barrier, preventing water from infiltrating the roofing system.
3. Ensuring Proper Drainage
Proper drainage is essential for the longevity and performance of any roofing system, especially metal roofs. A roof cricket is an integral part of this drainage system, ensuring that water flows away from potential trouble areas.
Design and Installation of a Metal Roof Cricket
1. Material Selection
The choice of materials for your metal roof cricket is crucial. It should be made from materials that are not only durable but also compatible with your metal roofing system. Common choices include metal, wood, or a combination of materials.
2. Pitch and Size
The pitch of the cricket should be sufficient to direct water away from the obstruction. Typically, a minimum pitch of 3:12 is recommended, but it may vary depending on your specific roofing system and local building codes. The size of the cricket should be proportionate to the size of the obstruction.
3. Flashing and Sealing
Proper flashing and sealing are essential to prevent water infiltration. Flashing should be installed around the edges of the cricket, ensuring a watertight seal. Pay close attention to details like corners and seams, as these are potential weak points.
4. Professional Installation
Installing a roof cricket can be a complex task that requires precise measurements and knowledge of roofing systems. It’s advisable to hire a professional roofing contractor with experience in metal roofing to ensure the cricket is designed and installed correctly.
Maintaining Your Metal Roof Cricket
Once your metal roof cricket is in place, it’s essential to include it in your regular roof maintenance routine. Inspect it for signs of damage, such as rust or loose flashing, and address any issues promptly to ensure it continues to perform its vital role effectively.
Conclusion
The metal roof cricket detail may seem like a minor aspect of your roofing system, but it plays a critical role in ensuring proper drainage and preventing potential issues like ponding water and leaks. When installing a metal roof, don’t overlook the importance of incorporating a well-designed and professionally installed roof cricket. It’s a small investment that can contribute significantly to the longevity and performance of your metal roofing system.


Leave a Reply