Proper installation of metal roof valley flashing is crucial for ensuring the longevity and effectiveness of your roof. Metal roof valley flashing installation is a critical step in protecting your home from water damage and ensuring your roofing system functions as intended. In this guide, we will delve into the essential aspects of valley flashing installation, including preparation, installation steps, and maintenance tips.
What is Metal Roof Valley Flashing?
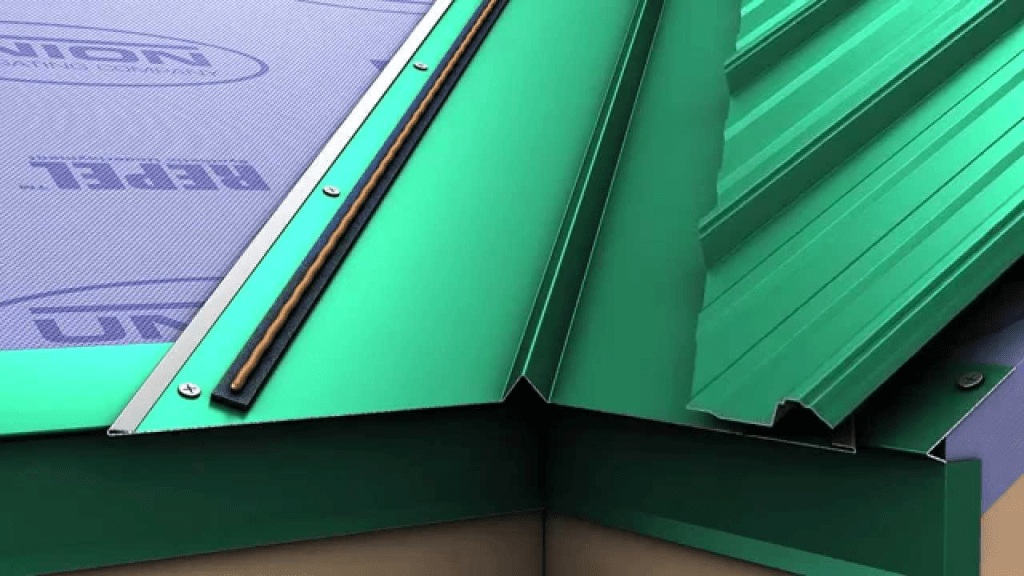
Metal roof valley flashing is a metal component installed in the valleys of a roof where two sloping sections meet. Valleys are particularly vulnerable to water accumulation and potential leaks, making proper flashing installation essential for maintaining a watertight seal. Valley flashing directs water flow into the gutters and away from the roof deck, preventing damage and extending the lifespan of your roofing system.
Importance of Proper Valley Flashing Installation
1. Preventing Water Damage
Valleys are natural collection points for water runoff from the roof. Without proper flashing, water can seep under the roofing material and cause damage to the roof deck and structure. Metal roof valley flashing installation helps channel water efficiently into the gutters, reducing the risk of leaks and water damage.
2. Extending Roof Lifespan
Proper installation of valley flashing protects the roof from the elements, helping to preserve the integrity of both the roofing material and the underlying structure. This can extend the overall lifespan of your metal roof.
Read too: Decoding Timelines: How Long Does It Take To Replace A Roof and What to Expect
3. Maintaining Roof Aesthetics
Well-installed valley flashing not only protects your home but also maintains the visual appeal of your roof. Proper flashing ensures a clean and finished look, avoiding unsightly issues that could arise from improper installation.
Preparing for Metal Roof Valley Flashing Installation
1. Assessing the Roof
Before beginning the installation, assess the condition of your roof. Check for any existing damage to the roof deck or flashing. Replace or repair any damaged areas to ensure a solid foundation for the new flashing.
2. Gathering Materials and Tools
To perform a successful metal roof valley flashing installation, you will need the following materials and tools:
- Metal Flashing: Typically made of aluminum, copper, or galvanized steel, cut to the appropriate length and width for your roof.
- Underlayment: A waterproof barrier that protects the roof deck.
- Roofing Nails or Screws: Used to secure the flashing and roofing materials.
- Sealant: A high-quality roofing sealant to ensure watertight seals.
- Tools: Hammer, utility knife, tape measure, roofing nailer, and tin snips.
How to Install Metal Roof Valley Flashing
1. Prepare the Roof Deck
- Clean the Area: Remove any debris, old flashing, or damaged roofing materials from the valley area.
- Inspect the Deck: Ensure the roof deck is in good condition. Repair or replace any damaged sections.
2. Install Underlayment
- Lay the Underlayment: Install a waterproof underlayment along the valley. Overlap the underlayment along the valley’s length to ensure complete coverage and protection against water infiltration.
- Secure the Underlayment: Use roofing nails or staples to secure the underlayment to the roof deck.
3. Cut and Fit the Metal Flashing
- Measure and Cut: Measure the length of the valley and cut the metal flashing accordingly. The flashing should extend beyond the edge of the valley to provide adequate coverage.
- Shape the Flashing: Use tin snips to shape the flashing to fit the valley’s contours. Ensure that the flashing covers the entire valley and extends up the sides of the roof.
4. Install the Flashing
- Position the Flashing: Place the metal flashing into the valley, ensuring it fits snugly against the roof deck and underlayment.
- Secure the Flashing: Use roofing nails or screws to secure the flashing in place. Make sure the fasteners are spaced evenly and driven in flush with the flashing surface.
- Seal the Edges: Apply a generous bead of roofing sealant along the edges of the flashing where it meets the roofing material. This will create a watertight seal and prevent water from seeping underneath.
5. Install Roofing Materials
- Lay the Roofing: Install the metal roofing panels or shingles over the flashing, following the manufacturer’s instructions. Ensure that the panels overlap the flashing to create a seamless water barrier.
- Secure the Roofing: Fasten the roofing panels or shingles according to the manufacturer’s guidelines, making sure to align them properly with the valley flashing.
6. Inspect the Installation
- Check for Proper Alignment: Ensure that the metal roof valley flashing is properly aligned and that the roofing materials are correctly positioned over the flashing.
- Test for Leaks: After installation, test the valley area by running water over it to check for any signs of leaks. Address any issues immediately to prevent water damage.
Maintenance and Inspection
1. Regular Inspections
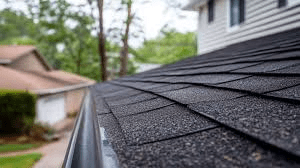
Regularly inspect your metal roof valley flashing to ensure it remains in good condition. Look for signs of damage, such as rust, cracks, or loose flashing. Address any issues promptly to prevent water damage.
2. Cleaning
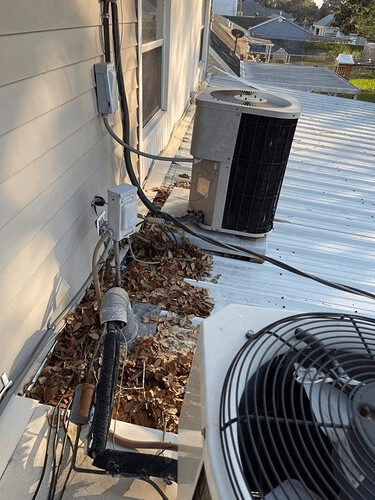
Keep the valley area clean and free of debris that could obstruct water flow. Remove leaves, branches, and other debris that could accumulate in the valley and cause water backup.
3. Repairing Damage
If you notice any damage to the flashing or surrounding roofing materials, repair or replace them as soon as possible. This will help maintain the effectiveness of the flashing and prevent further damage.
Benefits of Metal Roof Valley Flashing
1. Durability
Metal flashing is highly durable and resistant to weathering, making it an excellent choice for protecting roof valleys.
2. Low Maintenance
Once properly installed, metal valley flashing requires minimal maintenance compared to other flashing materials.
3. Aesthetic Appeal
Metal flashing provides a clean and finished look to your roof, enhancing the overall appearance of your home.
Conclusion
Metal roof valley flashing installation is a crucial aspect of maintaining a watertight and durable roofing system. By understanding the installation process and following best practices, you can ensure that your roof remains protected from water damage and continues to function effectively. Proper installation, regular maintenance, and prompt repairs are key to extending the lifespan of your metal roof and preserving the integrity of your home.
Leave a Reply