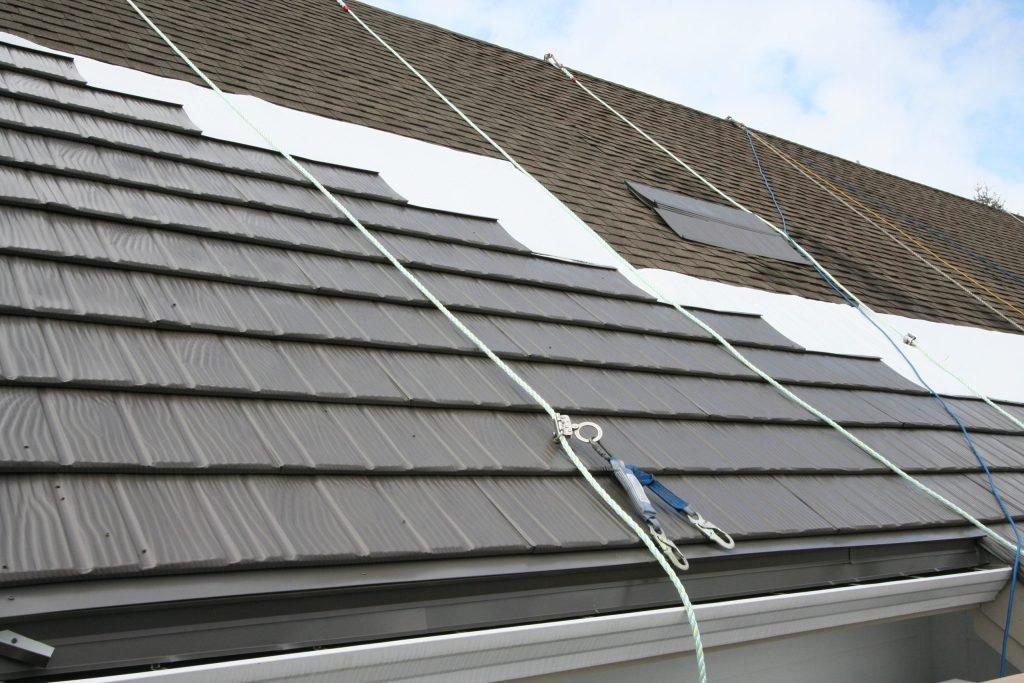
When it comes to roofing, a steel roof is known for its durability and longevity. If you’re considering enhancing your current roof without the hassle of removing shingles, you might be wondering about the process of putting a steel roof over shingles. In this guide, we will walk you through the steps and benefits of this roofing upgrade.

The Advantages of Steel Roofing
Before delving into the process of putting a steel roof over shingles, let’s explore why this option is becoming increasingly popular among homeowners.
- Cost-Efficient Solution: Installing a steel roof over existing shingles can be more cost-effective compared to a complete roof tear-off and replacement. You save on labor and disposal costs.
- Eco-Friendly Approach: Reusing your shingles as an underlayment is an eco-friendly choice, preventing old shingles from ending up in landfills.
- Additional Insulation: The layer of shingles can provide extra insulation, helping regulate temperatures and reducing energy costs.
- Enhanced Durability: Steel roofs are renowned for their longevity and strength. Adding them over shingles can increase your roof’s overall durability.
Step 1: Roof Inspection
Before embarking on the process, it’s crucial to assess the condition of your current roof. Check for damage, leaks, or sagging areas. Any issues should be addressed before moving forward. Ensure your existing shingles are clean and free of debris.
Step 2: Accurate Measurements
Precise measurements are essential to determine the amount of steel roofing material you’ll need. Measure your roof’s square footage, including the pitch or slope. Consult a roofing supplier to order the appropriate amount of steel panels, underlayment, and other necessary materials.
Step 3: Safety Precautions
Safety should be a top priority during any roofing project. Ensure you have the necessary safety equipment, such as harnesses, non-slip shoes, and helmets. It’s advisable to have a partner to assist you and for safety reasons.
Step 4: Underlayment Installation
The underlayment is a vital layer that provides an additional barrier against moisture. Roll it out over your existing shingles, ensuring it overlaps correctly to prevent water infiltration.
Step 5: Installing Battens
Battens are strips or metal rails that create an air gap between the steel roof and shingles. This gap promotes proper ventilation and prevents moisture buildup. Install the battens horizontally, perpendicular to your roof’s slope, and secure them to the deck.
Step 6: Steel Roof Panel Installation
Now comes the critical part – installing the steel roof panels. Begin at one corner of the roof and work your way up. Secure the panels using screws or clips, following the manufacturer’s instructions. Ensure that each panel overlaps correctly to prevent leaks.
Step 7: Flashing and Edging
Proper flashing and edging are essential to seal vulnerable areas, such as roof edges, valleys, and penetrations like chimneys or vents. Install flashing and edging according to the manufacturer’s guidelines, ensuring a watertight seal.
Step 8: Ridge Cap Installation
The ridge cap is the final piece of the puzzle. It covers the roof’s peak, ensuring this area is secure and weatherproof. Install the ridge cap in place, and your steel roof installation is complete.
Conclusion: A Long-Lasting Roofing Upgrade
Transitioning from shingles to a steel roof can significantly improve your home’s longevity and energy efficiency. By following these steps on putting a steel roof over shingles, you can enjoy the benefits of a durable, eco-friendly, and cost-effective roofing solution. However, it’s essential to note that this project may be complex and is often best left to experienced roofing professionals for a successful and long-lasting result.


Leave a Reply