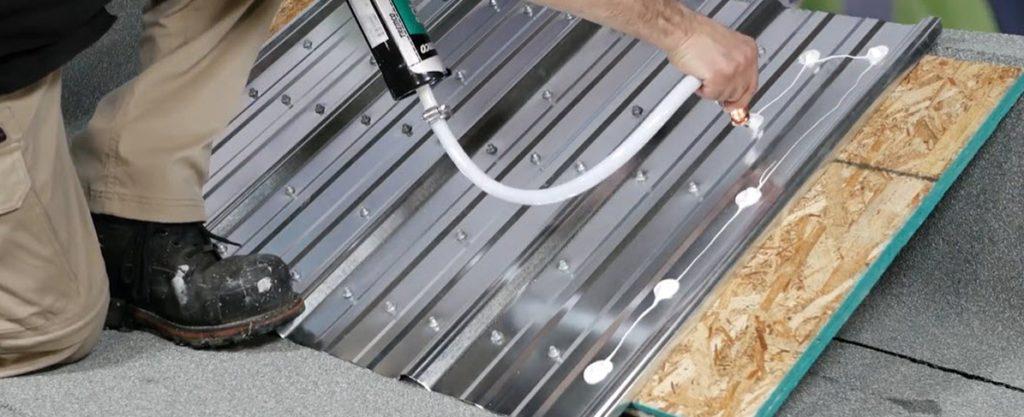
Metal roofing has become a popular choice for homeowners due to its durability, longevity, and energy-efficiency. When installing a metal roof, one crucial aspect to consider is the placement of screws. Proper screw placement is essential to ensure the roof’s integrity and prevent potential leaks. In this article, we will guide you on where to place screws in metal roofing for a successful and long-lasting installation.

Understanding the Importance of Screw Placement:
Screws are a fundamental component of a metal roof’s installation, as they secure the roofing panels to the underlying structure. Proper screw placement is crucial because it helps maintain the structural integrity of the roof, prevents wind uplift, and ensures watertightness.
Selecting the Right Screws:
Before diving into screw placement, it’s essential to choose the appropriate screws for your metal roofing project. Make sure the screws are designed for metal roofing applications and are compatible with your specific roofing material, whether it’s steel, aluminum, or another type of metal.
Screw Spacing:
The spacing between screws is a critical factor in preventing roof leaks and ensuring the roof’s stability. The general rule of thumb for screw spacing is to place screws every 12 to 24 inches along the roof’s seams. However, consult the manufacturer’s guidelines for your specific roofing material, as requirements may vary.
Roof Pitch:
The pitch or slope of your roof also plays a role in screw placement. Steeper roofs may require screws to be placed closer together to prevent water from infiltrating beneath the panels. On lower-slope roofs, screws can be spaced slightly farther apart.
Ridge and Eave Screws:
Screws should be concentrated around the ridge and eave areas of your roof. These are the areas most vulnerable to wind uplift and water infiltration. Placing screws closer together in these zones enhances the roof’s overall strength.
End Laps and Side Laps:
Pay special attention to the end laps (where two metal panels meet at the roof’s end) and side laps (where panels overlap). These areas are critical for preventing water penetration. Ensure that screws are evenly spaced along the laps and positioned in a way that creates a secure seal.
Fastener Gaskets:
Many metal roofing screws come with rubber or neoprene gaskets that create a watertight seal when installed. Ensure that these gaskets are intact and properly seated as you place the screws.
Thermal Movement:
Metal roofing can expand and contract with temperature changes. To accommodate this thermal movement, consider using screws with larger washers or employing a clip system that allows the panels to move slightly without stressing the screws.
Conclusion:
Proper screw placement is a fundamental aspect of installing a metal roof that will stand the test of time. It’s essential to follow the manufacturer’s guidelines, consider your roof’s pitch, and pay extra attention to ridge, eave, and lap areas. When done correctly, screw placement will ensure a secure, watertight, and long-lasting metal roof that provides years of protection for your home.


Leave a Reply