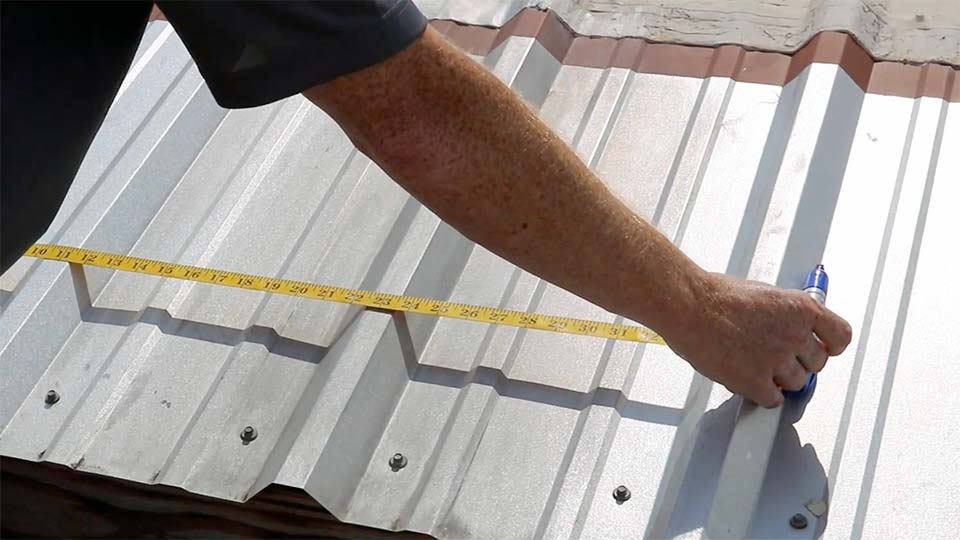
Installing a metal roof can be a smart investment for your property, offering durability, energy efficiency, and a modern aesthetic. However, before you embark on the metal roofing project, it is crucial to measure your roof accurately. Proper measurements ensure that you purchase the right amount of metal roofing material and avoid costly mistakes. In this comprehensive guide, we will walk you through the step-by-step process of measuring metal roofing for your project.

Tools You’ll Need
Before you begin measuring your metal roofing, gather the necessary tools for accurate measurements:
- Measuring Tape: A sturdy measuring tape with both imperial and metric measurements is essential for precision.
- Ladder: Ensure you have a stable ladder to safely access your roof and take measurements.
- Pen and Paper: Keep a notepad and pen handy to jot down the measurements as you go.
Safety Precautions
Before climbing onto your roof, prioritize safety. Here are some essential safety precautions to follow:
- Use a Sturdy Ladder: Make sure your ladder is placed on a level surface and securely positioned against the roof’s edge.
- Wear Appropriate Gear: Non-slip footwear, gloves, and a safety harness are recommended when working on the roof.
- Beware of Weather Conditions: Avoid measuring the roof during adverse weather conditions like rain, strong winds, or icy surfaces.
Measuring the Roof Surface
1. Determine Roof Pitch
The roof’s pitch is an important factor in metal roofing measurements. The pitch is the steepness or slope of the roof. Measure the pitch using a pitch gauge or by calculating the vertical rise over the horizontal run.
2. Measure Roof Length
Start by measuring the length of each roof slope. Place the end of your measuring tape at the roof’s eave (lower edge) and extend it along the slope to the ridge (the highest point). Record the length in feet or meters.
3. Measure Roof Width
Next, measure the width of the roof. Place the measuring tape at one end of the roof’s eave and extend it across to the opposite eave. Note down the width measurement.
4. Account for Overhangs
If your roof has overhangs, include them in your measurements. Measure the distance from the outer edge of the eave to the edge of the overhang.
Calculating Roof Area
1. Calculate Sloped Roof Area
To calculate the area of each sloped section of the roof, multiply the length and width measurements you recorded earlier. For example, if one slope is 30 feet long and 20 feet wide, the area would be 30 feet x 20 feet = 600 square feet.
2. Account for Both Sides
Since most roofs have two slopes, you’ll need to calculate the area for both sides of the roof. Add the areas of both slopes together to get the total sloped roof area.
3. Consider the Gable Ends
If your roof has gable ends (triangular portions on each side of the roof), measure and calculate their areas separately. Add the gable end areas to the total sloped roof area.
Ordering Metal Roofing Material
After obtaining accurate roof measurements and calculating the roof area, it’s time to order the metal roofing material. Metal roofing is typically sold in square footage. Contact your metal roofing supplier and provide them with the total roof area to determine the amount of material required for your project. Consider adding a little extra for waste and to account for potential errors during installation.
Conclusion
Accurate measurements are the foundation of a successful metal roofing project. By following the step-by-step guide outlined above, you can ensure that you have the correct measurements needed to order the right amount of metal roofing material for your property. Remember to prioritize safety during the measuring process and consider seeking assistance from a professional if you feel unsure about taking measurements on your own. With precise measurements and quality metal roofing material, you’re well on your way to enjoying the benefits of a durable and attractive metal roof for years to come.


Leave a Reply