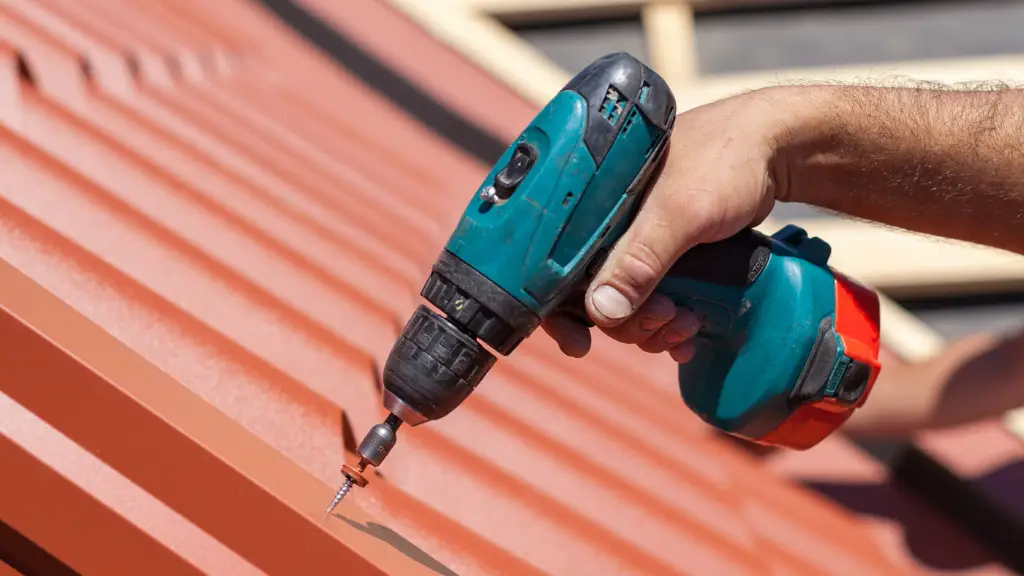
When it comes to installing metal roofing, one essential technique that can significantly impact the success of the project is pre-drilling. Pre-drill metal roofing involves creating holes in the metal panels before attaching them to the roof structure. This method has gained popularity due to its numerous advantages and ease of installation. In this article, we will explore the benefits of pre-drill metal roofing and provide some useful installation tips for a seamless process.

Precision and Alignment
Pre-drilling allows for precise and accurate placement of the metal panels on the roof structure. With pre-drilled holes, installers can ensure that each panel aligns perfectly with the adjacent ones, creating a clean and visually appealing roof surface. The precision in alignment also reduces the risk of misplacing screws or creating uneven gaps, enhancing the overall quality of the metal roofing installation.
Prevents Metal Shearing
Metal shearing is a common concern when installing metal roofing without pre-drilling. Shearing occurs when the metal panel experiences excessive pressure or stress during the screwing process, causing it to bend or crack. Pre-drilling eliminates this problem by creating pilot holes that guide the screws smoothly into place, minimizing the risk of damaging the metal panels.
Faster Installation
Pre-drill metal roofing significantly speeds up the installation process. By having pre-drilled holes, installers can quickly attach the metal panels to the roof structure without the need for measuring and marking each screw location individually. This efficiency not only saves time but also reduces labor costs associated with the installation.
Reduced Noise during Installation
Metal roofing installations can be noisy, especially when using power tools to secure the panels. Pre-drilling minimizes the noise level during installation, making it a more suitable option for residential properties or areas with noise restrictions. The controlled and precise screw placement reduces the amount of drilling required during installation, resulting in a quieter and more peaceful work environment.
Tips for Installing Pre-Drill Metal Roofing
- Choose the Right Drill Bit: Selecting the appropriate drill bit is crucial for successful pre-drilling. A high-quality drill bit specifically designed for metal is essential to achieve clean and accurate holes. Using the wrong type of drill bit can lead to uneven holes or excessive wear on the bit, affecting the overall installation process.
- Optimal Hole Size: The size of the pre-drilled hole is equally important. It should be slightly larger than the diameter of the screws to allow for natural expansion and contraction of the metal panels due to temperature variations. Consult the manufacturer’s guidelines or a roofing professional to determine the appropriate hole size for your specific metal roofing material.
- Maintain Consistent Spacing: Maintaining consistent spacing between pre-drilled holes is vital for the aesthetics and structural integrity of the metal roofing. Measure and mark the screw locations carefully to ensure uniform spacing throughout the installation process.
Conclusion
Pre-drill metal roofing offers several advantages that make it a preferred method for installing metal panels. The precision, prevention of metal shearing, faster installation, and reduced noise are just a few of the benefits that come with pre-drilling. To ensure a successful installation, choose the right drill bit, determine the optimal hole size, and maintain consistent spacing between the holes. By following these tips, you can achieve a professional and visually appealing metal roofing installation that will stand the test of time.


Leave a Reply