Installing a metal roof is an excellent investment in the long-term durability and aesthetics of your home or building. Among the various metal roofing options available, 5V metal roofs have gained popularity for their sleek appearance and exceptional performance. In this article, we will delve into the process of 5V metal roof installation, exploring the key steps and considerations to ensure a successful and long-lasting result.
Understanding 5V Metal Roofs
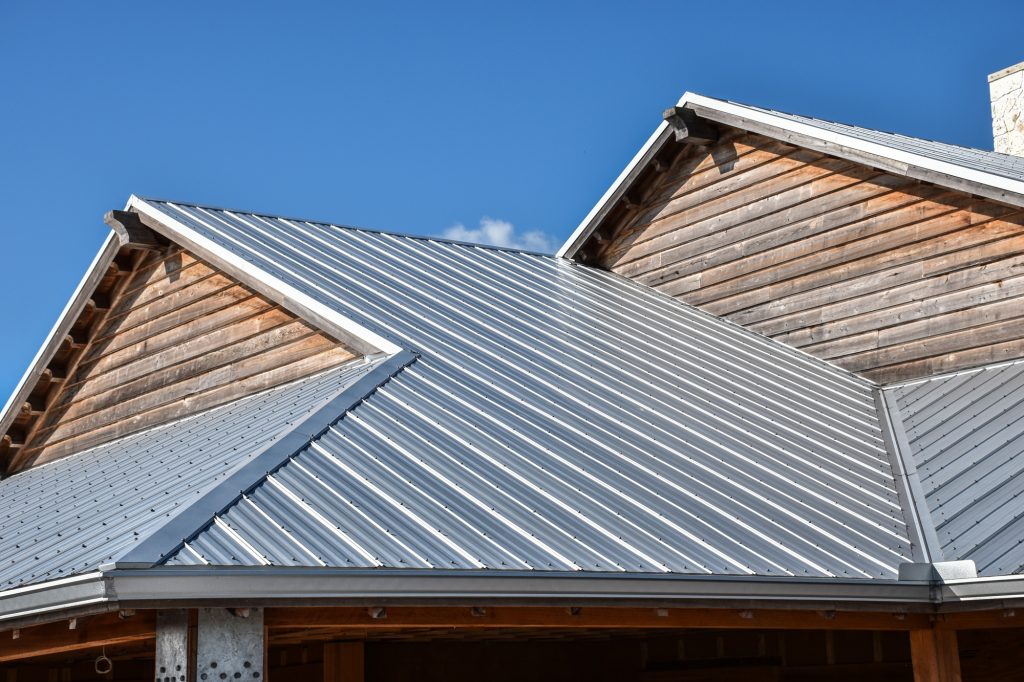
Before diving into the installation process, it is crucial to grasp the fundamental characteristics of 5V metal roofs. The term “5V” refers to the distinctive V-shaped panels that make up the roof, creating a traditional yet stylish look. These panels typically come in standard widths and lengths, making installation easier and more efficient.
Pre-Installation Preparation
Proper preparation is vital to ensure a smooth installation process and maximize the lifespan of your 5V metal roof. Begin by inspecting the existing roof structure and addressing any repairs or reinforcements needed. Clear the area around the building, removing any debris or obstacles that could hinder the installation process.
Gathering the Necessary Tools and Materials
To install a 5V metal roof, you will need a range of tools and materials. Some essential items include a drill, metal snips, roofing nails, a chalk line, a tape measure, and a ladder or scaffolding. Additionally, ensure you have the appropriate safety equipment, such as gloves, goggles, and sturdy footwear.
Installing the Underlayment
Before installing the metal panels, it is essential to lay down an underlayment to provide additional protection against water infiltration and improve energy efficiency. Begin by cleaning the roof surface and removing any dirt or debris. Then, roll out the underlayment, starting from the eave and working your way up the roof. Secure the underlayment using roofing nails, ensuring it is flat and free from wrinkles or gaps.
Placing the Metal Panels
Once the underlayment is in place, it is time to start installing the 5V metal panels. Begin at one corner of the roof and work your way across, placing the panels horizontally. Overlap each panel by the recommended amount to ensure proper water drainage and prevent leaks. Use a chalk line or measuring tape to ensure the panels are straight and aligned.
Securing the Metal Panels
To secure the metal panels, use roofing nails or screws specifically designed for metal roofing. Place the fasteners in the flat section of each panel, avoiding the raised portions to prevent water penetration. Follow the manufacturer’s guidelines regarding the spacing and placement of the fasteners to ensure optimal structural integrity.
Finishing Touches
After all the panels are installed, it’s time to add the finishing touches to your 5V metal roof. Trim the edges of the panels using metal snips to achieve a clean and professional look. Seal any gaps or joints with a suitable sealant to enhance weather resistance and prevent leaks. Lastly, perform a thorough inspection to ensure everything is in place and functioning as intended.
Conclusion:
Installing a 5V metal roof requires careful planning, attention to detail, and the use of proper techniques and materials. By following the steps outlined in this article, you can achieve a successful installation that not only enhances the aesthetics of your property but also provides long-lasting protection. Remember, professional assistance may be necessary for complex installations or if you lack experience in roofing projects. With the right approach, your 5V metal roof will stand the test of time, keeping your property safe and stylish for years to come.


Leave a Reply