When strong winds or severe weather strike, roof shingles can get blown off, leaving your roof vulnerable to water damage. It’s essential to address this issue promptly to prevent further damage and maintain the integrity of your roof. In this article, we will provide a step-by-step guide on how to repair roof shingles that have been blown off. By following these instructions, you can ensure a successful repair and protect your home from potential leaks and structural issues.
Assessing the Damage and Safety Precautions
The first step in repairing roof shingles blown off is to assess the damage and take necessary safety precautions. Conduct a visual inspection of the roof from the ground to determine the extent of the shingle loss. If the damage is significant or if you are uncomfortable working at heights, it’s best to consult a professional roofing contractor. Ensure you have the proper safety equipment, such as a sturdy ladder, harness, and non-slip footwear, if you decide to proceed with the repair yourself.
Gathering the Necessary Materials and Tools
Before you begin the repair process, gather the necessary materials and tools. You will need replacement shingles that match the style and color of your existing roof. It’s crucial to use the same type of shingles to maintain a consistent appearance. Additionally, gather roofing nails, a hammer, a pry bar, roofing cement, and a caulking gun.
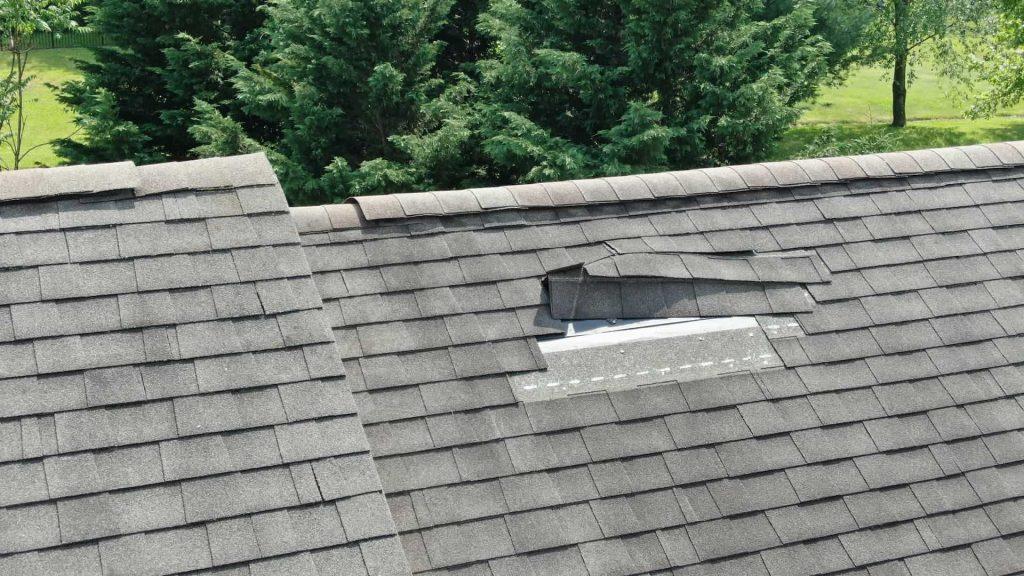
Removing Damaged Shingles and Nails
To replace the blown-off shingles, start by carefully removing the damaged shingles and any remaining nails. Use a pry bar to lift the edges of the damaged shingles, then remove the roofing nails that secure them to the roof. Take caution not to damage surrounding shingles during this process. It’s important to work slowly and carefully to avoid further damage to the roof.
Installing New Shingles
Once the damaged shingles and nails are removed, you can proceed with installing the new shingles. Slide the replacement shingle into place, aligning it with the remaining intact shingles. Ensure that the replacement shingle fits snugly and lies flat against the roof surface. Secure the shingle in place using roofing nails. Insert the nails into the designated nail line on the shingle and drive them into the roof, being careful not to overdrive and damage the shingle.
Sealing and Securing the Shingles
After installing the replacement shingles, it’s essential to seal and secure them to prevent future issues. Apply a small amount of roofing cement under the edges of the shingles to create a watertight seal. Press down firmly on the shingle to ensure proper adhesion. Additionally, check the surrounding shingles to ensure they are secure and make any necessary repairs or adjustments.
Regular Roof Maintenance and Professional Inspection
While repairing blown-off shingles is important, it’s equally crucial to perform regular roof maintenance and schedule professional inspections. Regularly inspect your roof for loose or damaged shingles, and address any issues promptly. Additionally, hire a professional roofing contractor to conduct a thorough inspection at least once a year. They can identify potential problems early on and recommend necessary repairs or maintenance to prolong the life of your roof.
Conclusion:
Repairing roof shingles blown off is a necessary task to protect your home from water damage and maintain the integrity of your roof. By following the step-by-step guide outlined in this article, you can successfully replace the damaged shingles and ensure a watertight seal. Remember to prioritize safety, gather the necessary materials and tools, and perform regular roof maintenance to prevent future issues. If you’re unsure or uncomfortable with the repair process, don’t hesitate to consult a professional roofing contractor for assistance. With proper care and timely repairs, you can keep your roof in excellent condition and safeguard your home for years to come.


Leave a Reply