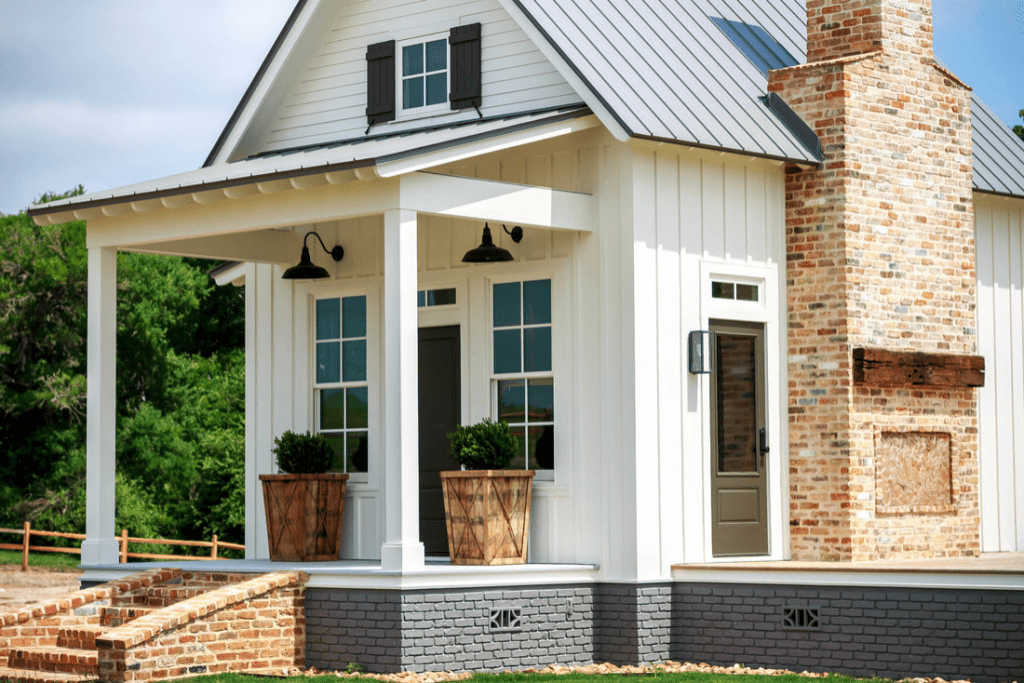
A gable roof is one of the most classic, functional, and aesthetically pleasing roof styles for tiny houses. If you’ve ever admired the triangular peak of a small cabin or quaint cottage, you’ve seen a gable roof in action. Its design is simple yet effective, providing excellent drainage, weather resistance, and interior headroom — making it perfect for a tiny home.
In this comprehensive guide, we’ll walk you through how to build a gable roof for a tiny house step-by-step, from planning and material selection to final installation and finishing touches. Whether you’re an experienced builder or a DIY enthusiast, this tutorial will give you the clarity and confidence you need to complete your project.
Read too: How Long Do Standing Seam Metal Roofs Last? A Comprehensive Guide to Durability and Longevity
Why Choose a Gable Roof for a Tiny House?
Before we get into how to build a gable roof for a tiny house, it’s worth understanding why this roof style is such a popular choice:
- Simple Construction – Gable roofs are straightforward to frame and install, even for beginner builders.
- Efficient Water Runoff – The sloped design prevents rain and snow buildup, reducing the risk of leaks.
- Extra Loft Space – The peak allows for extra headroom or loft storage in your tiny home.
- Strong Against Weather – Properly built gable roofs can handle wind, rain, and snow loads effectively.
Planning Your Gable Roof Project
Before you start building, preparation is key.
Step 1: Determine Roof Pitch
The pitch refers to the steepness of your roof. Common gable roof pitches for tiny houses range from 4/12 (low slope) to 12/12 (steep). Your pitch will depend on your climate — steeper pitches are better for snowy areas.
Step 2: Choose Materials
You’ll need:
- Lumber for rafters, ridge board, and framing.
- Plywood or OSB for roof sheathing.
- Roofing underlayment like felt paper or synthetic membrane.
- Roofing material such as asphalt shingles, metal panels, or cedar shakes.
- Fasteners including nails, screws, and hurricane ties for wind resistance.
Step 3: Gather Tools
A circular saw, hammer, drill, level, measuring tape, chalk line, and ladder are essential.
How To Build A Gable Roof For A Tiny House Step-by-Step
1. Build the Wall Frames
Your gable roof will sit on top of your tiny house’s wall frames. Ensure the top plates are level and square to avoid alignment issues later.
2. Install the Ridge Board
The ridge board runs horizontally at the peak of the roof and serves as the central attachment point for the rafters. Support the ridge board temporarily with posts or scaffolding.
3. Cut and Attach Rafters
- Measure and cut your rafters according to your chosen pitch.
- Use a framing square to mark the birdsmouth cuts so rafters sit securely on the top plates.
- Attach rafters to the ridge board and top plates using nails or screws. Hurricane ties add extra stability.
4. Add Collar Ties
Collar ties are horizontal supports between rafters that prevent them from spreading apart under load.
5. Install Gable End Walls
Gable end walls are the triangular sections at each end of the roof. Frame them and attach sheathing to enclose the space.
6. Sheath the Roof
Cover the rafters with plywood or OSB sheathing, securing it with nails or screws. Ensure seams are staggered for strength.
7. Install Roofing Underlayment
Lay down roofing felt or a synthetic underlayment to create a moisture barrier.
8. Apply Roofing Material
- Asphalt shingles: Start from the bottom edge and work upward.
- Metal roofing: Lay panels and secure with screws at the recommended intervals.
- Cedar shakes: Install in overlapping rows for proper water runoff.
Tips for a Strong, Long-Lasting Gable Roof
- Check Local Codes – Building codes can dictate pitch, materials, and wind load requirements.
- Use Quality Lumber – Avoid warped or cracked boards to prevent structural weaknesses.
- Seal All Gaps – Use flashing and sealant around chimneys, vents, and skylights.
- Ventilate the Roof – Add soffit and ridge vents to prevent condensation buildup inside.
Common Mistakes to Avoid When Building a Gable Roof
- Incorrect Rafter Angles – Even a small miscalculation can lead to misalignment.
- Skipping Hurricane Ties – These small metal brackets significantly increase wind resistance.
- Poor Waterproofing – Inadequate flashing or underlayment can cause costly water damage.
- Ignoring Ventilation – Trapped moisture can rot framing and promote mold growth.
Cost Breakdown for Building a Gable Roof
The total cost depends on your material choice and roof size, but for a tiny house, expect:
- Lumber: $400–$700
- Sheathing: $200–$400
- Roofing material: $300–$800
- Hardware & accessories: $50–$150
- Total: Around $950–$2,000 for most DIY builds.
Advantages of DIY vs. Hiring a Professional
DIY:
- Saves labor costs.
- Gives you full creative control.
- Can be completed at your own pace.
Professional:
- Faster completion.
- Expertise ensures fewer mistakes.
- Access to specialized tools and techniques.
If you’re confident with carpentry, building your own gable roof for a tiny house is entirely achievable.
Final Thoughts
Learning how to build a gable roof for a tiny house can be one of the most rewarding parts of your DIY homebuilding journey. This classic design not only enhances your home’s look but also provides practical benefits like durability, weather resistance, and added space.
With careful planning, quality materials, and attention to detail, your gable roof will serve your tiny house beautifully for years to come.


Leave a Reply