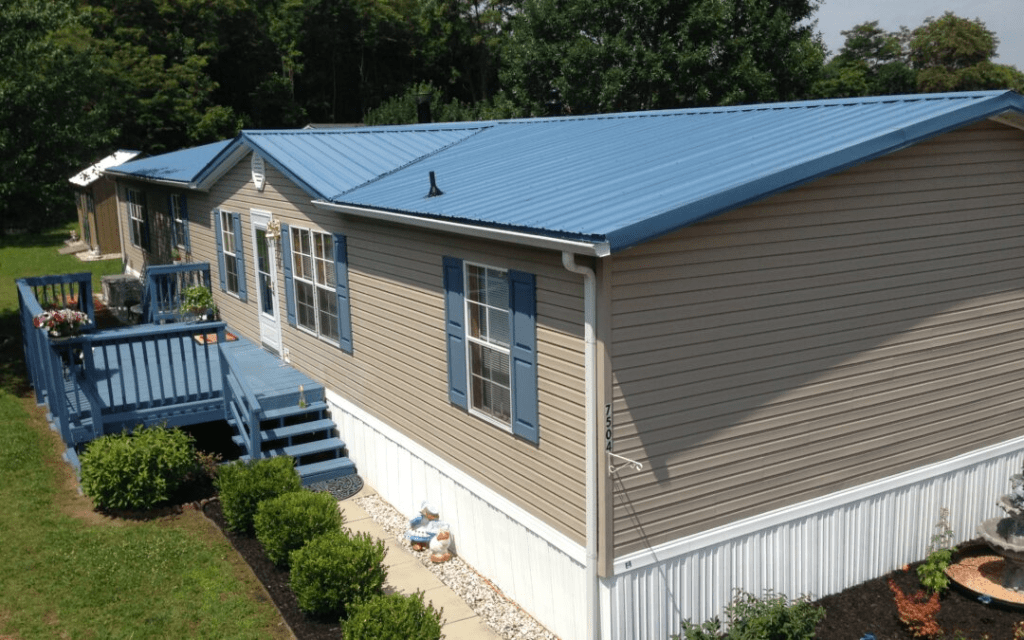
Trailer houses, also known as manufactured or mobile homes, often use metal roofing because of its durability, affordability, and relatively simple installation. However, over time, exposure to the elements can lead to issues such as leaks, rust, loose panels, or damaged seams. If you’re searching “how to fix a metal roof on a trailer house”, chances are you’ve noticed one of these problems and need a reliable solution.
This guide will walk you through the process of inspecting, repairing, and maintaining a metal roof on a trailer house. Whether you’re dealing with minor leaks or more significant structural concerns, the steps outlined here will help you fix the problem and extend the lifespan of your roof.
Why Metal Roofs on Trailer Houses Need Maintenance
Before diving into how to fix a metal roof on a trailer house, it’s important to understand why these roofs require upkeep:
- Weather Exposure – Rain, snow, wind, and hail can damage seams and coatings.
- Movement of the Structure – Trailer houses shift slightly over time, loosening screws or fasteners.
- Thermal Expansion – Metal expands and contracts with temperature changes, stressing joints.
- Rust and Corrosion – Without regular coating or paint, metal roofs may corrode.
Regular inspections and timely repairs prevent small issues from becoming major problems.
Tools and Materials You’ll Need
When learning how to fix a metal roof on a trailer house, gathering the right tools is key:
- Safety gear (gloves, boots, safety glasses)
- Extension ladder
- Wire brush or grinder (for rust removal)
- Caulking gun with roof sealant
- Roofing screws with rubber washers
- Drill or screwdriver
- Metal roofing patches or sheet metal
- Roof coating or elastomeric sealant
- Paintbrush or roller
Read too: Hail Damage Roof Repair: Essential Guide to Restoring Your Home’s Protection
How To Fix A Metal Roof On A Trailer House
Step 1: Inspect the Roof Thoroughly
Climb safely onto your roof and look for:
- Rust spots
- Loose or missing screws
- Holes or punctures
- Worn seams or flashing
- Areas where water pools
Mark problem areas with chalk so you can address each one systematically.
Step 2: Clean and Prepare the Surface
Use a wire brush to remove rust and debris. For larger rust patches, a grinder may be necessary. A clean surface ensures that sealants and patches adhere properly.
Step 3: Tighten or Replace Loose Screws
Metal roofs on trailer houses often leak around screws. Remove loose screws and replace them with larger roofing screws with rubber washers. The washers create a watertight seal.
Step 4: Seal Holes and Small Cracks
For small leaks:
- Apply roofing sealant directly to the hole.
- Smooth it out with a putty knife.
For larger cracks:
- Place a patch of sheet metal over the area.
- Secure it with roofing screws.
- Apply sealant around the edges to prevent leaks.
Step 5: Repair Damaged Seams
Seams are common leak points. Apply a generous bead of sealant along the seam, then use a roller to press it in. This prevents water from sneaking under the panels.
Step 6: Apply Roof Coating
Once repairs are complete, apply an elastomeric roof coating. This reflective coating:
- Extends the life of the roof.
- Prevents leaks by creating a waterproof barrier.
- Improves energy efficiency by reflecting sunlight.
Use a roller or sprayer for even application.
Step 7: Check Flashing Around Vents and Chimneys
Trailer houses often have vents, skylights, or chimneys that require flashing. Reseal or replace flashing if it looks worn or cracked.
Preventative Maintenance Tips
Understanding how to fix a metal roof on a trailer house is only part of the process. To avoid frequent repairs, follow these tips:
- Inspect Twice a Year – Check your roof in spring and fall.
- Remove Debris – Clear leaves, branches, and dirt regularly.
- Recoat Every 3–5 Years – Maintain protection with fresh roof coating.
- Watch for Rust Early – Address small rust spots before they spread.
- Check After Storms – Strong winds or hail can loosen fasteners and dent panels.
Common Mistakes to Avoid
- Using Regular Screws – Always use roofing screws with rubber washers.
- Skipping Cleaning – Sealant won’t stick to dirty or rusty surfaces.
- Not Adding Extra Sealant – Skimping on sealant often leads to recurring leaks.
- Walking Carelessly – Stepping on weak areas can cause dents or damage.
Cost of Repairing a Metal Roof on a Trailer House
If you’re doing the repair yourself, expect costs around:
- Sealant: $20–$50
- Roofing screws: $10–$25 per box
- Roof coating: $100–$300 depending on size
- Metal patches: $10–$30
Professional repairs may cost between $300–$1,000 depending on the extent of the damage.
FAQs
Q: How long does a metal roof on a trailer house last?
With proper maintenance, 30–50 years is typical.
Q: Can I walk on a trailer house roof?
Yes, but step carefully near rafters to avoid dents. Consider using a roof plank for weight distribution.
Q: What’s the best sealant for metal roofs?
Elastomeric sealant or butyl-based sealants are highly recommended.
Q: Should I replace or repair my roof?
If more than 25% of your roof is damaged, replacement may be more cost-effective.
Conclusion
Learning how to fix a metal roof on a trailer house empowers homeowners to handle common roofing issues like leaks, rust, and loose screws without always relying on professionals. By inspecting regularly, sealing cracks promptly, and applying protective coatings, you can extend the lifespan of your trailer home’s roof and avoid expensive replacements.
With the right tools, safety precautions, and maintenance habits, a metal roof on a trailer house can serve you reliably for decades.


Leave a Reply