Introduction
A 12 x 20 shed roof house is an excellent choice for those looking to build a functional and cost-effective small living space, workshop, or storage unit. With its simple design and efficient use of materials, this type of structure is perfect for DIY enthusiasts and builders alike.
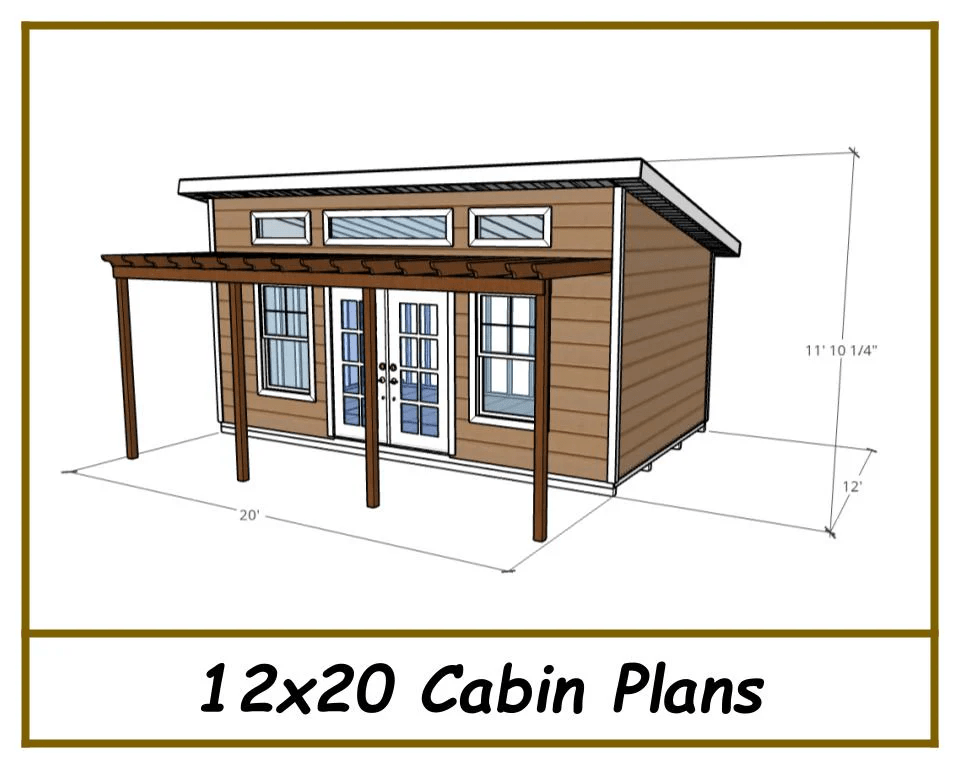
If you’re planning to construct a 12 x 20 shed roof house, having detailed building plans and a material list is essential to ensure a smooth construction process. This guide will walk you through the entire process, from planning to the final build, while providing a comprehensive building plans material list 12 x 20 shed roof house to help you get started.
Read too: Hail Damage Roof Repair: Essential Guide to Restoring Your Home’s Protection
Why Choose a 12 x 20 Shed Roof House?
A 12 x 20 shed roof house offers many advantages:
- Affordable construction – Uses fewer materials compared to complex roof structures.
- Easy to build – The shed roof design is simple and requires basic framing skills.
- Versatile usage – Can be used as a tiny home, guest house, office, workshop, or storage shed.
- Energy-efficient – A sloped roof provides good drainage and allows for solar panel installation.
By following the right building plans and material list, you can efficiently construct a sturdy, durable, and functional 12 x 20 shed roof house without unnecessary costs.
Building Plans Material List 12 X 20 Shed Roof House
1. Foundation Materials
A strong foundation is critical to the stability of your shed roof house. Depending on your location and soil type, you can choose from the following foundation options:
- Concrete slab foundation:
- 20 bags of concrete mix
- 2×4 treated lumber for framing
- Gravel for base layer
- Reinforcement mesh or rebar
- Pier and beam foundation:
- 8 concrete pier blocks
- 4×4 treated lumber for beams
- 2×6 joists for floor framing
- Plywood or OSB for subflooring
2. Wall Framing Materials
For a sturdy wall structure, you’ll need the following materials:
- 2×4 framing lumber (40 pieces, 8 ft long)
- Plywood or OSB sheathing (10 sheets, 4×8 ft)
- Nails and screws (assorted sizes)
- Weather-resistant house wrap
3. Roof Framing and Materials
A shed roof has a single sloped plane, making it simple yet effective. Here’s what you’ll need:
- 2×6 or 2×8 rafters (depending on desired roof pitch)
- Plywood or OSB sheathing (6 sheets, 4×8 ft)
- Roofing felt or underlayment
- Metal roofing panels or asphalt shingles
- Drip edge and flashing
4. Doors and Windows
Adding windows and doors improves ventilation and natural lighting. Consider:
- 1 pre-hung exterior door (36-inch)
- 2-3 windows (depending on preference)
- Window flashing and sealant
5. Interior and Insulation Materials
To make your 12 x 20 shed roof house comfortable, add insulation and interior finishing materials:
- Fiberglass batt insulation or spray foam
- Drywall or plywood panels
- Paint and primer
- Electrical wiring and outlets (if adding electricity)
6. Flooring Materials
For a durable and comfortable floor, consider:
- Plywood or OSB subflooring
- Vinyl, laminate, or hardwood flooring
- Baseboards and trim
Step-by-Step Construction Process
1: Preparing the Foundation
- Clear the site and level the ground.
- Lay the foundation type of your choice (concrete slab or pier and beam).
- Allow the foundation to cure before proceeding.
2: Framing the Walls
- Cut and assemble the 2×4 studs for each wall.
- Attach sheathing panels for extra strength.
- Secure the walls to the foundation and brace them for support.
3: Installing the Shed Roof
- Attach roof rafters and secure them with nails or screws.
- Install plywood or OSB roof sheathing.
- Apply roofing felt and shingles or metal roofing panels.
4: Adding Doors and Windows
- Cut out spaces for doors and windows.
- Install frames and secure them with screws.
- Seal gaps with flashing and caulk.
5: Insulating and Finishing the Interior
- Install insulation in walls and roof.
- Cover walls with drywall or plywood panels.
- Paint and finish interior walls.
6: Flooring and Final Touches
- Install subflooring and chosen floor finish.
- Add trim and baseboards for a polished look.
- Install electrical wiring (if necessary).
Cost Estimate for a 12 x 20 Shed Roof House
Here’s an approximate breakdown of costs:
| Material | Estimated Cost |
|---|---|
| Foundation | $500 – $1,000 |
| Lumber | $1,000 – $2,000 |
| Roofing | $500 – $1,500 |
| Doors & Windows | $400 – $800 |
| Insulation & Interior | $500 – $1,000 |
| Flooring | $300 – $700 |
| Miscellaneous | $300 – $500 |
| Total Estimate | $3,500 – $7,500 |
The actual cost may vary based on location, material quality, and labor costs.
Tips for Building a 12 x 20 Shed Roof House
- Plan Ahead – Have a clear building plan and material list before starting.
- Use Quality Materials – Cheap materials may save money short-term but cost more in repairs.
- Check Local Building Codes – Ensure compliance with zoning laws and permits.
- Consider Insulation and Ventilation – A well-insulated and ventilated shed house is more comfortable.
- Think About Electrical and Plumbing – If adding utilities, plan accordingly.
Final Thoughts
A 12 x 20 shed roof house is a practical and efficient structure that serves multiple purposes, from a tiny home to a workshop or storage space. By following a detailed building plan and material list, you can construct a durable and functional space with minimal hassle.
If you’re a DIY enthusiast, this project is both rewarding and budget-friendly. Whether you’re looking for a weekend retreat, a backyard studio, or a guest house, this shed roof house design is a fantastic option!


Leave a Reply