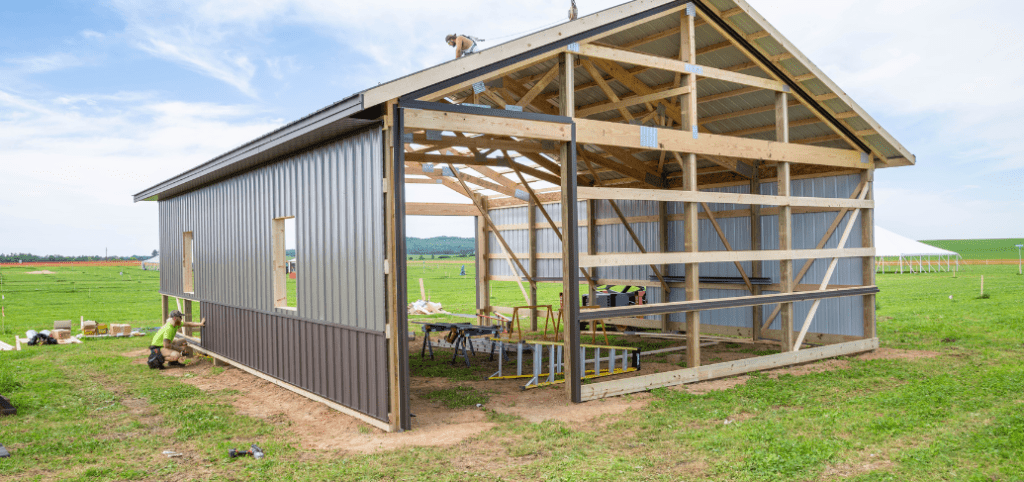
When it comes to roofing options, metal roofs stand out for their durability, energy efficiency, and aesthetic appeal. If you’re considering a metal roof for your home, the Fabral Metal Roofing Installation Guide is an essential resource. This guide will walk you through the installation process, ensuring that your new roof is installed correctly and efficiently.

Why Choose Fabral Metal Roofing?
Before we dive into the installation process, it’s worth understanding why Fabral metal roofing is a popular choice among homeowners and contractors alike.
1. Durability
Fabral metal roofs are designed to withstand extreme weather conditions, including heavy rain, snow, and high winds. They are resistant to rust and corrosion, making them a long-lasting option for any climate.
Read too: How To Replace Roof Shingles That Blew Off: A Comprehensive Guide
2. Energy Efficiency
Metal roofing reflects solar heat, which can help reduce energy costs. Fabral products often include thermal breaks to enhance insulation, making your home more energy-efficient.
3. Aesthetic Variety
Available in various colors and styles, Fabral metal roofing can complement any home design, from modern to traditional.
4. Low Maintenance
Metal roofs require minimal maintenance compared to traditional roofing materials. They are easy to clean and typically don’t require regular inspections.
Preparing for Installation
Tools and Materials Needed
Before starting your project, gather all the necessary tools and materials:
Tools:
- Power Drill
- Tin Snips
- Tape Measure
- Level
- Safety Goggles and Gloves
- Ladder
- Impact Driver
- Caulking Gun
Materials:
- Fabral Metal Panels
- Underlayment
- Screws and Fasteners
- Flashing
- Sealant
- Trim Pieces
Safety Precautions
Ensure you prioritize safety throughout the installation process. Always wear safety goggles and gloves, and use ladders properly. If you’re uncomfortable working at heights, consider hiring a professional.
Step-by-Step Fabral Metal Roofing Installation Guide
Step 1: Prepare the Roof Deck
- Inspect the Roof Deck: Ensure that the existing roof deck is in good condition. Replace any damaged plywood or OSB (oriented strand board) before proceeding.
- Clean the Surface: Remove any debris, old shingles, or underlayment from the roof surface.
Step 2: Install Underlayment
- Roll Out Underlayment: Start at the bottom edge of the roof and roll out the underlayment, overlapping each row by about 6 inches.
- Secure the Underlayment: Use roofing staples or a pneumatic nailer to secure the underlayment in place, ensuring that it is flat and wrinkle-free.
Step 3: Install Flashing
- Install Flashing Around Penetrations: Apply flashing around chimneys, vents, and other roof penetrations. Use a sealant to ensure a watertight seal.
- Install Eave and Gable Flashing: Flashing should be placed at the eaves and gables of the roof to prevent water from entering the structure.
Step 4: Cutting and Fitting Metal Panels
- Measure and Mark: Measure the length needed for each panel and mark it clearly on the metal sheet.
- Cut Panels: Use tin snips to cut the metal panels to size. Ensure you wear gloves to avoid sharp edges.
- Fit Panels: Start at the eaves and work your way up the roof, fitting each panel tightly against the next.
Step 5: Install Metal Panels
- Secure Panels with Screws: Begin fastening the first panel at the eave. Use screws specifically designed for metal roofing, spacing them according to the manufacturer’s instructions.
- Overlap Each Panel: Each panel should overlap the previous one by about 1-2 inches at the side and 6 inches at the ends.
- Check for Level: As you work, ensure each row is level before securing it completely.
Step 6: Install Ridge Cap
- Measure and Cut Ridge Cap: Measure the length of the ridge and cut the ridge cap to fit.
- Secure Ridge Cap: Position the ridge cap over the top of the roof and secure it with screws. Ensure a tight fit to prevent water intrusion.
Step 7: Finishing Touches
- Install Trim Pieces: Install any necessary trim pieces around the edges, eaves, and gables for a finished look.
- Seal All Joints: Apply a weatherproof sealant to all joints and penetrations to prevent leaks.
- Final Inspection: Inspect the entire roof for any missed screws, gaps, or issues that need addressing.
Maintenance Tips for Your Fabral Metal Roof
- Regular Inspections: Inspect your metal roof at least once a year and after major storms for any signs of damage or loose fasteners.
- Clean Gutters and Valleys: Keep gutters clear to prevent water backup, which can damage the roof.
- Remove Debris: Clear leaves, branches, and other debris from the roof to prevent scratches and rust.
- Check for Rust: Look for any signs of rust and treat them immediately to prevent further damage.
Conclusion
The Fabral Metal Roofing Installation Guide provides a comprehensive overview for homeowners considering a metal roof. By following these steps and ensuring proper preparation and maintenance, you can enjoy the durability and aesthetic appeal of Fabral metal roofing for many years to come. If you’re unsure about any part of the installation, don’t hesitate to consult a professional for assistance.


Leave a Reply