The gambrel roof, with its distinctive two-slope design, is a classic architectural style that adds charm and character to many homes. Shingling a gambrel roof can be a challenging task, but with the right techniques and proper guidance, you can achieve a beautiful and durable finish. In this step-by-step guide, we will walk you through the process of shingling a gambrel roof, from preparation to completion, ensuring that your roof remains not only aesthetically pleasing but also well-protected for years to come.
Understanding the Gambrel Roof Design
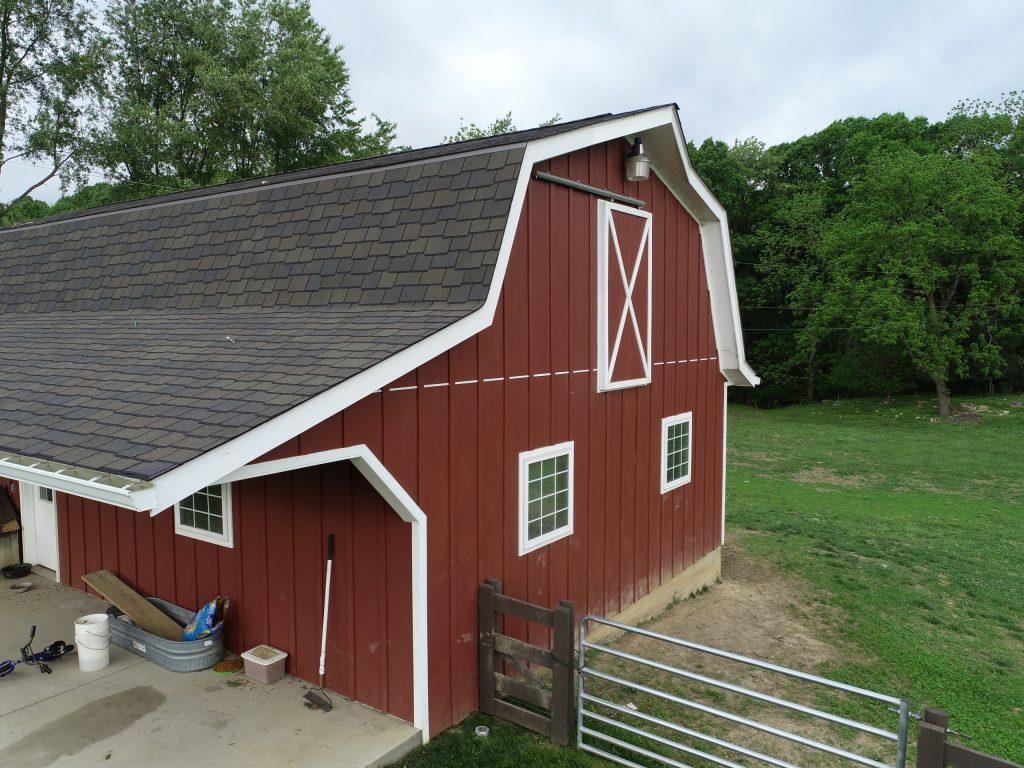
Before you begin shingling, it’s essential to understand the unique design of a gambrel roof. The roof features two distinct slopes on each side, with the lower slope being steeper than the upper slope. This design allows for more living space in the upper floor of the building while providing efficient water runoff on the lower slope. Shingling a gambrel roof requires precision to accommodate the varying angles and ensure a proper seal against the elements.
Preparing the Roof Surface
The first step in shingling a gambrel roof is to prepare the surface. Ensure that the roof is clean, dry, and free from any debris. Repair any damaged or rotten wood and replace missing or loose shingles. It’s also a good idea to inspect the roof’s underlayment and replace it if necessary, as a sturdy underlayment is crucial for the longevity of the shingles.
Choosing the Right Shingles
Selecting the appropriate shingles for your gambrel roof is essential for both aesthetics and functionality. Asphalt shingles are a popular choice due to their affordability and ease of installation. Architectural or dimensional shingles can add depth and texture to the roof, enhancing its visual appeal. Choose shingles with a high wind resistance rating, as the steep slopes of a gambrel roof can be more exposed to wind uplift.
Starting the Shingling Process
- Start at the Bottom: Begin shingling at the bottom edge of the roof, using a starter strip to provide a secure base for the first row of shingles. Align the starter strip with the roof’s edge and nail it in place.
- Nail Placement: For each shingle, use at least four nails, placing them near the top edge, but below the shingle’s sealant strip. Take care to space the nails evenly to ensure a secure attachment.
- Overlapping the Shingles: Install the shingles in rows, starting at the eaves and working your way up the roof. Each new row should overlap the previous one to prevent water from seeping under the shingles.
Navigating the Slopes
Shingling the steep lower slope of the gambrel roof can be more challenging than the flatter upper slope. Here are some tips for navigating the slopes:
- Cutting the Shingles: Measure and cut the shingles to fit the angle of the slope accurately. A utility knife or roofing scissors can be used to make precise cuts.
- Overhang and Drip Edge: Leave a slight overhang at the edges of the roof and install a drip edge to direct water away from the fascia.
- Use Roof Jacks: When working on the steeper slopes, consider using roof jacks or brackets for safety. These devices provide a stable platform to stand on while shingling.
Completing the Ridge and Hip
Once you have shingled both slopes of the gambrel roof, it’s time to address the ridge and hip. Install ridge caps along the ridges and hip caps along the hips to create a finished and watertight seal. Secure the caps with nails or adhesive, depending on the manufacturer’s recommendations.
Conclusion:
Shingling a gambrel roof requires careful planning, attention to detail, and the right techniques to ensure a successful and long-lasting installation. By understanding the unique design of the gambrel roof, preparing the surface, choosing the right shingles, and navigating the slopes with precision, you can achieve a beautiful and functional roofing finish. Regular maintenance and inspections will help preserve the integrity of your shingled gambrel roof, allowing it to protect your home for many years to come.


Leave a Reply