Attaching a roof to the side of a house is a common home improvement task, whether you’re adding a patio cover, a carport, a porch roof, or a lean-to structure. But when your home is covered in vynil siding, the process can be a little tricky. You must be careful not to compromise the waterproofing integrity of the siding while ensuring a secure structural connection.
In this comprehensive guide, we will explain how to attach roof to side of house vynil siding step-by-step. From preparation and tools to installation and weatherproofing, this article will walk you through everything you need to know to make your project successful.
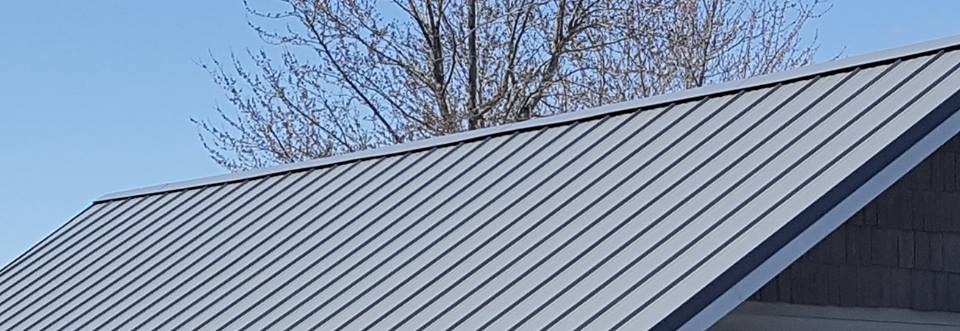
Read too: How Long Do Standing Seam Metal Roofs Last? A Comprehensive Guide to Durability and Longevity
Understanding Vynil Siding Before Attaching Any Roof
Before diving into the project, it’s important to understand that vynil siding is not structural. You cannot attach a roof directly to it. Instead, you must locate the house’s structural framing behind the siding and ensure your connection is made securely to that framing.
Vinyl (or “vynil”) siding is designed for aesthetics and weather protection. It’s installed with a small gap behind it for movement and expansion. If you puncture or compress this siding improperly, you risk creating water intrusion points or even cracking the siding panels.
Essential Tools and Materials
To successfully attach a roof to a house with vynil siding, you’ll need the following:
Tools:
- Stud finder
- Ladder
- Tape measure
- Power drill and bits
- Level
- Chalk line
- Circular saw
- Vinyl siding removal tool (zip tool)
- Safety glasses & gloves
Materials:
- Ledger board (pressure-treated lumber)
- Lag screws or structural bolts
- Joist hangers or brackets
- Flashing (aluminum or vinyl-compatible)
- Silicone or polyurethane sealant
- Roofing material (metal, shingles, or polycarbonate panels)
Planning the Roof Attachment
Before doing any physical work, define the type of roof structure you’re adding to your home. Is it a patio cover? A lean-to carport? A sunshade? The method to attach roof to side of house vynil siding varies slightly based on the size and pitch of the roof.
Important design elements to decide:
- Roof pitch (slope)
- Height at attachment point
- Distance from house (roof projection)
- Type of roofing materials
- Structural load capacity
Always check local building codes to ensure compliance with regulations related to snow load, wind resistance, and required permits.
How To Attach Roof To Side Of House Vynil Siding – Step-by-Step Installation
This is where the real work begins. Here’s a complete breakdown of how to attach your roof to a house that has vynil siding:
Step 1: Mark the Ledger Board Location
The ledger board is a critical piece—it will support the roof rafters and anchor them to your house. Using a chalk line and level, mark the exact location on the vynil siding where the ledger board will go.
Ensure the height allows for a minimum slope of 1/4 inch per foot to allow water runoff.
Step 2: Locate the Wall Studs
Use a stud finder to locate the wall studs behind the vynil siding. These vertical framing members are what the ledger board will be anchored to.
Mark each stud clearly along the chalk line.
Step 3: Remove the Vinyl Siding Where Needed
Using a vinyl siding removal tool (zip tool), carefully unhook and remove the vinyl siding panels at the height where your ledger board will be installed.
You may need to cut or trim siding for a clean edge. Save the panels for reinstallation or cut them to fit around the new structure.
Step 4: Install Flashing
To prevent water damage, install flashing behind the wall sheathing and over the top of the ledger board. Use aluminum flashing and tuck the top edge under the house wrap. This will direct any rainwater away from the new connection and prevent leakage.
Apply silicone sealant behind the flashing to further waterproof the area.
Step 5: Mount the Ledger Board
Position the ledger board and attach it directly to the wall framing using lag bolts or structural screws. Be sure to:
- Drill pilot holes into studs
- Use washers to distribute pressure
- Space bolts about 16 inches apart
Confirm that the board is perfectly level before tightening all bolts.
Step 6: Replace or Trim Vinyl Siding
Reattach the vinyl siding panels around the newly installed ledger board. You may need to cut them to fit snugly.
Be cautious to maintain the siding’s flexibility for expansion, and avoid overtightening screws that could crack the material.
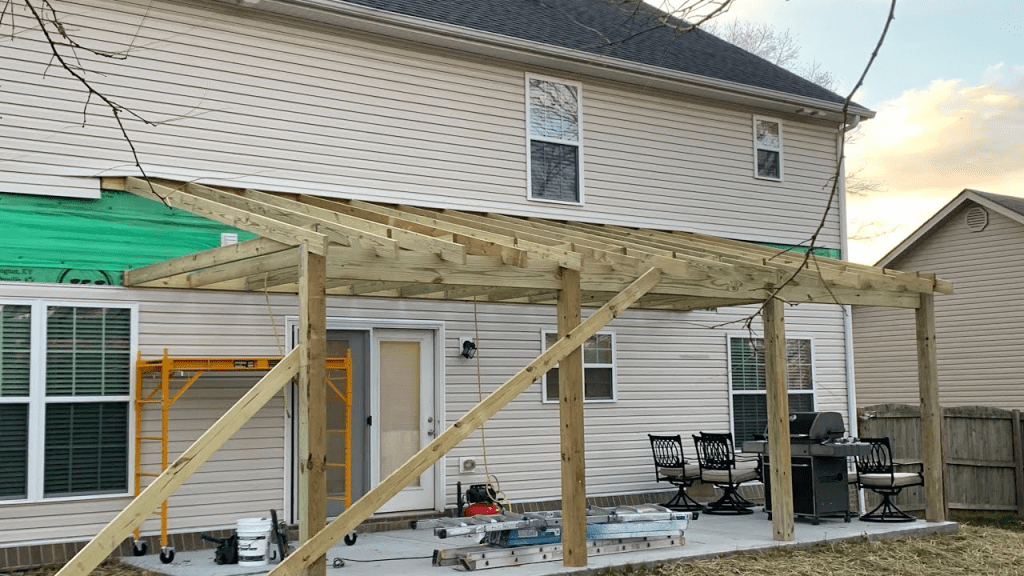
Step 7: Build and Attach the Roof Frame
Now that your ledger board is in place, begin constructing your roof frame:
- Set up vertical posts on concrete footings for the other end of the roof
- Attach a beam between the posts
- Install rafters from the ledger board to the beam
- Use joist hangers to fasten rafters to the ledger securely
Make sure the roof pitch matches your local code for drainage.
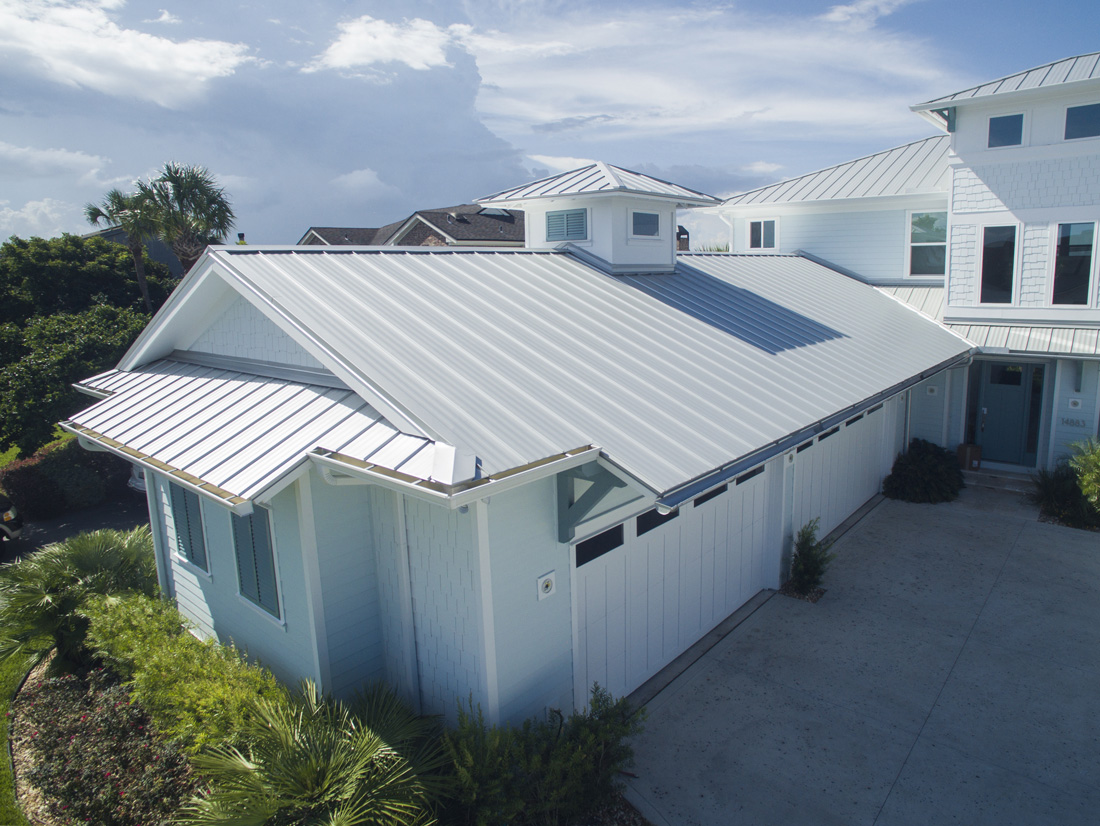
Step 8: Install Roofing Material
Once the frame is ready, install your chosen roofing materials:
- Shingles for matching aesthetics
- Metal panels for durability
- Polycarbonate panels for a bright and modern look
Finish the installation with drip edges, ridge caps, or flashing where needed.
Waterproofing the Roof Connection
One of the biggest concerns when learning how to attach roof to side of house vynil siding is leak prevention.
Tips to ensure waterproofing:
- Use high-grade silicone or polyurethane caulk around all screw and bolt holes
- Install drip flashing over the ledger board
- Ensure the roof pitch drains water away from the house
- Avoid gaps between flashing and siding
Common Mistakes to Avoid
- Screwing directly into vinyl siding without hitting the wall studs
- Skipping flashing, which leads to moisture problems
- Using untreated wood, which will rot over time
- Insufficient slope, causing water pooling
- Not checking local building codes
When to Call a Professional
Although this guide empowers confident DIYers, some situations require professional help:
- The structure is very large
- You’re unsure about load calculations
- There’s electrical wiring involved (for lights or ceiling fans)
- Your siding is hard to remove or brittle
A qualified contractor can ensure a safe, code-compliant job and provide warranties for their work.
Maintenance Tips After Installation
To prolong the life of your new roof and protect your house:
- Inspect the flashing and sealant annually
- Keep roof panels clean of debris and leaves
- Re-caulk any gaps or cracks as needed
- Inspect the vinyl siding near the roof for water damage
Final Thoughts: A Solid Roof Starts with a Solid Connection
Learning how to attach roof to side of house vynil siding is not as complicated as it seems, but it does require precision, planning, and care. By following proper steps—like securing to studs, using flashing, and waterproofing—you can enjoy a functional, attractive, and safe structure that enhances your outdoor space.
Whether it’s a quiet patio cover or a large carport addition, the way you connect your roof to the house is foundational. With this guide in hand, you’re ready to get the job done right.

Leave a Reply