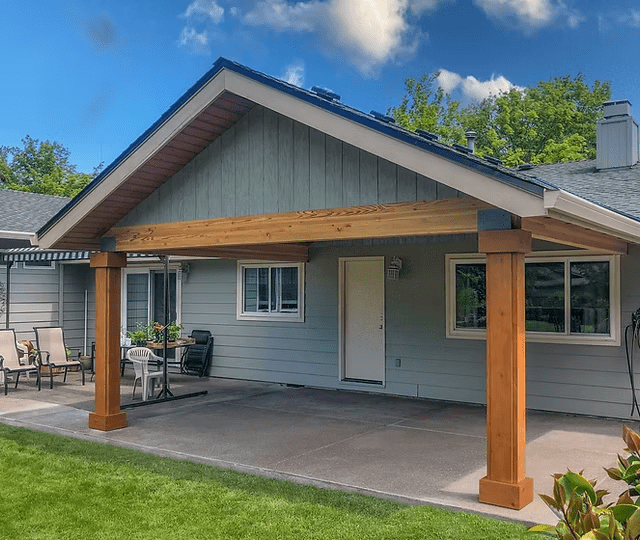
Building or expanding a home structure often involves connecting new roof systems to existing ones. One common and practical design is the gable roof, known for its triangular shape and excellent drainage capabilities. If you’re considering an extension, shed, or covered porch, knowing how to attache gable roof to gable end of house is crucial to ensure the new structure is strong, weather-tight, and visually cohesive.
Whether you’re a seasoned contractor or a hands-on homeowner, this article will guide you through everything from planning to installation.
Read too: How Long Do Standing Seam Metal Roofs Last? A Comprehensive Guide to Durability and Longevity
Why Attach a Gable Roof to the Gable End?
The gable end of a house—usually the vertical wall beneath the triangular end of a gable roof—is a convenient and structurally sound point to attach a new gable roof. It allows for straightforward alignment of the ridgeline and rafters, and can simplify construction by sharing part of the existing wall as support.
There are several reasons to attach a gable roof to the gable end of a house:
- Adding a garage, carport, or shed
- Creating a roof extension for more attic space
- Improving architectural symmetry
- Expanding a porch or sunroom
No matter the reason, it’s vital to follow proper framing techniques and use durable, weather-resistant materials.
Materials and Tools You’ll Need
Before diving into the construction process, make sure you gather the following materials and tools:
Tools:
- Circular saw or miter saw
- Power drill
- Chalk line
- Framing square
- Hammer
- Level
- Nail gun (optional)
- Ladder or scaffolding
Materials:
- Pressure-treated lumber (2×4, 2×6, or 2×8 depending on load)
- Ridge board
- Rafter ties or metal connectors
- Roof sheathing (plywood or OSB)
- Roofing underlayment
- Shingles or roofing panels
- Framing nails or screws
- Flashing and sealant
How To Attache Gable Roof To Gable End Of House – Step-by-Step Instructions
Attaching a gable roof is not as simple as nailing two parts together. It requires structural alignment, proper support, and careful weatherproofing. Let’s break it down.
Step 1: Planning and Permitting
Before beginning any structural changes to your home, consult your local building codes. You may need:
- A building permit
- Engineering drawings (especially in hurricane/seismic zones)
- HOA approval (if applicable)
Once approved, determine the pitch of the new gable roof to match the existing roofline. Matching the slope ensures consistent water runoff and aesthetic cohesion.
Step 2: Expose the Gable End
Remove siding or exterior cladding from the area where the new gable roof will connect. If the interior of the gable end is unfinished attic space, check for:
- Obstructions, such as wiring or vents
- Wall studs suitable for attaching new framing
You may need to reinforce this section with additional vertical framing, also called “cripple studs.”
Step 3: Install Ledger or Wall Plate
To provide a base for the new rafters, attach a horizontal wall plate or ledger board to the gable end of the house. This piece distributes the load and gives you an anchor for your rafter system.
Tips:
- Use lag bolts or structural screws to fasten the ledger to wall studs, not just sheathing.
- Ensure the board is perfectly level using a spirit level.
- For masonry or concrete gable ends, use expansion anchors or masonry screws.
Step 4: Frame the Ridge Beam and Rafters
This step involves setting the main ridge board and constructing the rafter system.
Ridge Beam:
- The ridge board runs horizontally at the peak of the roof.
- It must align with the existing roof ridge or be custom-measured for lower-pitched extensions.
Rafters:
- Use a framing square to mark birdsmouth cuts on each rafter end.
- Secure rafters to the ridge board and to the top plate (or ledger) using hurricane ties or toe-nailing.
- Space rafters 16” or 24” apart, depending on your local code and load requirements.
A gable roof extension usually requires at least 2×6 or 2×8 lumber for rafters, depending on span and load.
Step 5: Secure Roof Sheathing
Once rafters are in place:
- Attach OSB or plywood sheathing over the rafters.
- Leave a 1/8-inch gap between panels for expansion.
- Use roofing nails or screws to fasten securely.
Check for straightness and slope as you install to avoid water pooling.
Step 6: Flashing and Waterproofing the Joint
Connecting a new roof to an existing house is a prime spot for leaks. Prevent water intrusion by applying:
- Flashing tape or peel-and-stick membrane where the old and new roofs meet.
- Metal flashing along the gable joint, especially if the ridge board intersects the gable wall.
- High-quality roofing sealant around all fasteners and exposed gaps.
Proper flashing is arguably one of the most critical steps when learning how to attache gable roof to gable end of house.
Step 7: Install Underlayment and Roofing Material
Apply roofing felt or synthetic underlayment to protect the sheathing from moisture. Then install your final roofing surface:
- Asphalt shingles (most common and budget-friendly)
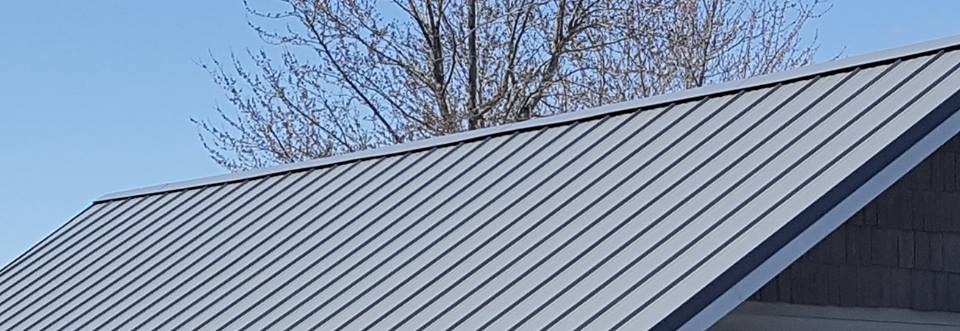
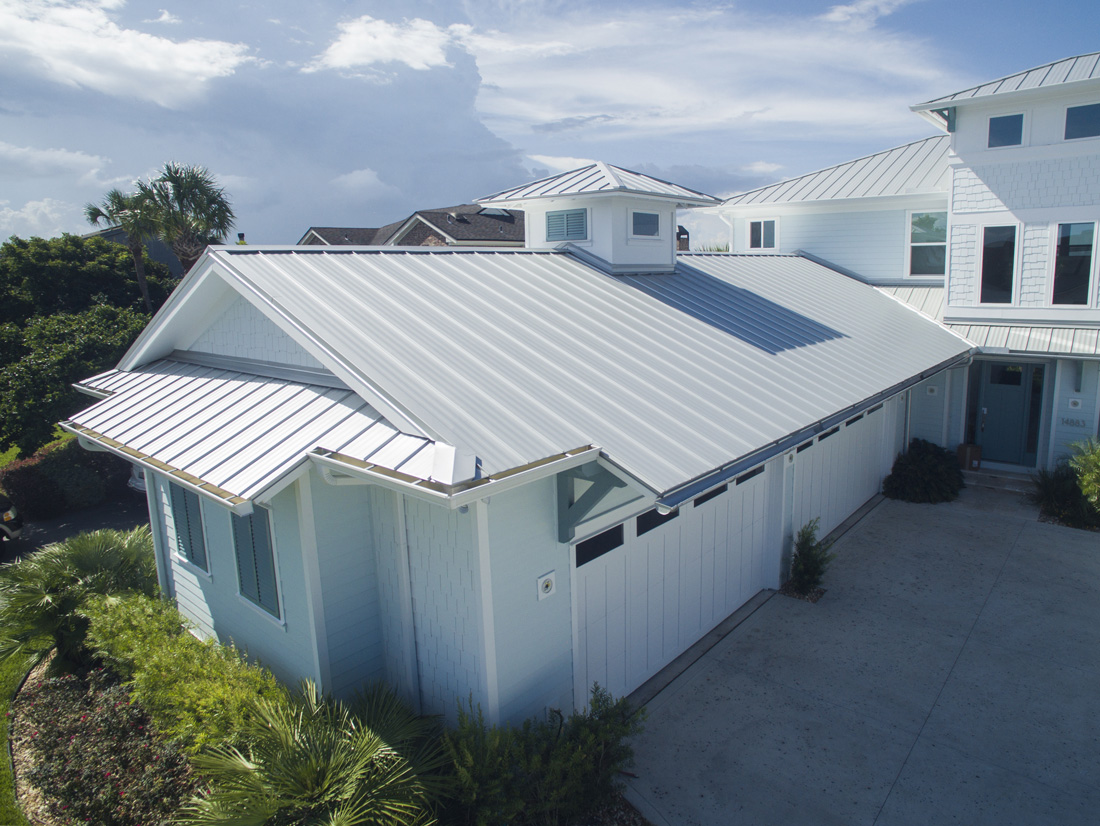
- Metal roofing (durable and long-lasting)
- Tile or wood shingles (for premium builds)
Make sure the shingles overlap the existing roof edge, and install ridge caps to finish the peak.
Step 8: Insulation and Ventilation (Optional)
If the new gable roof covers a livable area (like a sunroom or bedroom), add insulation between the rafters. You may also install:
- Soffit vents
- Ridge vents
- Gable-end vents
Proper airflow helps prevent moisture damage and improves energy efficiency.
Important Tips and Best Practices
1. Match Roof Pitch and Materials
Matching the existing roof’s slope and materials improves both function and curb appeal.
2. Use Treated Lumber
Especially where wood touches masonry or is exposed to moisture.
3. Use Proper Fasteners
Avoid nails or screws that can corrode. Opt for galvanized or stainless steel hardware.
4. Don’t Skip Flashing
Flashing is your best defense against long-term water damage.
Common Mistakes to Avoid
- Not checking for level or plumb lines before attaching rafters.
- Ignoring building codes and local zoning rules.
- Improper or missing flashing, leading to leaks.
- Overlooking ventilation, especially in closed attic spaces.
- Misaligned ridges, resulting in unsightly and ineffective roofing.
Why It Matters: Structural Integrity and Weather Protection
Attaching a gable roof to the gable end of a house isn’t just about aesthetics—it’s about load distribution, weatherproofing, and long-term durability. Done incorrectly, the roof could leak, sag, or even collapse in severe weather.
By following best practices and using the right materials, your new gable roof can last for decades.
✅ Final Thoughts
Now that you understand how to attache gable roof to gable end of house, you’re better equipped to handle your next construction or remodeling project. The key to success lies in planning, precise measurements, and secure connections.
If in doubt, don’t hesitate to consult with a licensed structural engineer or roofing contractor to ensure your project meets code and safety standards.

Leave a Reply