Building a roof is one of the most important steps in constructing or renovating a house, and the 6/12 pitch roof is a popular choice for many homeowners and contractors. This pitch offers a balanced slope—steep enough to shed water and snow efficiently but not so steep that it becomes too difficult or costly to build.
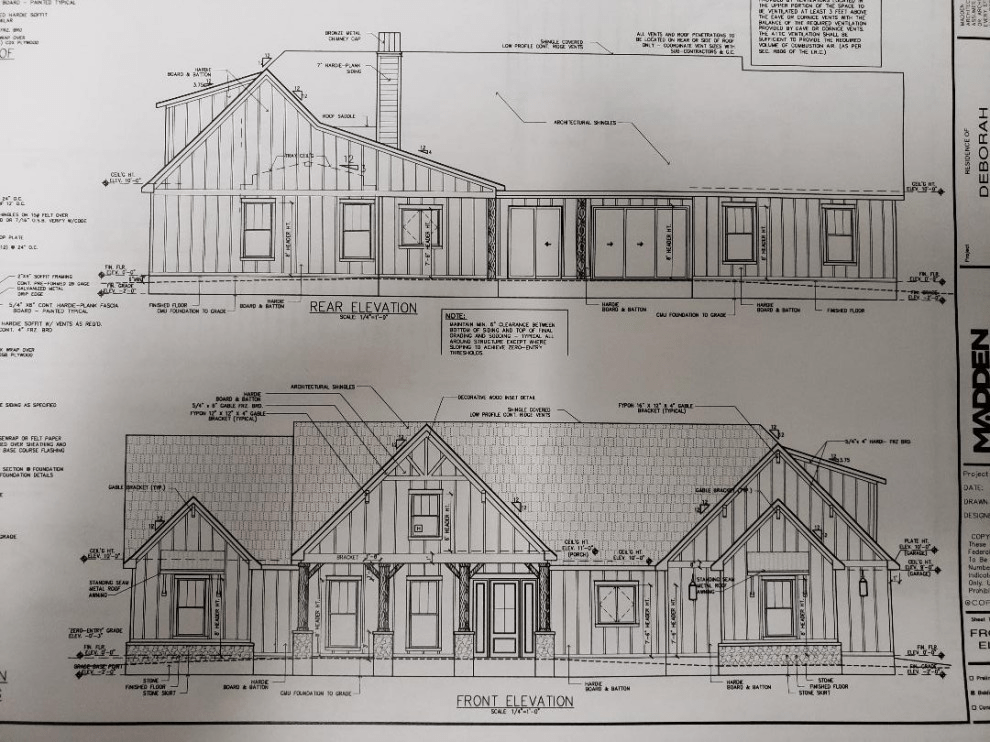
In this guide, we’ll walk you through how to build a 6 12 pitch roof for house, explaining the calculations, tools, materials, and safety measures you’ll need to achieve a durable and attractive result.
Understanding the 6/12 Roof Pitch
A 6/12 pitch means that for every 12 inches (1 foot) of horizontal run, the roof rises 6 inches vertically. This pitch equals an angle of about 26.57 degrees, giving it a moderately steep slope.
Read too: Hail Damage Roof Repair: Essential Guide to Restoring Your Home’s Protection
Advantages of a 6/12 pitch roof include:
- Good drainage for rain and snow.
- Improved attic ventilation and storage potential.
- Balanced appearance that suits many home designs.
- Easier to walk on compared to very steep roofs.
Materials and Tools You Will Need
Before starting how to build a 6 12 pitch roof for house, gather the following:
Materials:
- Rafters (typically 2×6 or 2×8 lumber, depending on span).
- Ridge board (2×10 or 2×12).
- Plywood or OSB sheathing.
- Roofing underlayment (felt or synthetic).
- Shingles or metal roofing.
- Nails or screws.
- Fascia boards and soffits.
Tools:
- Circular saw.
- Hammer or nail gun.
- Carpenter’s square.
- Chalk line.
- Tape measure.
- Level.
- Safety harness and ladder.
Calculating Rafter Length for a 6/12 Pitch Roof
Before cutting your rafters, you need to calculate their length.
- Measure the span of the building (distance between exterior walls).
- Divide by 2 to get the run.
- For a 6/12 pitch, each foot of run has 6 inches (0.5 ft) of rise.
- Use the Pythagorean theorem:
- Example: For a run of 10 ft:
Rise = 10 ft × 0.5 = 5 ft.
Rafter length = √(10² + 5²) = √(100 + 25) = √125 ≈ 11.18 ft.
- Example: For a run of 10 ft:
- Add extra length for overhangs.
How To Build A 6 12 Pitch Roof For House – Step-by-Step Process
Now let’s go through the process from start to finish.
Step 1: Prepare the Wall Plates
Ensure your top wall plates are level and square. This creates a stable base for your rafters.
Step 2: Install the Ridge Board
The ridge board runs along the peak of the roof. It should be securely fastened to temporary supports until rafters are attached.
Step 3: Cut and Install Rafters
Using your rafter length calculation, cut the rafters with the correct plumb cut for the ridge and birdsmouth cut for wall plate seating.
- Position the rafters in pairs—one on each side of the ridge board.
- Secure with nails or screws.
Step 4: Add Collar Ties or Rafter Ties
To prevent roof spread, install collar ties in the upper third of the roof span or rafter ties near the bottom.
Step 5: Install Roof Sheathing
Lay plywood or OSB panels perpendicular to rafters, staggering joints for strength.
- Leave a small gap (about 1/8 inch) between panels for expansion.
- Nail panels securely to rafters.
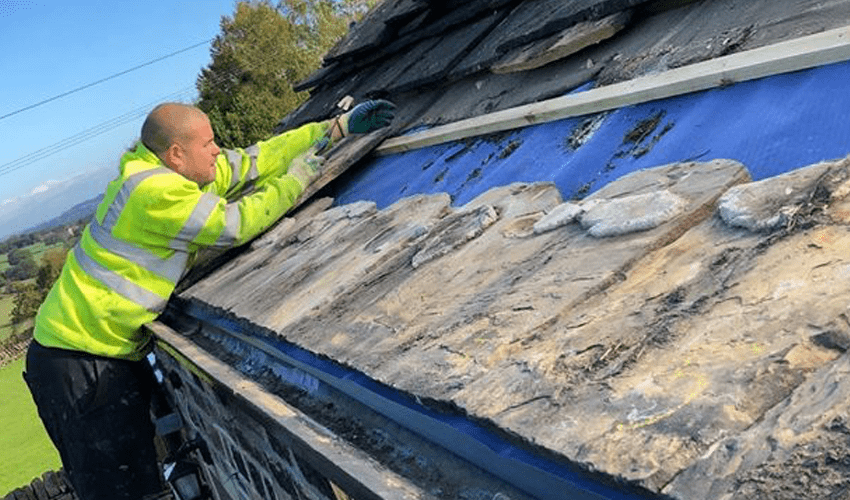
Step 6: Apply Underlayment
Roll out roofing underlayment starting from the bottom edge. Overlap each row to ensure proper water shedding.
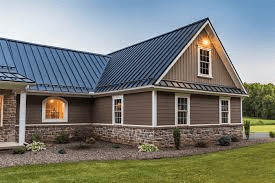
Step 7: Install Roofing Material
Depending on your choice:
- For shingles: Start from the bottom and work upward, following manufacturer guidelines.
- For metal roofing: Lay panels from ridge to eave, overlapping edges.
Step 8: Add Fascia and Soffits
Fascia boards finish the edges, while soffits close off the underside of overhangs. These help protect your roof and improve ventilation.
Safety Tips for Building a 6/12 Pitch Roof
- Always use a safety harness and roof brackets for stability.
- Avoid working in wet or windy weather.
- Have a helper to lift heavy materials.
- Keep your work area clean to prevent tripping hazards.
Common Mistakes to Avoid
- Incorrect Pitch Measurement – Miscalculating the angle can lead to poor water drainage and roof instability.
- Skipping Underlayment – This layer is crucial for moisture protection.
- Poor Rafter Spacing – Too wide spacing weakens the structure; too close wastes materials.
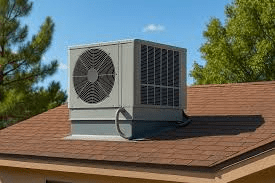
- Not Considering Ventilation – Without proper airflow, you risk moisture buildup and mold.
Benefits of Building a 6/12 Pitch Roof Yourself
- Cost Savings – You can save thousands in labor.
- Customization – Choose materials and design features to match your style.
- Skill Development – Gain valuable carpentry experience.
However, keep in mind that a roof is a critical structural element. If you are unsure about your skills, consult a professional roofer or contractor.
Maintenance for a 6/12 Pitch Roof
Once your roof is built, regular maintenance will extend its lifespan:
- Inspect shingles or metal panels twice a year.
- Clean gutters to prevent water backup.
- Check flashing around chimneys and vents.
- Remove debris such as leaves and branches.
Final Thoughts
Learning how to build a 6 12 pitch roof for house allows you to create a durable, attractive, and functional structure that stands up to the elements. With the right tools, careful planning, and proper safety precautions, you can tackle this project successfully.
While DIY roofing can save money, don’t hesitate to call in professional help for tricky calculations, heavy lifting, or specialized installations. A well-built roof is a long-term investment in your home’s safety and value.
Leave a Reply