If you want your furry friend to have a cozy, weather-protected space, building a custom dog house is a rewarding DIY project. A flat roof dog house offers a sleek modern look, is easier to build than pitched roof designs, and can even double as a lounging platform for your pet.
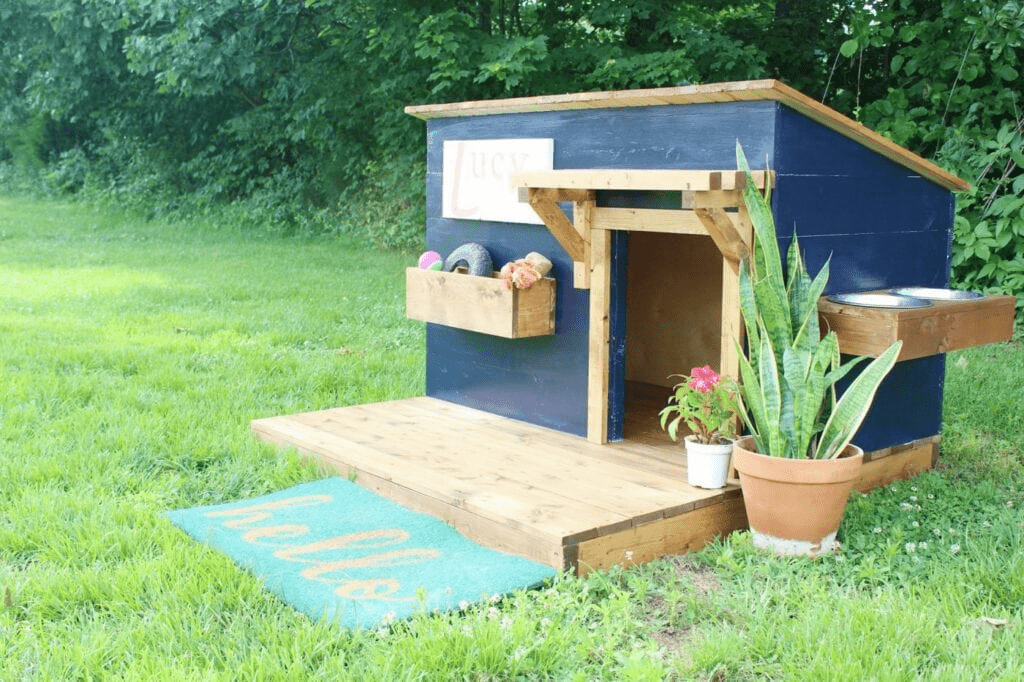
In this detailed guide, we’ll walk you through how to build a dog house with a flat roof, covering materials, tools, step-by-step instructions, and important design considerations to ensure your dog’s comfort year-round.
Why Choose a Flat Roof for a Dog House?
Before getting into how to build a dog house with a flat roof, let’s talk about why this design might be perfect for you:
- Easy to Build: Requires fewer angled cuts compared to pitched roofs.
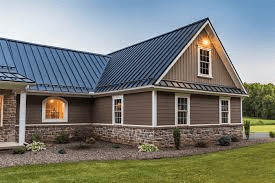
- Modern Look: A flat top complements contemporary backyard aesthetics.
- Extra Space: Dogs love lying on top of flat surfaces to sunbathe or keep watch.
- Simplified Maintenance: Easier to clean, repair, and replace roofing materials.
Tools and Materials Needed
Materials:
- Exterior-grade plywood or OSB sheets.
- 2×2 or 2×4 lumber for framing.
- Waterproof roofing material (EPDM rubber, corrugated plastic, or asphalt roll roofing).
- Exterior wood screws or galvanized nails.
- Non-toxic exterior paint or sealant.
- Insulation boards (optional, for cold climates).
- Hinges (optional, if you want a removable or lift-up roof for cleaning).
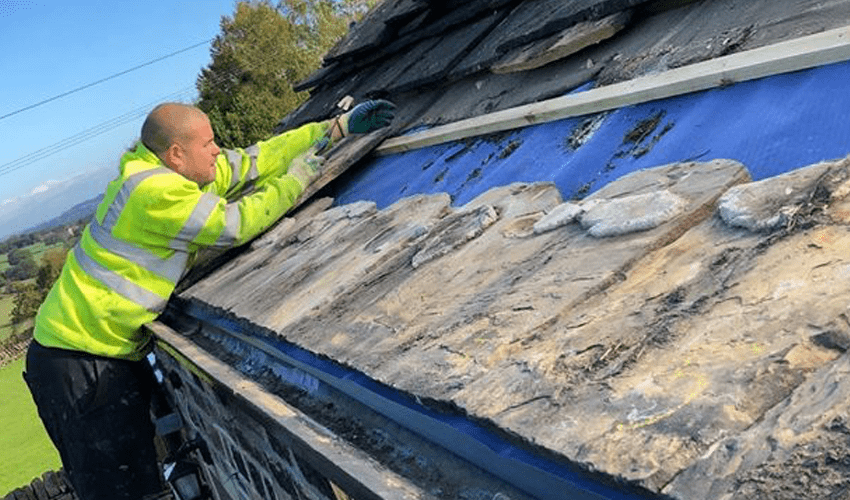
Read too: Hail Damage Roof Repair: Essential Guide to Restoring Your Home’s Protection
Tools:
- Circular saw or hand saw.
- Power drill with screwdriver bits.
- Tape measure.
- Carpenter’s square.
- Hammer.
- Paintbrush or roller.
Sizing the Dog House
The size of your dog house depends on your dog’s breed and comfort:
- Small Dogs: 24” L × 18” W × 21” H.
- Medium Dogs: 36” L × 24” W × 27” H.
- Large Dogs: 48” L × 30” W × 33” H.
Pro Tip: Your dog should be able to stand, turn, and lie down comfortably inside without excess empty space, which can make it harder to stay warm in winter.
How To Build A Dog House With A Flat Roof – Step-by-Step Instructions
Let’s go through the complete process from building the base to adding the final waterproof touches.
Step 1: Build the Base Frame
- Cut your 2×4 lumber to form a rectangle matching your chosen dimensions.
- Secure the corners with screws or nails.
- Attach a sheet of plywood on top of the frame as the floor.
- If you’re in a damp area, elevate the base with 2×4 runners to prevent ground moisture damage.
Step 2: Construct the Wall Frames
- Cut vertical wall supports from 2×2 or 2×4 lumber.
- Assemble each wall frame individually, attaching horizontal beams at the top and bottom.
- Leave an opening in the front wall for the entrance—size it just big enough for your dog to enter comfortably while keeping wind out.
Step 3: Assemble the Walls
- Attach the wall frames to the base using screws.
- Secure them together at the corners, ensuring everything is square.
- Cover the frames with exterior plywood panels, attaching them with galvanized nails.
Step 4: Add the Flat Roof Frame
- Use 2×2 or 2×4 beams to create a rectangular frame for the roof.
- Give the roof a very slight slope (about 1 inch drop from back to front) so rainwater doesn’t pool.
- If you plan to make the roof removable, attach it with hinges on one side or design it to lift off completely.
Step 5: Install the Roofing Material
- Place a sheet of plywood on the roof frame.
- Add a waterproof layer such as EPDM rubber, asphalt roll roofing, or corrugated plastic.
- Extend the roofing material slightly over the edges to keep water from seeping into the walls.
Step 6: Paint and Seal the Dog House
- Use non-toxic exterior paint or wood sealant to protect the wood from weather damage.
- Choose light colors for hot climates to reflect sunlight, and darker colors for cold climates to retain warmth.
Step 7: Add Comfort Features
- Line the inside with removable bedding or blankets.
- Install insulation panels between wall studs if your winters are cold.
- Consider adding a wind flap over the entrance for extra warmth.
Design Variations for a Flat Roof Dog House
- Green Roof Option: Add a shallow frame on top of the roof and plant grass or low-maintenance succulents.
- Double Deck: Build a small ramp so your dog can lounge on the roof.
- Storage Addition: Add a small compartment to store toys or treats.
Benefits of Building Your Own Dog House
- Customization: You can tailor size, style, and materials to suit your pet and backyard.
- Cost Savings: DIY projects can be significantly cheaper than buying pre-made houses.
- Bonding Experience: Building something for your dog is a rewarding way to care for them.
Maintenance Tips for a Flat Roof Dog House
- Check the roof for leaks twice a year.
- Clean the roof surface to prevent algae or moss buildup.
- Repaint or reseal wood surfaces every 2–3 years.
- Wash bedding regularly to keep the interior fresh and hygienic.
Common Mistakes to Avoid
- No Roof Slope: Even flat roofs need slight drainage to avoid water pooling.
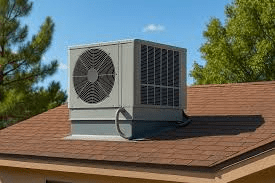
- Poor Ventilation: Without airflow, the interior can get too hot or humid.
- Wrong Size: Oversized houses can be drafty; undersized ones can be uncomfortable.
- Using Toxic Materials: Always choose pet-safe paints and sealants.
Final Thoughts
Learning how to build a dog house with a flat roof gives you control over your pet’s comfort, style, and protection from the elements. This design is beginner-friendly, cost-effective, and offers creative customization options.
Whether you’re building a simple shelter or a luxurious rooftop lounge, the key is to use quality materials, keep your dog’s size in mind, and add weatherproofing to ensure the structure lasts for years.
Leave a Reply