Creating a comfortable, weatherproof dog house is a wonderful way to provide your furry friend with a safe and cozy shelter. One of the most important elements of a well-built dog house is the roof, and specifically, a pitched roof. A pitched roof not only adds charm and durability but also ensures proper water runoff, preventing leaks and keeping your dog dry.
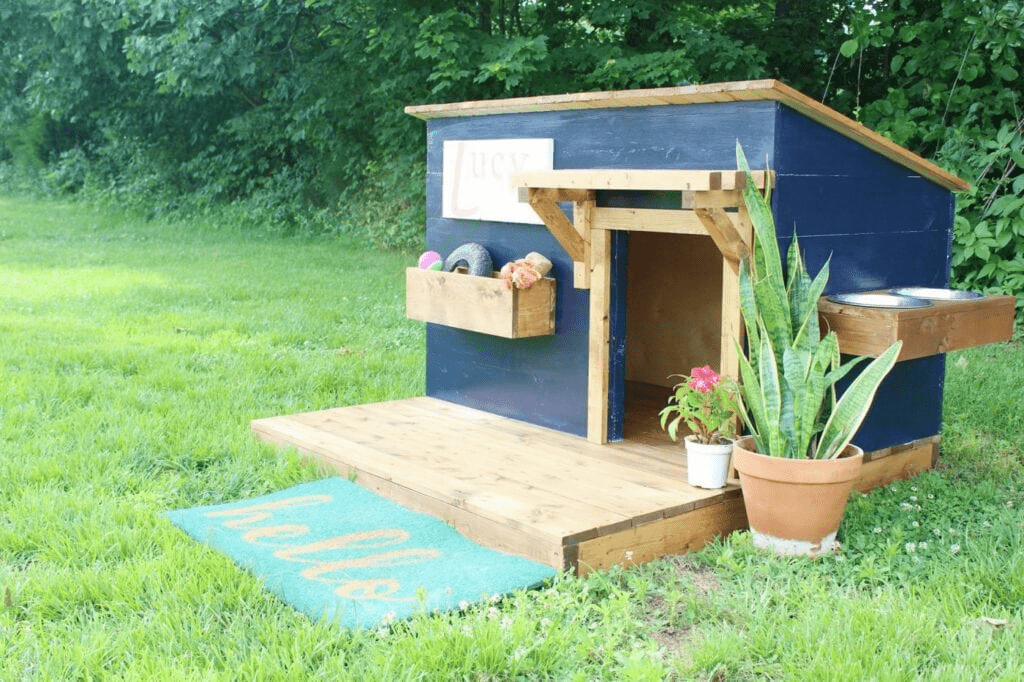
In this detailed article, we will guide you through how to build a pitched roof for a dog house from start to finish. Whether you’re a beginner or an experienced DIYer, this comprehensive guide will provide you with the tips, materials, and steps needed to construct a sturdy, attractive roof your pet will love.
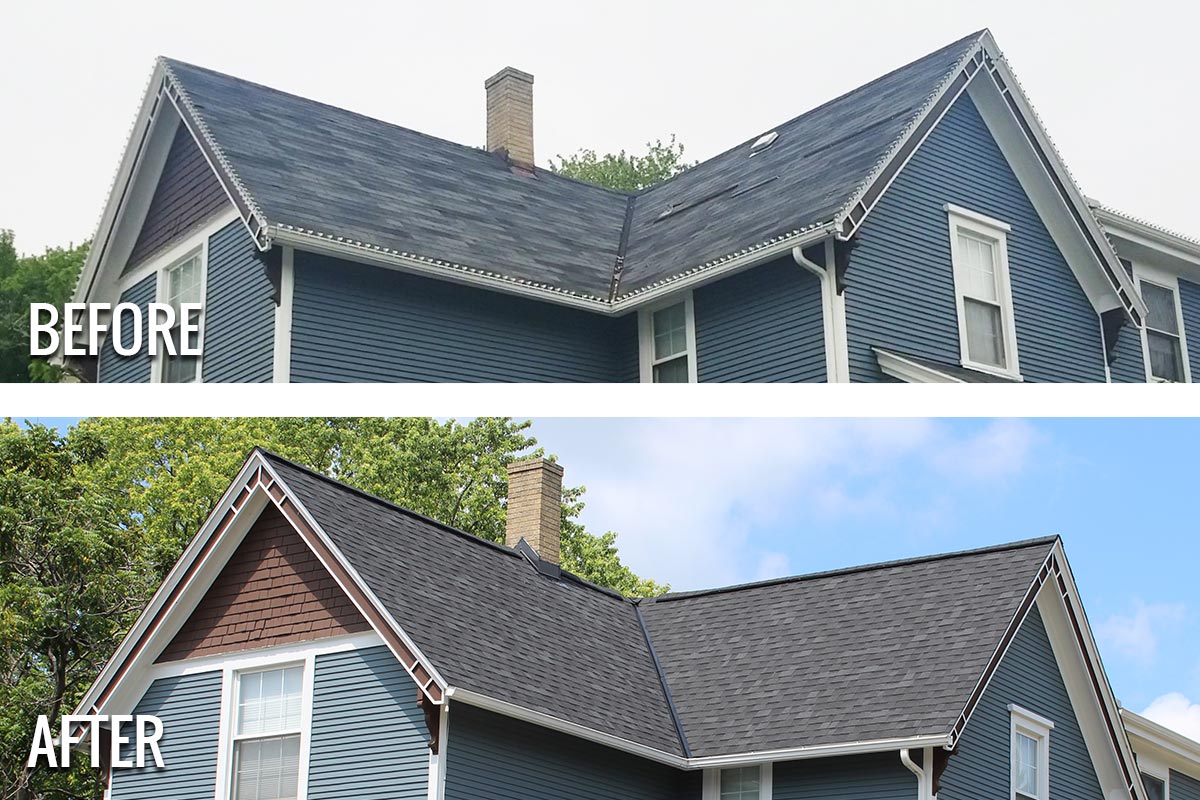
Read too: Is It Reasonable to Ask the Seller to Replace the Roof?
Why Choose a Pitched Roof for Your Dog House?
A pitched roof features two sloping sides that meet at a peak or ridge, much like the roofs on traditional homes. This design offers several advantages for dog houses:
- Effective Water Drainage: The sloped design prevents rainwater and snow from accumulating on the roof, reducing leaks and roof damage.
- Improved Ventilation: The space under the pitched roof allows for better airflow, helping regulate temperature inside the dog house.
- Aesthetic Appeal: A pitched roof gives the dog house a charming, classic look.
- Durability: The angled design typically lasts longer and withstands harsh weather better than flat roofs.
Planning Your Dog House Roof
Before building, it’s important to plan the size, pitch angle, and materials of your roof:
- Measure the Dog House Base: Ensure the roof dimensions provide adequate overhang for protection but are proportional to the house size.
- Choose the Roof Pitch: For dog houses, a pitch between 30 to 45 degrees is ideal for effective runoff and a balanced appearance.
- Select Materials: Common materials include plywood for the base, roofing felt for waterproofing, and shingles or corrugated metal for the outer roof layer.
How To Build A Pitched Roof For A Dog House
Step 1: Gather Your Materials and Tools
You will need:
- Plywood sheets (for the roof base)
- 2×4 or 2×2 lumber (for framing the rafters)
- Roofing felt or waterproof membrane
- Roofing shingles or metal sheets
- Nails, screws, and wood glue
- Saw, hammer, drill, measuring tape, square, and pencil
- Sandpaper and paint or stain (optional)
Step 2: Cut and Assemble the Rafters
The rafters form the skeleton of your pitched roof.
- Measure and cut two identical rafters from your lumber. Each should have one end cut at an angle to fit the roof pitch you chose.
- Cut a notch (bird’s mouth cut) near the angled end on each rafter. This notch will allow the rafters to rest securely on the top edges of the dog house walls.
- Attach the two rafters at the peak by screwing them together or using a metal connector plate. This creates the ridge beam of your pitched roof.
Step 3: Attach the Rafters to the Dog House
- Place the rafter assembly on top of the dog house, aligning the bird’s mouth cuts to rest on the top edges of the walls.
- Secure the rafters with screws or nails to ensure they stay firmly in place.
- If the dog house is large, add additional support beams or cross braces between the rafters to strengthen the frame.
Step 4: Install the Roof Sheathing
- Cut plywood sheets to fit the slope of the rafters on both sides of the roof.
- Attach the plywood securely to the rafters using screws or nails. This creates a solid base for your roofing material.
- Sand the edges and surfaces to avoid sharp edges that could harm your dog or snag roofing materials.
Step 5: Waterproof the Roof
- Cover the plywood with roofing felt or a waterproof membrane to protect the wood from moisture.
- Use roofing nails or staples to secure the felt, ensuring there are no wrinkles or gaps.
- Overlap pieces if necessary, starting from the bottom edge and working upward to prevent water from seeping under.
Step 6: Apply the Roofing Material
Choose the outer roofing material to protect the dog house from weather:
- Shingles: Asphalt or wooden shingles are a popular choice. Nail shingles starting at the bottom edge and work your way up, overlapping each row.
- Corrugated Metal Sheets: Lightweight and durable, metal sheets are easy to install with screws and rubber washers to prevent leaks.
- Other Options: You may also consider synthetic roofing panels or even waterproof paint if you prefer a simpler finish.
Step 7: Finishing Touches
- Add trim or fascia boards along the edges to protect the plywood edges and give a neat look.
- Paint or stain the roof if desired for added protection and aesthetics. Use pet-safe products.
- Check all nails and screws are secure and flush to avoid injuries.
- Make sure the roof has enough overhang to keep rain away from the dog house walls.
Additional Tips for a Perfect Pitched Roof Dog House
- Ventilation: Add small vents near the roof peak or along the sides to improve airflow and keep your dog cool.
- Insulation: For colder climates, consider adding insulation under the roof sheathing.
- Accessibility: Design the roof so it can be easily removed or hinged open for cleaning and maintenance.
- Safety: Avoid using toxic materials or sharp objects that could harm your dog.
Maintenance of Your Pitched Roof Dog House
Regular maintenance extends the life of your dog house roof:
- Inspect shingles or metal for damage after storms or heavy weather.
- Replace worn or broken shingles promptly.
- Clear debris from the roof to prevent water pooling or damage.
- Reapply waterproofing or paint every few years to protect the wood.
Conclusion
Knowing how to build a pitched roof for a dog house helps you create a comfortable, durable shelter that will protect your furry friend for years to come. With thoughtful planning, quality materials, and attention to detail, your dog house will be a cozy refuge in any weather.
This project is manageable for DIY enthusiasts and offers a rewarding way to care for your pet’s needs while enhancing your outdoor space’s look and functionality.

Leave a Reply