Properly flashing a metal roof is essential for preventing water infiltration and ensuring the longevity of your roofing system. In this comprehensive guide, we will walk you through the steps on how to flash a metal roof, providing you with the knowledge and skills necessary to create a watertight seal.
Understanding the Importance of Roof Flashing
Before we delve into the step-by-step process, let’s discuss why roof flashing is crucial for any roofing project:
- Waterproofing: Flashing is the first line of defense against water intrusion. It directs water away from vulnerable areas, preventing leaks.
- Preventing Corrosion: Metal roofs are susceptible to corrosion if not adequately protected. Flashing safeguards critical junctions, extending the lifespan of your roof.
- Protecting Structural Integrity: Flashing helps maintain the structural integrity of your roof, preventing damage to the underlying materials.
Step 1: Gather Your Tools and Materials
Before starting, ensure you have the necessary tools and materials, including:
- Metal flashing strips or pre-made flashing pieces
- Roofing nails or screws
- Roofing caulk or sealant
- A pry bar or nail puller
- A tape measure
- Tin snips
- A ladder and safety gear
Step 2: Identify Vulnerable Areas
The next step is to identify the areas where flashing is needed. These typically include:
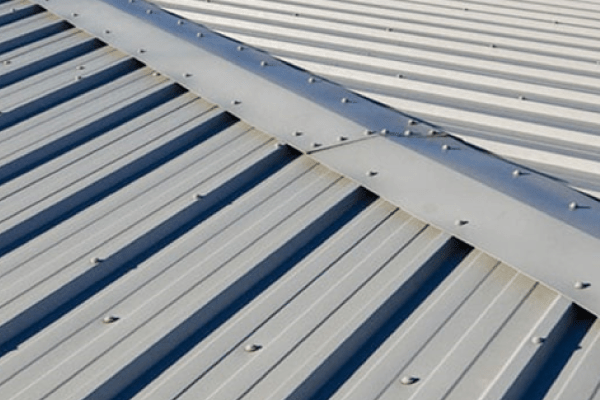
- Roof valleys (the intersection of two sloping roof sections)
- Roof penetrations (vents, chimneys, skylights, and pipes)
- Roof-to-wall junctions
- Eave and rake edges
Step 3: Measure and Cut Flashing
Measure the length of the area where flashing is required and add a few inches for overlap. Using tin snips, cut the flashing to the appropriate size. For roof penetrations, you may need to create a customized flashing piece to fit around the penetration.
Step 4: Install Flashing
Starting with the eave edge, secure the flashing in place using roofing nails or screws. Use enough fasteners to keep the flashing in position, ensuring it’s snug against the roof. For roof valleys, place the flashing in the valley and overlap it with the adjacent roof sections.
Step 5: Seal the Edges
To create a watertight seal, apply roofing caulk or sealant to the edges and fasteners. This prevents water from seeping beneath the flashing. Ensure the sealant is spread evenly and covers all potential entry points.
Step 6: Flash Roof Penetrations
For roof penetrations like vents and chimneys, you’ll need to create a customized flashing piece. Place the flashing around the penetration and secure it with fasteners. Apply sealant around the edges to complete the seal.
Step 7: Address Roof-to-Wall Junctions
At roof-to-wall junctions, flashing is vital to prevent water from entering the building. Install a step flashing along the roof and wall intersection, ensuring each piece overlaps the previous one. Secure the step flashing in place and apply sealant to create a tight seal.
Conclusion: Ensuring a Watertight Roof
Properly flashing a metal roof is essential for protecting your home or building from water damage and ensuring the longevity of your roofing system. By following these steps on how to flash a metal roof, you can create a watertight seal that guards against leaks and extends the life of your roof. If you’re uncomfortable with any of the steps or have a complex roof flashing project, it’s always wise to consult with a professional roofing contractor to ensure the job is done right.


Leave a Reply