Skylights are an excellent addition to any home, allowing natural light to illuminate interior spaces and create a sense of openness. If you have a metal roof and are considering installing a skylight, you may be wondering about the specific steps involved. In this comprehensive guide on how to install a skylight on a metal roof, we will walk you through the process, providing valuable insights and tips to ensure a successful installation.
Planning and Preparation
Assessing Roof Structure Compatibility: Before proceeding with the installation, it is essential to determine if your metal roof is suitable for accommodating a skylight. Check the roof’s pitch, slope, and the available space to ensure compatibility and avoid potential issues.
Choosing the Right Skylight: Selecting the appropriate skylight for your metal roof is crucial. Consider factors such as size, shape, glazing options, and energy efficiency. Consult with a professional to ensure you choose a skylight that complements your roof and meets your specific requirements.
Gather Materials and Tools
To install a skylight on a metal roof, you will need the following materials and tools:
- Skylight kit
- Flashing kit designed for metal roofs
- Roofing screws or fasteners
- Sealant or roofing cement
- Tape measure
- Drill with metal-cutting attachments
- Screwdriver
- Pry bar
- Safety equipment (gloves, goggles, and a harness if working at heights)
Installation Process
- Marking the Skylight Placement: Determine the ideal location for the skylight on your metal roof, considering factors such as room layout, sunlight exposure, and aesthetics. Use a tape measure to mark the dimensions of the skylight on the roof.
- Preparing the Roof Opening: Using a drill with metal-cutting attachments, carefully cut along the marked lines to create the opening for the skylight. Remove any metal roofing panels or fasteners within the designated area, ensuring a clear and precise opening.
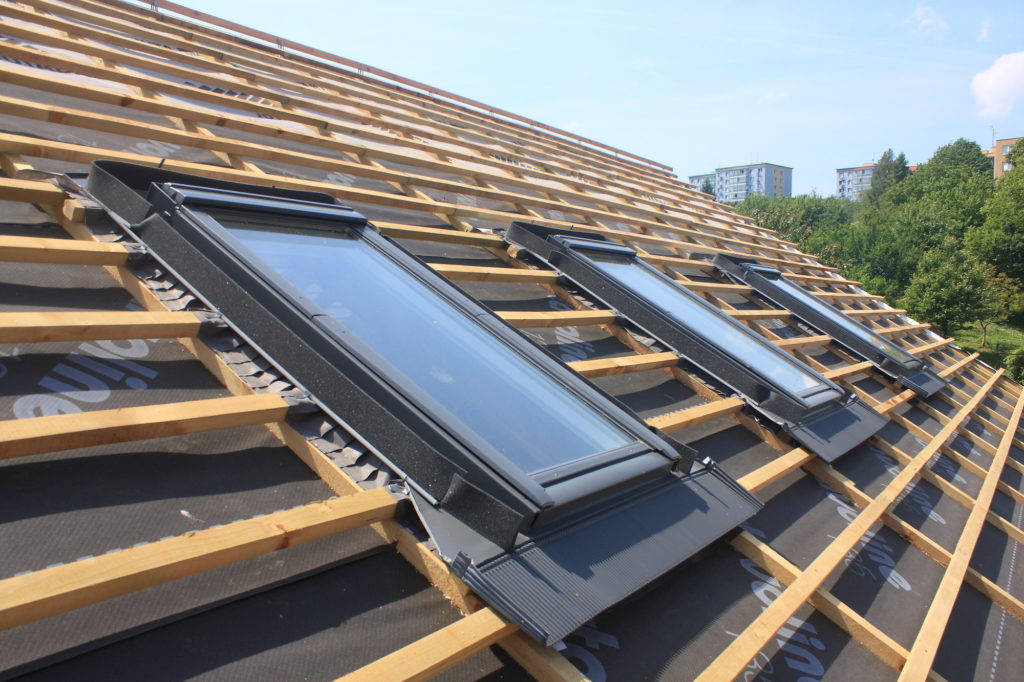
- Installing the Flashing: Follow the manufacturer’s instructions to install the flashing kit specifically designed for metal roofs. The flashing serves as a watertight seal around the skylight, preventing water infiltration. Ensure proper alignment and secure attachment of the flashing components.
- Mounting the Skylight: Place the skylight onto the prepared opening, aligning it with the flashing. Secure the skylight in place using roofing screws or fasteners recommended by the manufacturer. Ensure the skylight is level and tightly secured.
- Sealing and Waterproofing: Apply a generous amount of sealant or roofing cement around the edges of the skylight and the flashing to create a watertight seal. This step is crucial to prevent leaks and ensure the skylight’s longevity.
Final Checks and Maintenance
Once the skylight is installed, perform a thorough inspection to ensure everything is in place and properly sealed. Check for any gaps, cracks, or loose components. Additionally, establish a regular maintenance routine to keep the skylight clean and in good condition. Clean the skylight and inspect the flashing and sealant periodically, addressing any issues promptly.
Conclusion:
Installing a skylight on a metal roof can enhance the aesthetics and functionality of your home. By following the step-by-step guide provided here, you can successfully install a skylight on your metal roof, bringing natural light into your living space. Remember to prioritize safety and consult with professionals if needed. Enjoy the beauty and benefits of a well-installed skylight for years to come.


Leave a Reply