Installing a TPO (Thermoplastic Polyolefin) roof requires careful planning and execution to ensure durability and effectiveness in protecting your building. This comprehensive guide will walk you through the essential steps and considerations for How To Install a TPO Roof, providing you with the knowledge needed to undertake this project confidently.
Understanding TPO Roofing
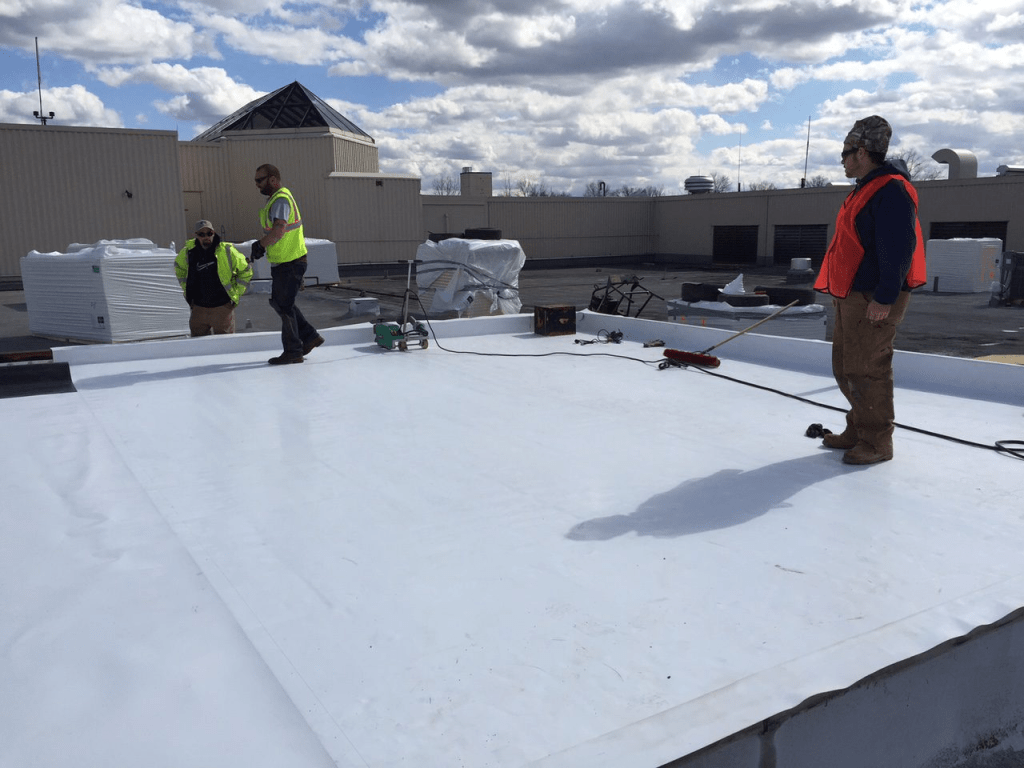
TPO roofing is a popular choice for commercial and residential buildings due to its durability, energy efficiency, and ease of installation. It consists of a single-ply membrane typically made from a blend of polypropylene and ethylene-propylene rubber. TPO roofs are known for their reflective properties, which can help reduce cooling costs in warmer climates.
Read too: How To Replace Roof Shingles That Blew Off: A Comprehensive Guide
Pre-Installation Considerations
Before beginning the installation process, several factors must be considered:
- Roof Assessment: Inspect the existing roof structure for any damage or issues that need to be addressed before installation begins.
- Climate Considerations: TPO roofing installation is best done in moderate weather conditions to ensure proper adhesion and sealing.
- Tools and Materials: Gather all necessary tools and materials, including TPO membrane sheets, adhesive, seam tape, rollers, and safety equipment.
Steps To Install a TPO Roof
1. Roof Preparation
- Clean the Surface: Ensure the roof surface is clean, dry, and free from debris or contaminants that could affect adhesion.
- Repair Roof Deck: Address any damaged areas of the roof deck to ensure a stable base for the TPO membrane.
2. Install Underlayment and Insulation (if needed)
- Underlayment: Install a suitable underlayment over the roof deck to provide additional protection and enhance insulation.
- Insulation: In colder climates, consider adding insulation boards to improve energy efficiency and prevent condensation.
3. Lay Out TPO Membrane
- Measure and Cut: Measure the roof dimensions accurately and cut the TPO membrane sheets accordingly, leaving adequate overlap for seams.
- Apply Adhesive: Apply adhesive to the roof deck using a compatible adhesive recommended by the manufacturer.
4. Heat-Weld Seams
- Seam Preparation: Ensure seams are clean and dry before applying heat. Use seam tape and a hot air welder to create strong, durable seams.
5. Detailing and Flashing
- Flashing Installation: Install TPO flashing around roof penetrations, edges, and other vulnerable areas to prevent water infiltration.
- Detailing Work: Pay attention to details such as corners, edges, and transitions to ensure a watertight seal.
6. Final Inspection and Maintenance
- Inspect Work: Conduct a thorough inspection of the entire roof to check for any missed details or areas needing touch-ups.
- Maintenance Tips: Provide the building owner with maintenance tips to prolong the life of the TPO roof, including regular inspections and cleaning.
Conclusion
Installing a TPO roof requires precision and attention to detail to ensure long-lasting performance and protection. By following the steps outlined in this guide on How To Install a TPO Roof, you can achieve a high-quality installation that enhances the efficiency and durability of any structure.
Whether you’re a professional roofer or a building owner considering TPO roofing, this guide provides the essential information needed to undertake the installation process successfully.


Leave a Reply