Spanish tile roofs are known for their distinctive and beautiful appearance, combining functionality with an aesthetic appeal that enhances the overall look of any home. This type of roofing is popular not only for its classic style but also for its durability and long-lasting performance. If you’re considering installing a Spanish tile roof on your home, this comprehensive guide will walk you through the process step by step. From preparing your roof to laying the tiles and finishing touches, you’ll learn everything you need to know about how to install a Spanish tile roof.
Understanding Spanish Tile Roofs
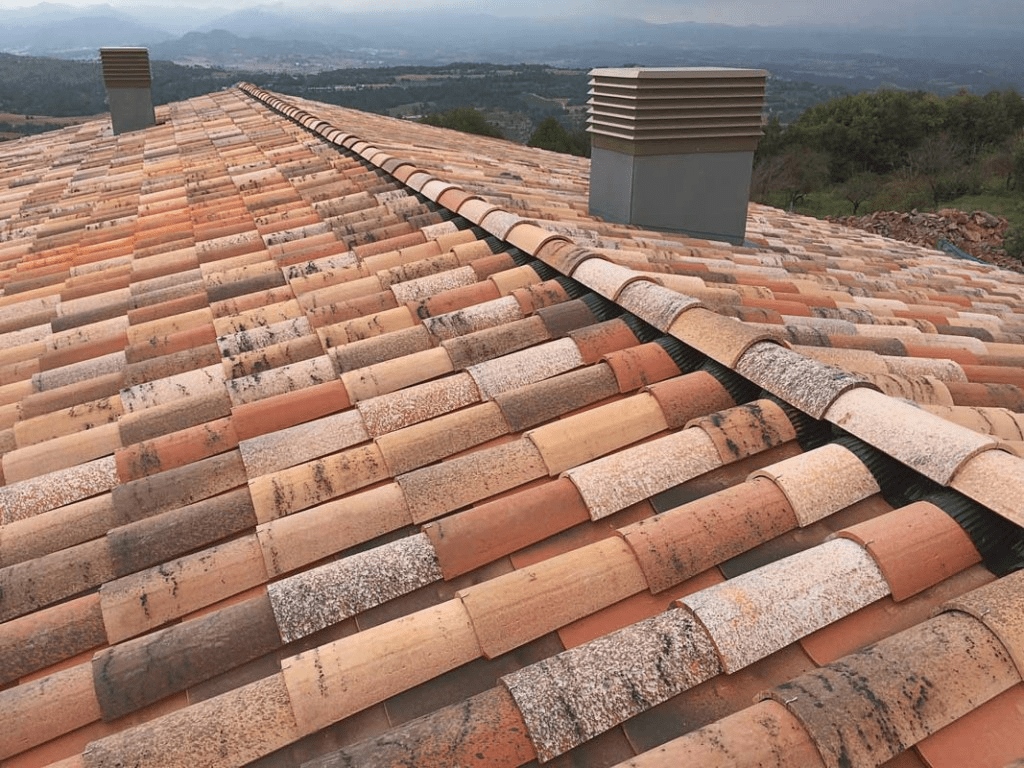
Before diving into the installation process, it’s important to understand what makes Spanish tile roofs unique. Spanish tiles, also known as clay or terracotta tiles, are traditionally made from natural clay that is shaped and then baked to harden. These tiles are characterized by their rounded shape and vibrant color, typically in shades of red, brown, or orange. They are known for their durability, resistance to fire, and ability to withstand harsh weather conditions, making them an excellent choice for roofing material.
Read too: How To Replace Roof Shingles That Blew Off: A Comprehensive Guide
Benefits of Spanish Tile Roofs
- Durability: Spanish tiles can last for up to 100 years if properly maintained.
- Aesthetic Appeal: Their unique look adds a Mediterranean or Southwestern charm to any home.
- Energy Efficiency: The natural materials help regulate indoor temperatures.
- Low Maintenance: Resistant to rot and insect damage, requiring minimal upkeep.
Tools and Materials You’ll Need
To install a Spanish tile roof, you will need the following tools and materials:
- Spanish tiles
- Underlayment
- Roofing nails
- Hammer or nail gun
- Measuring tape
- Chalk line
- Tile cutters
- Ladder
- Safety gear (gloves, safety glasses, and harness)
How To Install Spanish Tile Roof: Step-by-Step Guide
1: Prepare the Roof
Before you start installing the tiles, you need to prepare the roof surface. This involves:
- Removing Old Roofing: If you have an existing roof, remove all old shingles or tiles and dispose of them properly.
- Inspecting the Roof Deck: Check the roof deck for any damage or rot. Repair any issues to ensure a solid foundation for the tiles.
- Installing Underlayment: Lay down a layer of underlayment to provide an additional barrier against moisture. This typically involves rolling out the underlayment material and securing it with roofing nails.
2: Installing the Starter Tiles
- Measure and Mark: Use a measuring tape and chalk line to mark a straight line along the edge of the roof. This will guide the placement of your starter tiles.
- Lay the Starter Tiles: Begin at the bottom edge of the roof and lay the first row of tiles along the chalk line. Secure each tile with roofing nails, making sure they are evenly spaced.
3: Laying the Field Tiles
- Align and Secure: Starting from one end of the roof, align the first field tile with the starter row and secure it with roofing nails. Continue laying tiles in a staggered pattern, ensuring that each tile overlaps the one below it.
- Cutting Tiles: Use a tile cutter to trim tiles as needed to fit around roof edges, chimneys, and other obstacles.
- Checking Alignment: Periodically check that the tiles are aligned correctly and adjust as necessary.
4: Installing Ridge Tiles
- Prepare the Ridge: Measure and mark the centerline of the ridge.
- Install Ridge Tiles: Starting at one end, lay ridge tiles along the centerline, overlapping them slightly and securing them with nails. These tiles protect the roof’s peak from water infiltration.
5: Finishing Touches
- Inspect the Roof: Once all the tiles are installed, inspect the entire roof for any loose or improperly placed tiles and secure them.
- Clean Up: Remove any debris from the roof and surrounding area.
Maintenance Tips for Spanish Tile Roofs
Maintaining a Spanish tile roof is relatively simple but crucial for its longevity:
- Regular Inspections: Check the roof annually for any damaged or missing tiles.
- Clean Gutters: Ensure that gutters are clear of debris to prevent water backup.
- Remove Moss and Algae: If you notice moss or algae growth, clean it off to prevent damage to the tiles.
- Professional Check-Up: Consider hiring a professional roofer for an in-depth inspection every few years.
Conclusion
Installing a Spanish tile roof can enhance the beauty and value of your home while providing a durable and long-lasting roofing solution. By following the steps outlined in this guide, you can achieve a successful installation and enjoy the benefits of a Spanish tile roof for many years to come.


Leave a Reply