Before embarking on a metal roofing project, accurate measurements are crucial to ensure you purchase the right amount of materials and avoid wastage. Measuring a roof for metal may seem intimidating, but with the right approach, it can be a straightforward task. In this article, we will provide you with a step-by-step guide on how to measure your roof accurately for a metal roofing installation.
Step 1:
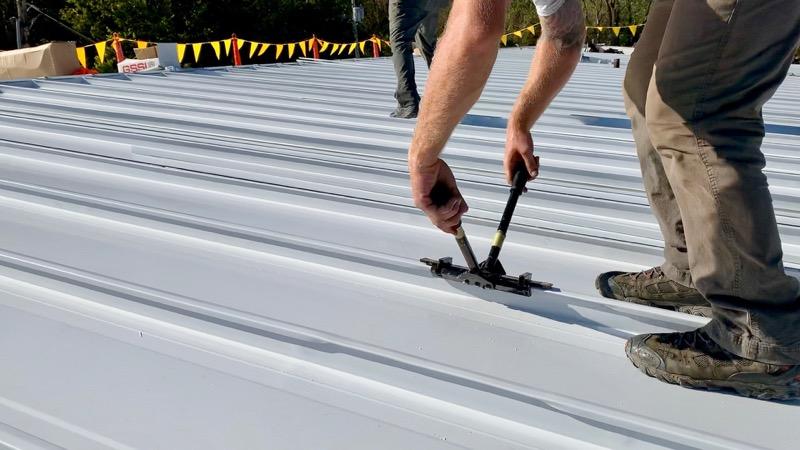
Safety First Before climbing up to the roof, prioritize safety. Ensure you have a stable and secure ladder to access the roof. Wear appropriate personal protective equipment, such as gloves and non-slip footwear. It’s also advisable to have someone with you to assist or to notify someone of your presence on the roof.
Step 2:
Calculate Roof Pitch Measuring the roof’s pitch is crucial for selecting the correct metal roofing materials and ensuring proper water drainage. To calculate the roof pitch, you’ll need a level, tape measure, and a straight edge. Place the level horizontally on the roof surface, 12 inches from the edge, and measure the vertical distance between the roof surface and the level. This measurement represents the roof’s rise. The roof pitch is then expressed as a ratio, such as 4:12, indicating that the roof rises 4 units vertically for every 12 units horizontally.
Step 3:
Measure Roof Width and Length Next, measure the roof’s width and length to determine the total surface area. Use a long tape measure or a measuring wheel for accuracy. For simple gable roofs, measure the width and length from one end to the other. For more complex roof shapes, divide the roof into sections and measure each section individually. Add up the measurements to get the total surface area.
Step 4:
Account for Overhangs and Eaves Include any overhangs and eaves in your measurements. Measure the distance from the outer edge of the roof to the overhang or eave. Metal roofing will extend to cover these areas, providing protection for the underlying structure.
Step 5:
Calculate Roofing Squares Metal roofing materials are typically sold in squares, where one square equals 100 square feet of roof area. To calculate the number of roofing squares you need, divide the total roof surface area by 100. If the total roof area is 1,500 square feet, you’ll need 15 squares of metal roofing.
Step 6:
Add Extra for Waste and Errors To account for cutting waste and measurement errors, it’s a good idea to add an extra 10% to 15% to the total number of squares calculated in the previous step. This ensures you have enough material to complete the project without running out midway.
Step 7:
Consider Roof Accessories Don’t forget to factor in any roof accessories you might need, such as ridge caps, flashing, fasteners, and underlayment. These items are essential for a proper and weather-tight metal roofing installation.
Conclusion:
Measuring a roof for metal roofing doesn’t have to be daunting. With the right tools and a systematic approach, you can accurately determine the amount of material needed for your project. Remember to prioritize safety, calculate the roof pitch, measure the width and length, account for overhangs and eaves, and calculate the number of roofing squares needed. Adding extra for waste and considering roof accessories will ensure a smooth and successful metal roofing installation. If you’re uncertain or inexperienced, it’s always best to consult with a professional roofing contractor to guarantee accurate measurements and a high-quality metal roofing installation.


Leave a Reply