Metal roofs are a popular choice for sheds because they are durable, affordable, and easy to install. In this article, we will walk you through the steps on how to put a metal roof on a shed.
Tools and Materials
- Metal roofing sheets
- Ridge cap
- Rake trim
- Flashing
- Screws
- Ladder
- Safety glasses
- Gloves
Step 1: Prepare the Roof
Before you can install the metal roof, you need to prepare the roof surface. This includes removing any old roofing material, repairing any damaged areas, and installing drip edges.
Removing Old Roofing Material
To remove old roofing material, you can use a hammer and pry bar. Be careful not to damage the roof trusses. If the old roofing material is asphalt shingles, you can also use a roofing torch to melt the shingles and make them easier to remove.
Repairing Damaged Areas
To repair damaged areas, you can use roofing cement or sealant. If the damage is extensive, you may need to replace the entire sheet of roofing material.
Installing Drip Edges
Drip edges help to prevent water from running down the side of the roof and into the walls. They are typically made of metal or plastic.
To install drip edges, you will need to measure the length of the roof and cut the drip edges to size. Then, you will need to attach the drip edges to the roof trusses using screws or nails.
Step 2: Install the Ridge Cap
The ridge cap is the piece of metal that runs along the top of the roof. It helps to protect the roof from water damage.
To install the ridge cap, you will need to measure the length of the roof and cut the ridge cap to size. Then, you will need to attach the ridge cap to the roof trusses using screws.
Step 3: Install the Rake Trim
The rake trim is the piece of metal that runs along the edge of the roof. It helps to protect the roof from water damage and windblown debris.
To install the rake trim, you will need to measure the length of the roof and cut the rake trim to size. Then, you will need to attach the rake trim to the roof trusses using screws.
Step 4: Install the Flashing
Flashing is used to seal any areas where the roof meets another surface, such as the walls or chimney.
To install flashing, you will need to measure the area to be flashed and cut the flashing to size. Then, you will need to attach the flashing to the roof using screws or nails.
Flashing Types
There are many different types of flashing available. The type of flashing you need will depend on the type of roof and the areas where the roof meets other surfaces.
Some common types of flashing include:
- Wall flashing: This flashing is used to seal the area where the roof meets the walls.
- Chimney flashing: This flashing is used to seal the area where the roof meets a chimney.
- Valley flashing: This flashing is used to seal the area where two roof slopes meet.
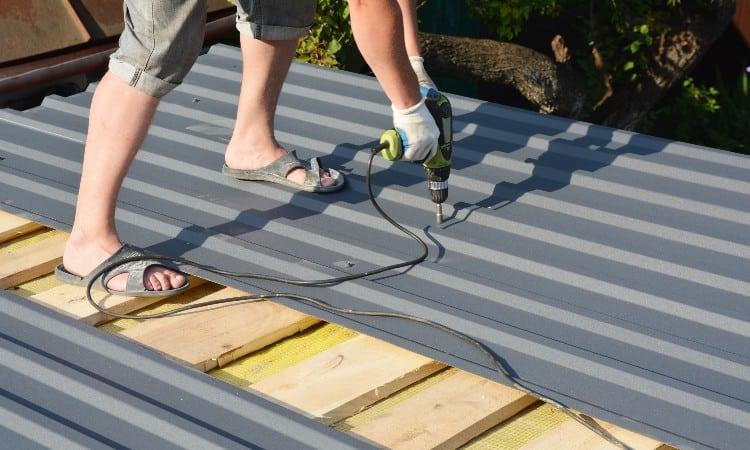
Step 5: Install the Metal Roof Sheets
The metal roof sheets are the main part of the roof. They are typically made of steel, aluminum, or copper.
To install the metal roof sheets, you will need to start at the bottom of the roof and work your way up. You will need to overlap the sheets by at least 6 inches.
To attach the metal roof sheets to the roof trusses, you will need to use screws or nails.
Screw or Nail Placement
When attaching the metal roof sheets, it is important to use the correct screw or nail placement. Place the screws or nails every 12 inches along the edges of the sheets and every 24 inches in the center of the sheets.
Step 6: Seal the Edges
Once the metal roof sheets are in place, you will need to seal the edges to prevent water from leaking.
You can use roofing sealant or caulk to seal the edges.
Step 7: Clean Up
Once the roof is installed, you will need to clean up any debris.
Tips
- When measuring for the metal roof sheets, be sure to add an extra 6 inches for overlap.
- Use a level to make sure that the metal roof sheets are installed straight.
- Use a rubber mallet to tap the metal roof sheets into place.


Leave a Reply